Snorkeling at Waikiki: A Complete Guide for Beginners
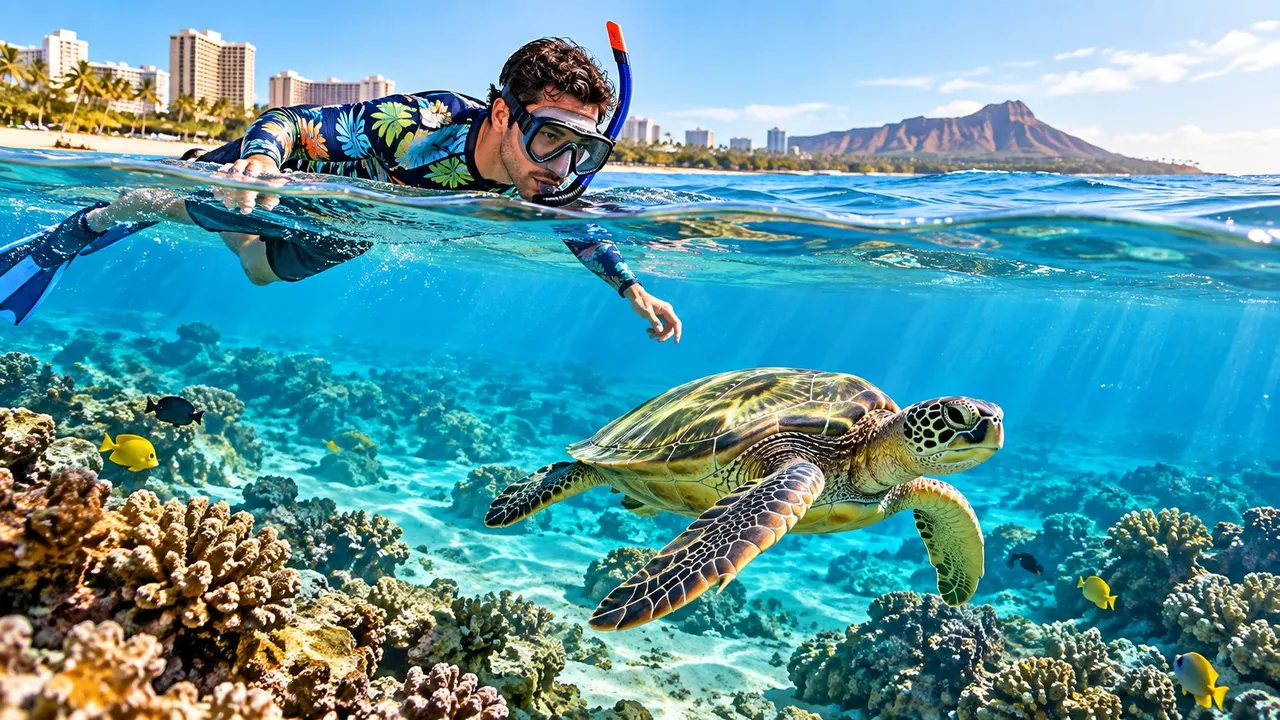
You've just arrived in Waikiki, the morning is bright, and the water looks calm from your hotel balcony. The mask and fins are packed, your family is excited, and everyone wants the same thing: an easy first look at tropical fish, coral, and perhaps a Hawaiian green sea turtle. The decision that matters most isn't just where to enter. It's whether the ocean is ready for you today.
Snorkeling at Waikiki rewards visitors who prepare around conditions rather than vacation schedules. Calm water, an early start, sensible equipment, and honest attention to your swimming ability can turn a nervous first attempt into a relaxed wildlife encounter. Poor timing, recent runoff, or an overconfident entry can produce the opposite result.
Hawaii reports about 3 million snorkelers each year, while visitor surveys recorded snorkeling participation at 45.7% in one period and 42.7% in another recent period, according to the Hawaii visitor recreation data. Waikiki sits at the gateway to that enormous warm-water snorkeling market, but popularity doesn't make the ocean predictable.
Getting Ready for Your First Snorkel Adventure
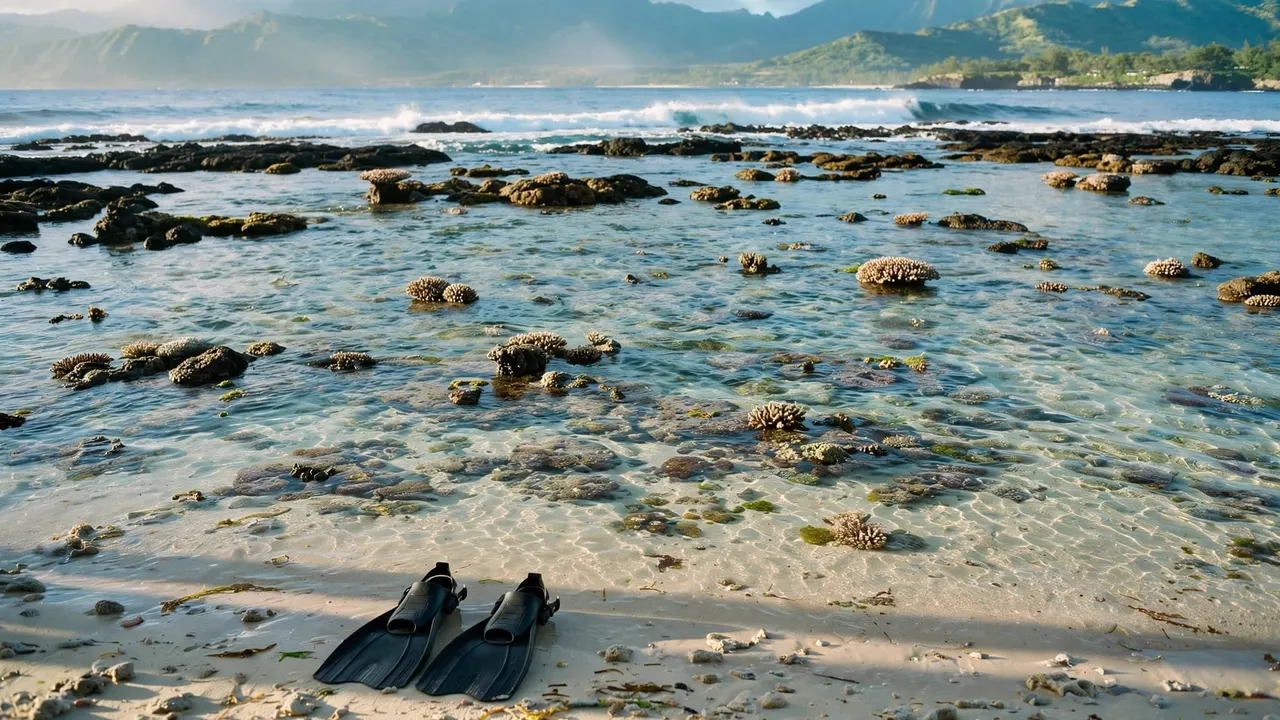
A good Waikiki morning starts before you reach the beach. The trade winds are light, the surface has a soft sheen, and the first swimmers are easing into the water instead of fighting a shorebreak. A beginner who has already checked the forecast, packed a flotation aid, and accepted that wildlife sightings are never guaranteed will enjoy that morning far more than someone who rushes down in flip-flops hoping the ocean will cooperate.
Start with a realistic goal. You're going to float, breathe steadily, and observe a reef. You're not trying to swim beside a turtle, dive to the bottom, or cover a huge stretch of coastline. That mindset saves energy and keeps your movements quiet, which improves both comfort and the quality of a wild-animal encounter.
Build confidence before entering
Practice breathing through the snorkel while standing in shallow water, but only where the entry is genuinely calm. Adjust the mask strap before you get wet, clear hair from the seal, and ask a companion to check that the mouthpiece feels comfortable. If you feel anxious, use a flotation vest and tell the people with you. Experienced swimmers can still become disoriented when they're face-down, breathing through a tube, and watching moving water.
Your preparation should also include a quick review of the Oahu snorkeling packing list. It's a simple way to catch the items visitors commonly forget, especially dry clothes, sun protection, and a secure place for valuables.
Practical rule: If the water looks active from shore, assume it will feel more powerful once you're floating in it.
A guided excursion can remove much of the learning curve. The crew handles equipment setup, explains the entry, and helps beginners understand where to look without turning the outing into a race. Shore snorkeling remains a good option for confident swimmers who can assess conditions independently, but first-timers often get more from a structured start.
Essential Gear and What to Pack
The right gear should make you calmer, not more encumbered. Pack for warmth, sun exposure, visibility, and the possibility that you'll spend more time floating than swimming.
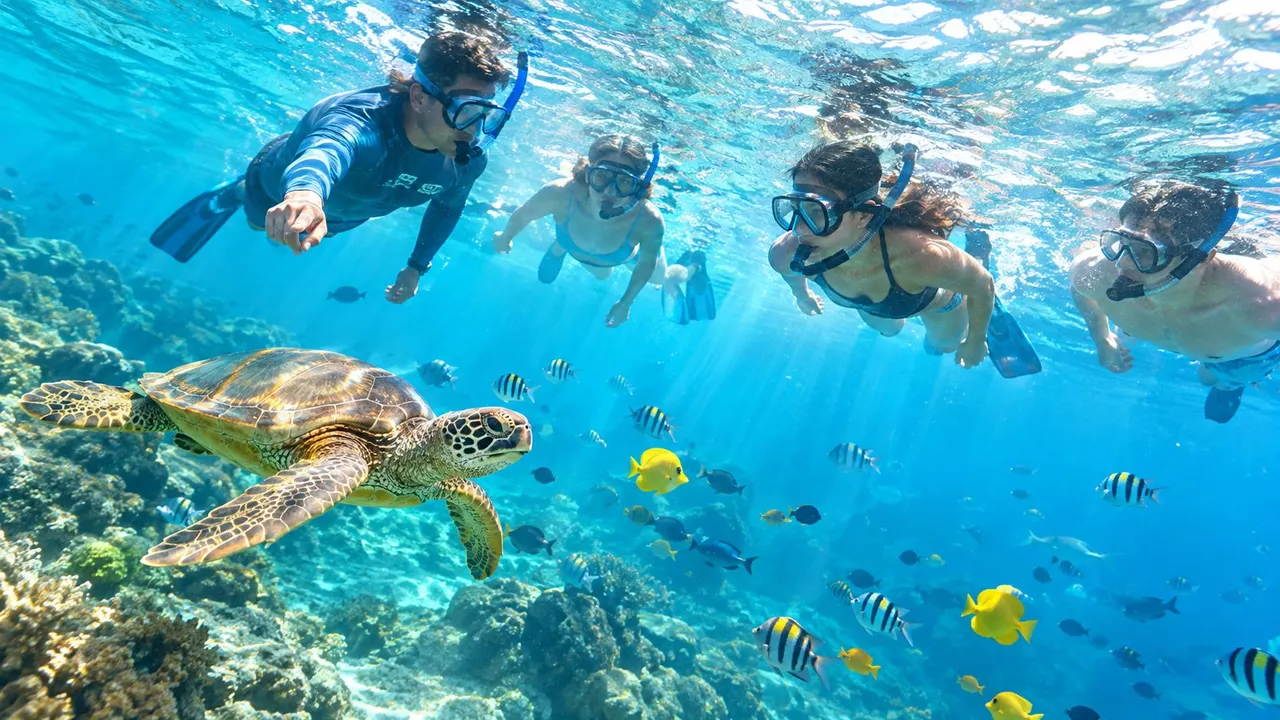
Pack the equipment that helps you relax
- Mask and snorkel: A well-fitting mask matters more than an expensive model. Press it gently to your face without using the strap, inhale slightly through your nose, and see whether it stays in place. A leaking mask distracts you from everything below.
- Fins: Fins improve efficiency, especially when a small surge moves across the reef. Use slow ankle movements rather than bicycle kicks. You'll conserve energy and avoid stirring unnecessary sand.
- Flotation support: A flotation vest is useful for beginners, tired swimmers, and anyone who wants to keep breathing calmly while observing marine life. It isn't a sign of weak swimming. It's a sensible way to reduce effort.
- Rash guard: Long-sleeved sun protection reduces the amount of sunscreen you need and can prevent an uncomfortable first-day burn. Choose a bright color when possible, so companions and guides can spot you more easily.
- Reef-conscious sun protection: Apply sunscreen before entering the water, and keep it away from coral and marine animals. A hat and cover-up are valuable between sessions.
Skip equipment that creates problems
Heavy footwear can encourage visitors to stand on reef, which is unsafe for both the person and the coral. Hawaii ocean safety guidance says to never stand on coral or feed marine animals. If an entry requires scrambling over sharp rock or exposed reef, choose a different access point or ask a guide for help.
Bring a towel, dry clothes, water, and a waterproof phone case if you can use it without becoming absorbed in photography. Prescription-mask needs should be discussed with the operator before departure. For hygiene and comfort, review the guidance on choosing and using a snorkel mouthpiece, particularly if several people in your group are sharing equipment.
The best packing list is intentionally short. You want enough equipment to float comfortably and protect yourself from the sun, not a bag of accessories that complicates a simple ocean morning.
Understanding the Best Conditions and Spots
Water clarity at Waikiki follows the weather more closely than many visitors expect. Calm mornings usually produce the clearest conditions because lower wave energy keeps sand settled. Windy afternoons, south swells, and rain runoff can suspend sediment and carry cloudy water toward nearshore reef areas.
Visibility on a good day may reach about 15 to 30 feet, according to Waikiki snorkeling condition guidance. Treat that as a possibility, not a promise. A calm-looking beach can still have poor visibility below the surface if the reef has recently absorbed wave energy or runoff.
Read the weather before the beach
Heavy rainfall deserves special attention. Runoff can reduce clarity and increase bacteria exposure, so the practical guidance is to avoid snorkeling for roughly 72 hours after heavy rain. Check official advisories and local conditions rather than relying on a sunny sky at your hotel. The water can remain affected after the clouds have cleared.
Wind matters as well. Condition reports for the Waikiki Marine Life Conservation District describe only fair conditions even with trade winds around 10 to 15 mph and declining swells of 1 to 3 feet, with settling sand haze still present in the water, as documented by Waikiki snorkeling condition reports. The lesson is simple: modest numbers on a forecast don't automatically mean beginner-friendly water.
Choose the protected end of the beach
Central Waikiki is convenient, but convenience and underwater quality aren't always the same. East-end areas such as Queen's Beach and Sans Souci generally outperform the central beach for snorkeling because they're less exposed to direct shorebreak and can retain calmer, lower-surge water on suitable days.
Historic shoreline changes also shape what visitors encounter now. The Natatorium was built 200 feet onto the reef in 1927, while earlier work included sand removal around Queen Liliʻuokalani's property around 1909, along with reef dredging for channels and shoreline use, according to the documented history of Waikiki's shore and reef. Waikiki developed as a visitor-centered shoreline, and recreational research in the early 2000s found tourists tended to use the Waikiki reef while local users more often visited Diamond Head.
For current planning, the Oahu snorkeling guide can help you compare a casual shore session with a guided outing. Choose the location after you've judged the water, not before.
Choosing the Right Guided Snorkel Tour
Shore entry offers independence, but it also leaves you responsible for every variable. You must select an entry, judge surge, manage gear, maneuver around the reef, watch your companions, and decide when conditions have changed. That can be enjoyable for an experienced swimmer. It's a demanding assignment for a first-time visitor whose main goal is to relax and see marine life.
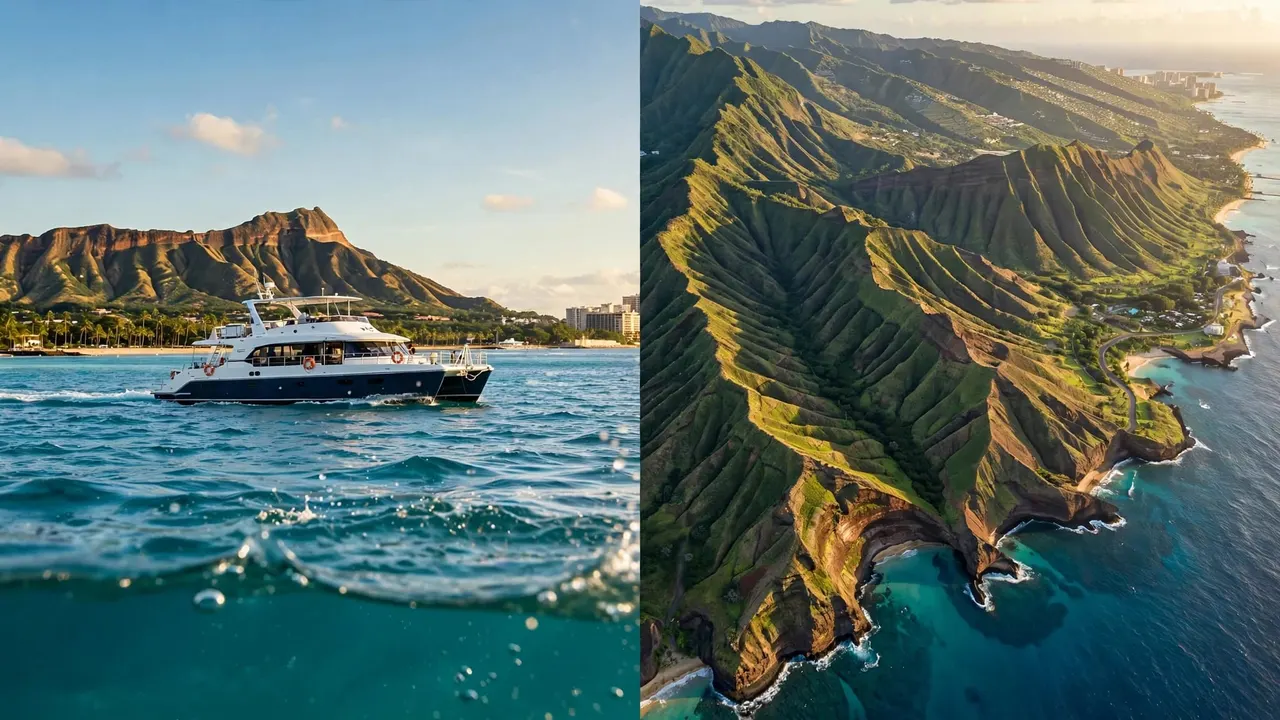
A guided boat trip shifts those responsibilities to a professional crew. Guides can explain the route, fit masks and flotation, keep the group together, and choose an appropriate location based on the day's conditions. You still need to communicate about your comfort level, but you won't be solving every problem alone.
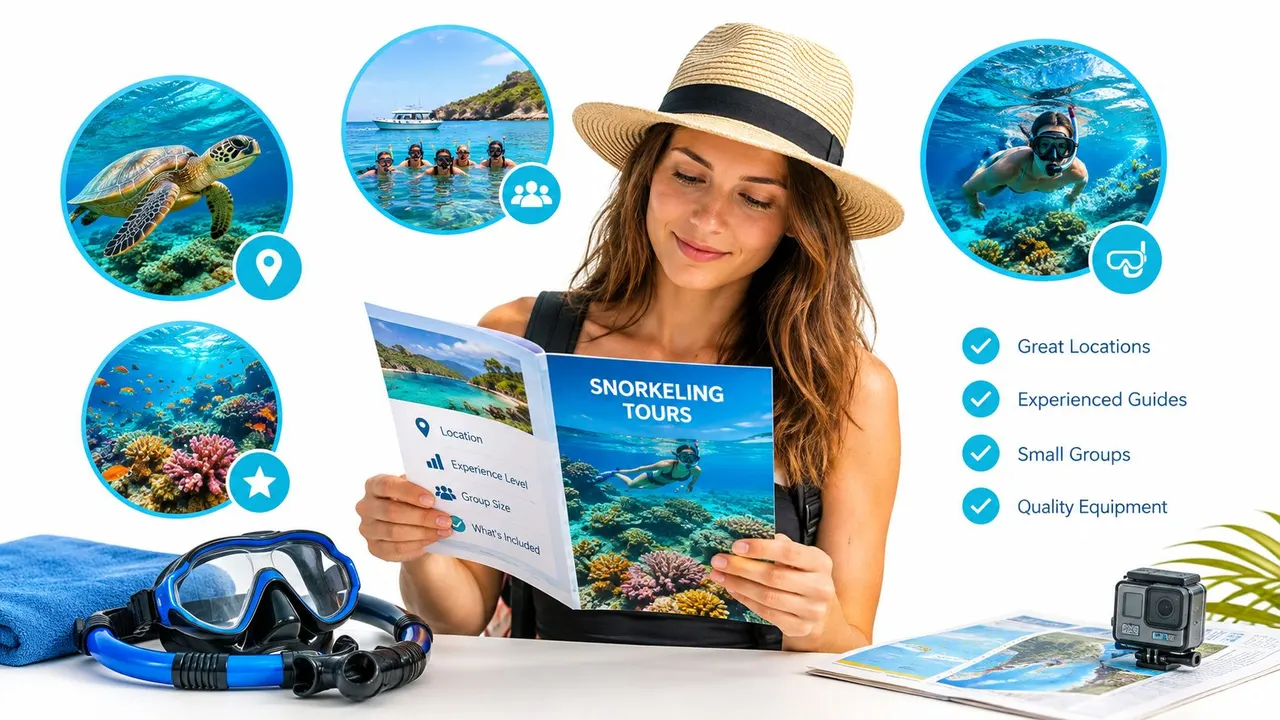
Match the format to your group
| Shore snorkeling | Guided snorkeling |
|---|---|
| Flexible timing and easy beach access | Crew-led preparation and water entry |
| You assess waves, surge, and visibility | Guides help interpret conditions |
| Wildlife sightings depend more on location and luck | The crew takes you toward established viewing areas |
| Best for capable swimmers who accept uncertainty | Useful for beginners, families, and mixed abilities |
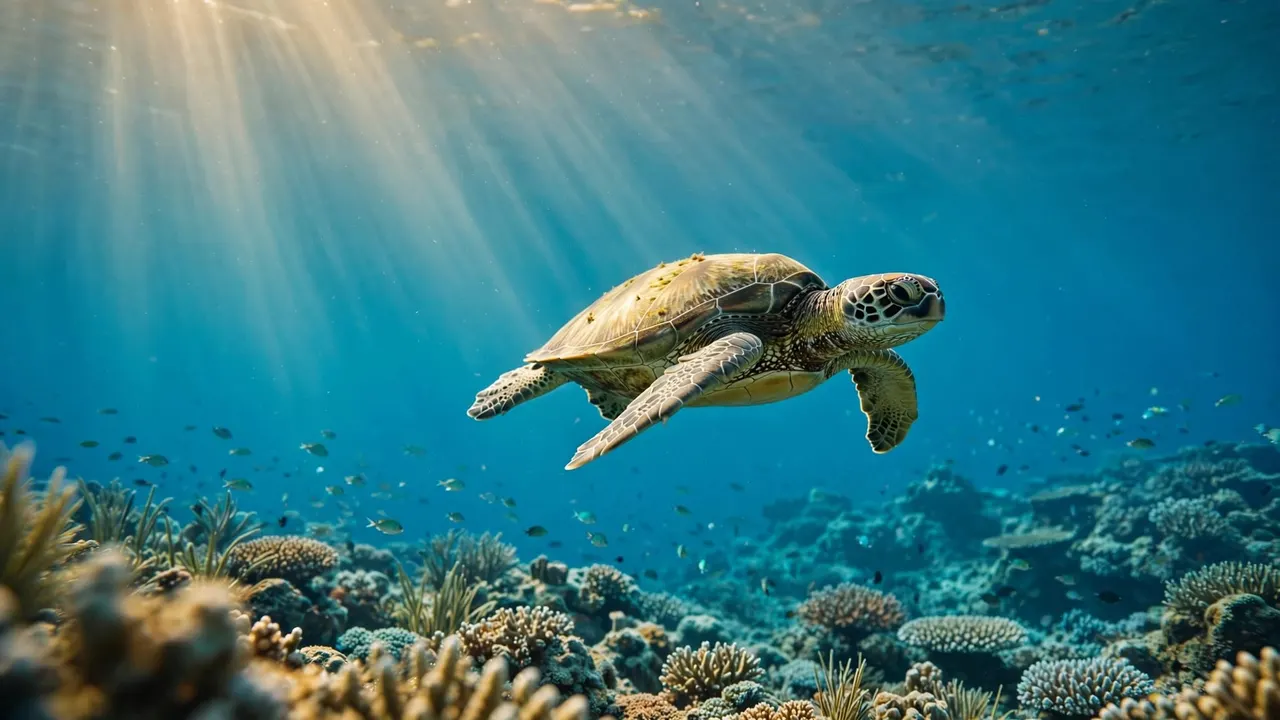
Living Ocean Tours is the top rated and most reviewed snorkel company on Oahu, and its Waikiki snorkeling tours include guided ocean experiences with equipment and flotation support. Its Turtle Canyons Snorkel Excursion focuses on an offshore reef area where Hawaiian green sea turtles and tropical fish may be observed. The wildlife is wild, so no responsible operator can promise a sighting, but a guide can set realistic expectations and help guests view animals without chasing them.
Ask practical questions before booking
Check what equipment is included, whether flotation is available, how the crew supports nervous swimmers, and what happens if conditions deteriorate. Ask where the boat departs and whether your group can remain onboard if someone decides not to enter. Families should also confirm age and swimming requirements before committing.
The offshore option can be more efficient when your priority is a particular wildlife experience. A shore session can be the better fit when you want a flexible beach day and are comfortable accepting changing visibility. Neither choice removes the need to respect conditions. A guide improves your decision-making, but you should still be prepared to stop.
Responsible Wildlife Viewing and Etiquette
A turtle encounter succeeds when the animal continues its normal behavior. The moment depends on patience, distance, and restraint, not on getting the closest photograph.
Marine-life guidance cited in Waikiki snorkeling information sets a clear minimum of 10 feet, or about 3 meters, from sea turtles, and says not to touch, chase, or block them, as explained in sea turtle viewing guidance. Keep that distance even if a turtle swims toward you. Move aside slowly and give it an unobstructed path to the surface.
Let the animal choose the encounter
Hold a steady position at the surface. Avoid sudden fin strokes, diving directly toward a turtle, or forming a tight circle around it. If the animal changes direction, let it go. A turtle that disappears is not a failed sighting. You've still observed a wild animal making its own decision.
Never touch coral, stand on the reef, feed fish, or attempt to attract a turtle. Feeding changes animal behavior and creates crowding, while contact can injure both the animal and the person. A quiet observer sees more natural behavior than an excited swimmer who pursues every movement.
Wildlife principle: The best photograph is the one you can take without changing the turtle's route.
Give guides room to manage the group
A guide may ask swimmers to spread out, move back, or return to the boat. Follow those directions promptly. Guides watch the wider scene, including other swimmers, the animal's movement, and the changing surface. Your cooperation protects the encounter for everyone.
For families, explain the distance rule before entering. Children understand it more easily when it becomes a simple mission: watch the honu, keep your hands to yourself, and let it swim freely. The guide to swimming with turtles offers additional context for planning a respectful experience.
Responsible viewing isn't a lesser version of snorkeling. It's the only version that leaves the reef and its animals undisturbed.
Prioritizing Safety and Avoiding Risks
Tourist confidence can become a hazard in the ocean. Waikiki looks familiar, busy, and accessible, but currents, surge, fatigue, and reduced visibility can overwhelm a casual swimmer quickly.
Recent Hawaii safety reporting states that 90% of 204 snorkeling-related fatalities from 2012 through 2021 involved tourists, and identifies snorkeling as the leading cause of tourist drownings in the state, according to Waikiki snorkeling safety coverage. Those figures aren't a reason to panic. They're a reason to take screening and supervision seriously.
Make a clear decision before you enter
Use this sequence:
- Check the water, not just the weather. Look for breaking waves, visible sand haze, strong lateral movement, or people being pushed around at the entry.
- Assess your own condition. Don't snorkel if you're exhausted, ill, overheated, or uncomfortable in open water. Tell a guide if you're nervous or unsure.
- Stay with a buddy. Never separate from your companion to follow fish or search for turtles. Keep visual contact and agree on a simple signal for stopping.
- Use bright visibility aids. A bright rash guard or flotation vest makes it easier for companions and guides to locate you.
- Exit early when conditions change. You don't need to wait for a crisis. Rising wind, increasing surge, poor breathing, or sudden fatigue are valid reasons to return to shore or the boat.
One Hawaii-based safety guide also recommends calm-water snorkeling, buddy participation, bright rash guards or flotation vests, and avoiding poor-condition periods, as summarized in local Waikiki safety guidance.
Don't confuse calm water with zero risk
A smooth surface can still hide fatigue, breathing trouble, or disorientation. Keep your face out of the water until your breathing settles, and stop immediately if the mask floods repeatedly. Alcohol and snorkeling don't belong together because judgment and coordination matter from entry to exit.
Captain's rule: Turning around while you're still comfortable is a smart decision, not a disappointing one.
Your Final Snorkeling Checklist
Use this checklist at the hotel, then repeat the water assessment at the beach:
- Check recent rain: After heavy rainfall, wait roughly 72 hours before snorkeling, following the practical runoff guidance from Safe to Swim Hawaii.
- Watch the surface: Choose calm conditions and favor an early session when wind and wave energy are often lower.
- Select the entry carefully: Consider Queen's Beach or Sans Souci when conditions suit them, rather than automatically choosing the busiest central beach.
- Pack essentials: Bring a fitted mask, fins, flotation support, rash guard, reef-conscious sun protection, water, towel, and dry clothes.
- Stay accountable: Snorkel with a buddy, remain visible, and leave the water when fatigue or surge increases.
- Protect wildlife: Keep at least 10 feet, or about 3 meters, from turtles. Never touch, chase, feed, or block marine animals.
- Confirm your plan: If you're using a guided tour, verify departure details, included gear, and support for less-confident swimmers.
The magic of Waikiki isn't reserved for expert swimmers. It belongs to visitors who slow down, read the water, and allow the reef to set the pace. A calm, respectful session may give you only a few quiet minutes beneath the surface, but those minutes can stay with your family long after the sand has dried.
Living Ocean Tours offers guided Waikiki snorkeling with gear, flotation support, instruction, and access to offshore wildlife-viewing areas suited to beginners and families. For a calmer, better-managed day on the water, review the available experiences and visit Living Ocean Tours.