Snorkeling Oahu: How to Read Reef Zones Before You Enter
Living Ocean Tours can take you to a Waikiki reef, but your best view begins before your face touches the water. When snorkeling Oahu, the color of the water, the shape of the reef, and the movement of the surface all help you decide where to swim and when to stay out.
A bright sky can’t tell you whether waves are breaking over coral or a current is pulling through a gap. Learn to read those clues together, and you’ll have a better plan for enjoying the reef without putting yourself or its wildlife at risk.
Reef zones to read when snorkeling Oahu

There’s no single reef layout that fits every Oahu snorkel site. Instead of looking for a textbook pattern, trace a possible swim from your entry point to your exit. Where can you float over clear water? Where would you have to cross shallow rock or coral?
Start with the entry surface
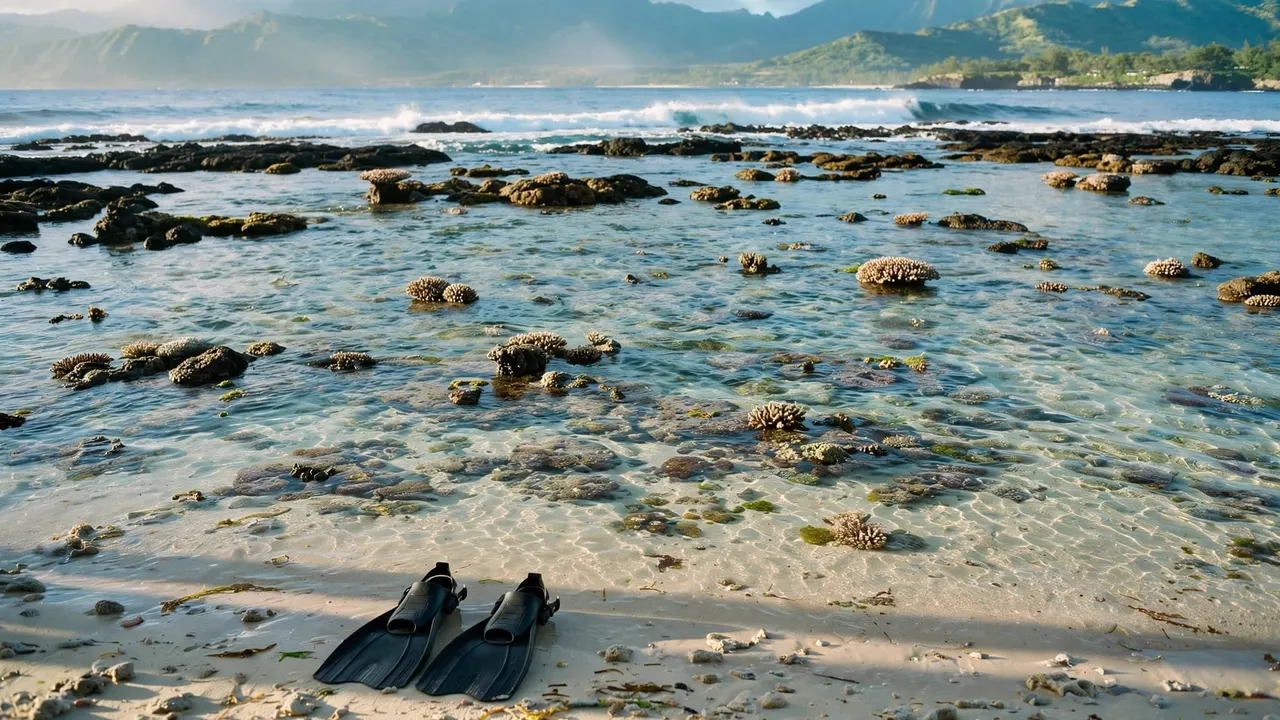
Pale water may reveal sand, but color alone doesn’t prove an entry is deep, clear of rocks, or free of surge. Watch several waves reach the shoreline. Notice whether the water retreats gently or pulls back with force, and look for an unobstructed place to put on your fins.
If you’re entering from shore, identify where you’ll stand before you get wet. An inviting patch of sand loses its appeal if your only way out is across shallow reef.
Separate coral patches from open water
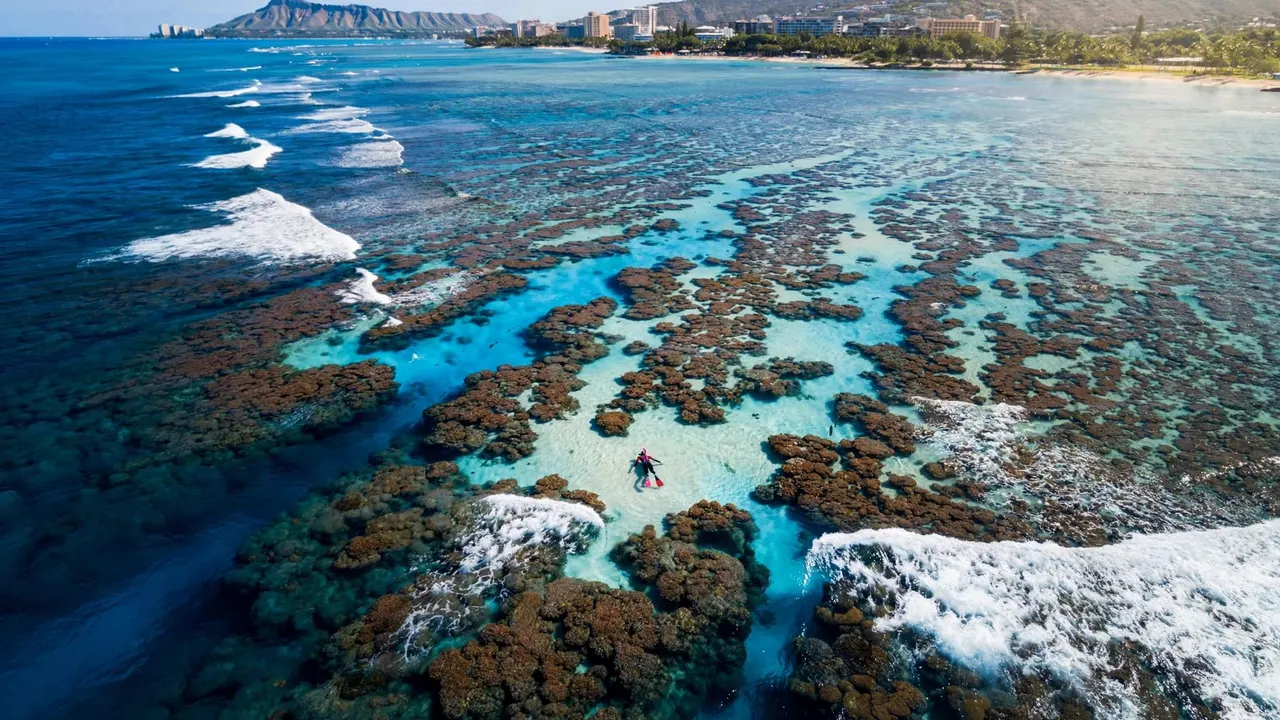
Darker shapes may be coral, rock, seaweed, or shadow. You often won’t know which until you’re close enough to see through the water, so leave room between your fins and anything below you. Sandy openings can offer space to float without brushing the reef, provided the water there is calm.
Reef structure is living habitat, not an obstacle course. NOAA’s snorkeling wildlife guide describes the coral reefs and animals, including green sea turtles and moray eels, that make these waters worth visiting.
Treat the outer edge as a new decision
A shift to darker blue can indicate deeper water beyond the visible reef. That’s a cue to pause, not an invitation to keep swimming. Look for breaking waves along the edge and ask whether you could comfortably return against the wind or current.
If you can’t see a clear route back, stay closer to your entry point. You can find plenty to observe without crossing into deeper, more exposed water.
Watch how water moves across the reef
A still photograph can’t show a reef’s most important feature: moving water. Give yourself time to watch the same area through several wave sets. Look for foam, drifting seaweed, or swimmers moving sideways relative to a fixed landmark.
Repeated whitewater changes the plan
Whitewater spilling across a reef tells you waves are breaking where you might otherwise expect to float. Even if the water between sets looks smooth, another wave can push you toward shallow coral. Don’t plan a route over a breaking reef or through a narrow rocky opening.
Hawaii Ocean Safety lists high surf, high winds, heavy shorebreak, and strong currents as poor snorkeling conditions. If you see those conditions, choose another activity rather than trying to find a small gap through them.
Check your route against a fixed point
Pick a stationary reference on shore, such as a building or a lifeguard tower. Then watch the water or swimmers for a few minutes. Consistent sideways movement can show that returning to your starting point will take more effort than going out.
A sandy opening may give you room above the coral, but it doesn’t tell you where moving water will carry you.
For snorkeling Oahu from shore, that return trip matters as much as the entry. If the route looks uncertain from dry land, it won’t become easier after you’re tired.
Check the day’s conditions before entering

Your eyes provide the final check, but start with the day’s ocean information. Swell, wind, and rain can change what you’ll find at a familiar beach. Conditions at one coast also don’t describe every other part of Oahu.
Use reports for context, not permission
Check the forecast and its timestamp before you leave. Wave height and period help you understand incoming swell, while wind direction helps you judge which shorelines may be exposed. An older reading may miss a recent change.
Next, compare the report with the actual water. Hawaii Ocean Safety’s beach resources can help you find current conditions at lifeguarded beaches. Ask a lifeguard about hazards where one is on duty. A report or buoy reading can’t certify that your exact entry point is safe.
Let visibility affect your decision
Clear water makes it easier to see coral, rocks, and your swimming companion. Brown runoff, suspended sediment, or floating debris takes away that advantage. After rain, don’t assume a patch of blue sky means the water has cleared.
Wind-driven chop can make breathing and looking through your mask tiring, even when the reef below appears appealing. If you can’t see your route or maintain a relaxed float, wait for better conditions. The same rule applies when snorkeling Oahu from a boat: listen to the crew’s assessment at the actual site.
Plan your exit before you choose an entry
Entry points get most of your attention because they’re right in front of you. Your exit deserves equal care. Find a place you can reach without crossing coral, fighting a current, or swimming into boat traffic.
From shore, leave yourself an easy return
Choose a route that matches your swimming ability and leaves plenty of energy for the way back. Go with a buddy, keep each other in sight, and tell someone where you plan to snorkel. If waves grow, visibility drops, or either of you becomes uncomfortable, turn back early.
Avoid harbor entrances and marked channels. A stretch of open-looking water may still be a route for boats, which can’t always maneuver around a swimmer quickly.
From a boat, follow the crew’s boundaries
On a guided trip, your entry and return point are usually the boat. Listen for instructions about where to enter, how far to swim, and how to approach the ladder. Keep track of the vessel rather than following a fish until the boat seems distant.
Tell a guide before entering if you need help with your mask, flotation, or breathing rhythm. If you’re tired or cold, head back while you still feel comfortable. Snorkeling Oahu should leave you eager to look around, not struggling to reach your exit.
Give coral and wildlife room
The closer you get to a reef, the more tempting it is to stop and steady yourself. Plan for that moment before it happens. Adjust your gear in open water, use flotation support when available, or return to your entry point instead of putting a hand or foot on coral.
Float high over shallow patches
Keep your body horizontal and your fin strokes small when you pass above reef structure. Look ahead as well as down; fins can strike coral behind you even when your hands stay clear. Never stand on the reef to fix a mask or take a break.
Fish often become easier to watch when you stop kicking and let them continue their usual movements. A calm float also gives you more time to notice where the reef rises toward the surface.
Let turtles choose their path
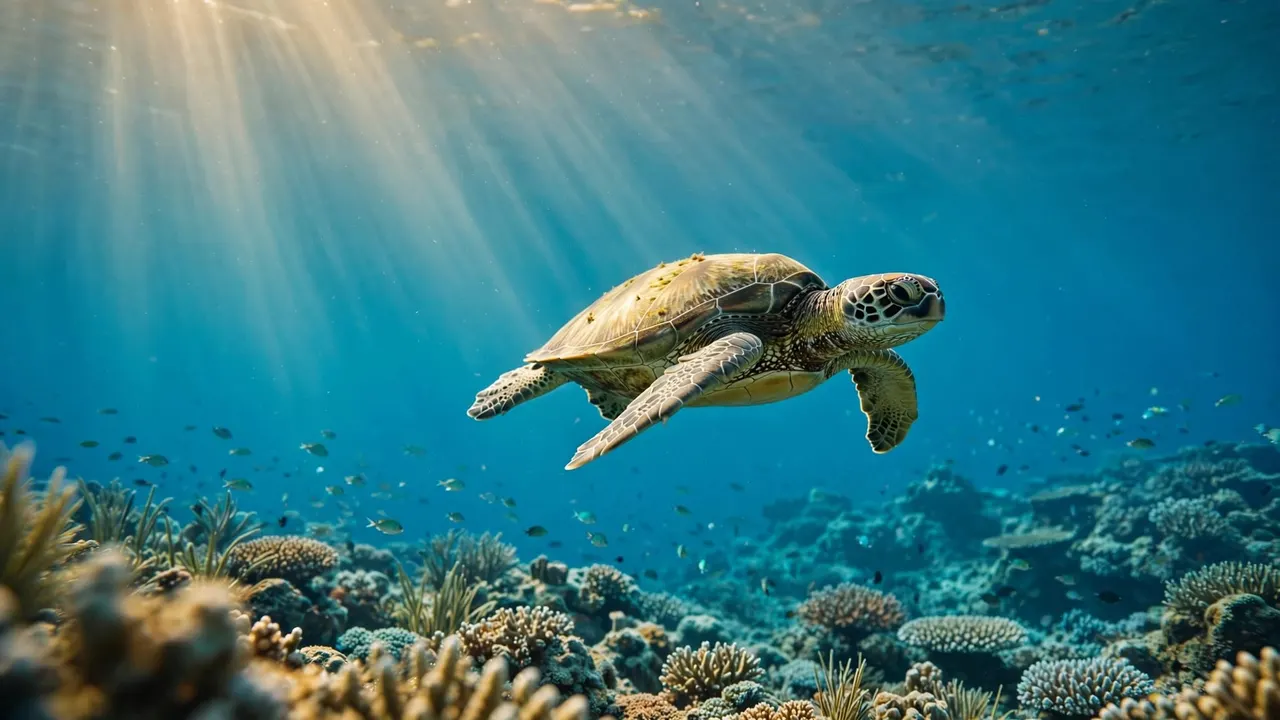
Hawaiian green sea turtles, or honu, may move through reef areas to feed, rest, or surface for air. Give them space to do all three. The Oahu snorkeling guide from Hawaii.com advises staying at least 10 feet away.
Don’t touch, feed, chase, surround, or block a turtle for a photo. If one swims toward you, stay calm and allow it to pass. Respectful snorkeling Oahu means leaving both the animals and their habitat undisturbed.
Choose guided reef access when you want support
Reading a shoreline reef yourself takes time and honest judgment. A guided outing offers another option when you’d rather have help with gear, water entry, and the swim route. You still need to pay attention to conditions and your own comfort.
Let the crew explain the entry
Living Ocean Tours departs from Kewalo Basin Boat Harbor near Waikiki. The company says it’s the only Oahu tour company with professional snorkel guides. Before you enter, tell the crew about swimming nerves, a child who needs extra help, or a mask that doesn’t fit.
You can compare its guided Waikiki snorkeling options if you’d prefer a boat-accessible reef over finding a shore entry yourself. Once aboard, follow the crew’s instructions about the day’s conditions and stay within the designated swimming area.
Watch the reef at Turtle Canyons
Living Ocean Tours’ Turtle Canyons Snorkel Excursion visits an offshore reef area where turtles may visit a cleaning station. A sighting is never guaranteed. Follow your guide’s route, keep clear of coral, and let any turtle you encounter move freely.
For couples and families who want that guided entry, CHECK AVAILABILITY before settling your plans. The crew can help you focus on a comfortable swim while you watch the reef.
Key takeaways for reading an Oahu reef
- Trace a route from entry to exit before you put on your fins. Leave room above coral and keep an easy way back.
- Watch several wave sets. Repeated whitewater, strong shorebreak, murky runoff, or a noticeable current are reasons to stay out.
- Check current reports, then compare them with what you see at the site. Conditions can change between a forecast and your swim.
- Keep your distance from turtles and stay off coral. If you’re unsure about the route, ask a lifeguard or follow your snorkel crew’s direction.
Frequently asked questions
Does dark water always mean deep water?
No. A dark patch may be coral, rock, seaweed, shadow, or deeper water. You can’t reliably judge depth by color alone, especially when glare or sediment affects the view. Watch the surface for breaking waves and enter only where you have a clear, comfortable route.
Is a sandy channel always safe for snorkeling?
No. Sand may give you space away from coral, but waves or currents can still move through the channel. Check the water’s movement and your exit before entering. If you can’t tell where the water is going, choose another spot or wait.
Can beginners snorkel at an offshore Oahu reef?
Yes, when conditions are suitable and the trip matches your comfort and swimming ability. Tell the crew you’re new, use the flotation equipment offered, and stay near the designated area. You’re free to return to the boat whenever you need a break.
Let the reef set the pace
A welcoming stretch of blue water can change before you finish getting ready. Read the whole route, including the reef below, the water moving across it, and the way you’ll get back.
When those clues don’t agree, wait. The reef will be a better experience when you can float comfortably and leave it as you found it.