Waikiki Snorkeling Gear Rentals: What to Check First
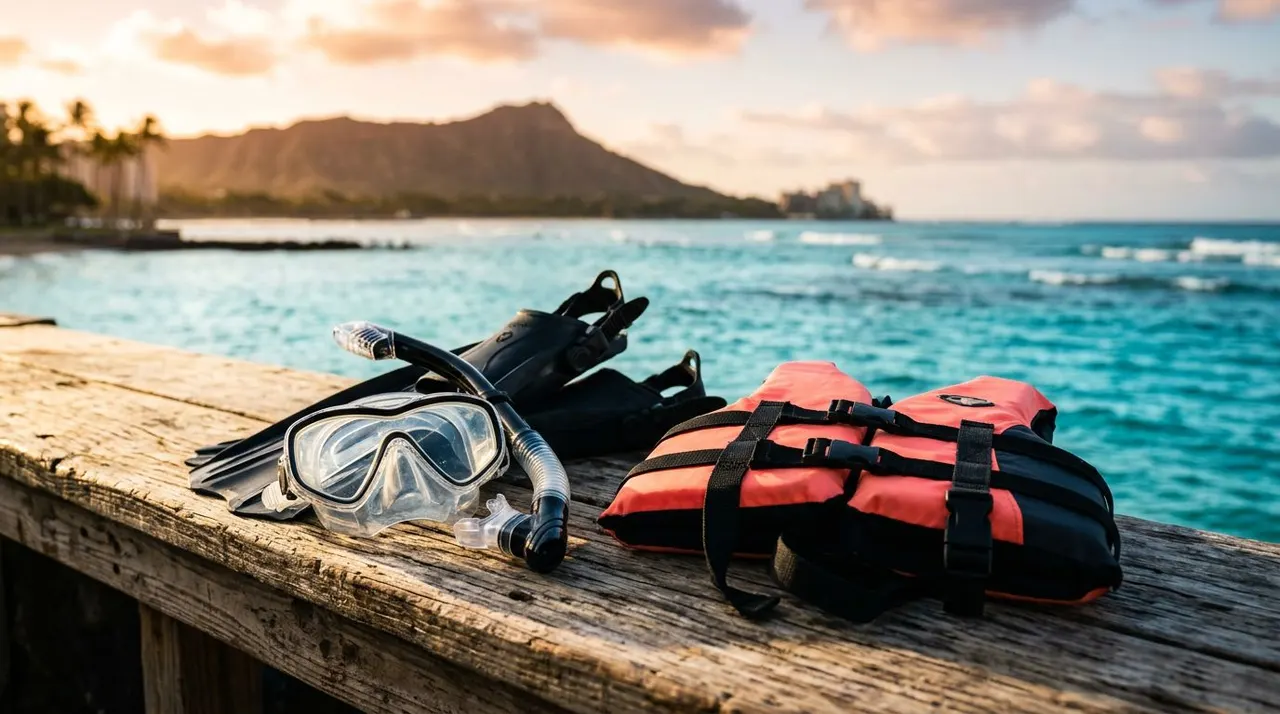
A poor-fitting mask can ruin an otherwise beautiful morning in the water. Before choosing Waikiki snorkeling gear rentals, check the seal, snorkel, fins, and safety equipment instead of grabbing the first package available.
Rental gear should feel comfortable before you reach the reef. You also need to know what the price includes, how the equipment was cleaned, and whether the shop offers help with sizing. A few minutes of inspection can make breathing easier and keep your attention on Hawaii’s clear water.
Key Takeaways
- Test the mask seal before leaving the rental counter.
- Check the snorkel mouthpiece, purge valve, and dry condition.
- Choose fins that stay secure without pressing your toes.
- Confirm whether flotation equipment, prescription lenses, and replacement support are included.
- Consider a guided boat tour if you want professional instruction, easier reef access, or help spotting marine life.
Waikiki Snorkeling Gear Rentals: Start With the Mask
Your mask deserves the first inspection because even a small leak can fill the lens with water. Hold it gently against your face without using the strap, then inhale through your nose. A properly fitting mask should stay in place for several seconds.
Check the silicone skirt around the frame. It should sit flat against your forehead, cheeks, and the bridge of your nose. Hair caught under the seal can create a leak, so move long hair away from the mask edge before testing it.
Next, inspect the lens. Look for cracks, deep scratches, cloudy areas, or loose parts around the frame. Small cosmetic marks may not matter, but heavy scratches can make it harder to see fish and coral in bright sunlight.
The strap should adjust smoothly and hold its position. If it slips loose when you pull lightly, ask for another mask. You shouldn’t need to tighten the strap excessively. Too much pressure can cause discomfort and may work against the seal.
A tight mask isn’t always a good mask. A correct fit comes from an even seal, not from pulling the strap as hard as possible.
Test the Snorkel Before You Swim
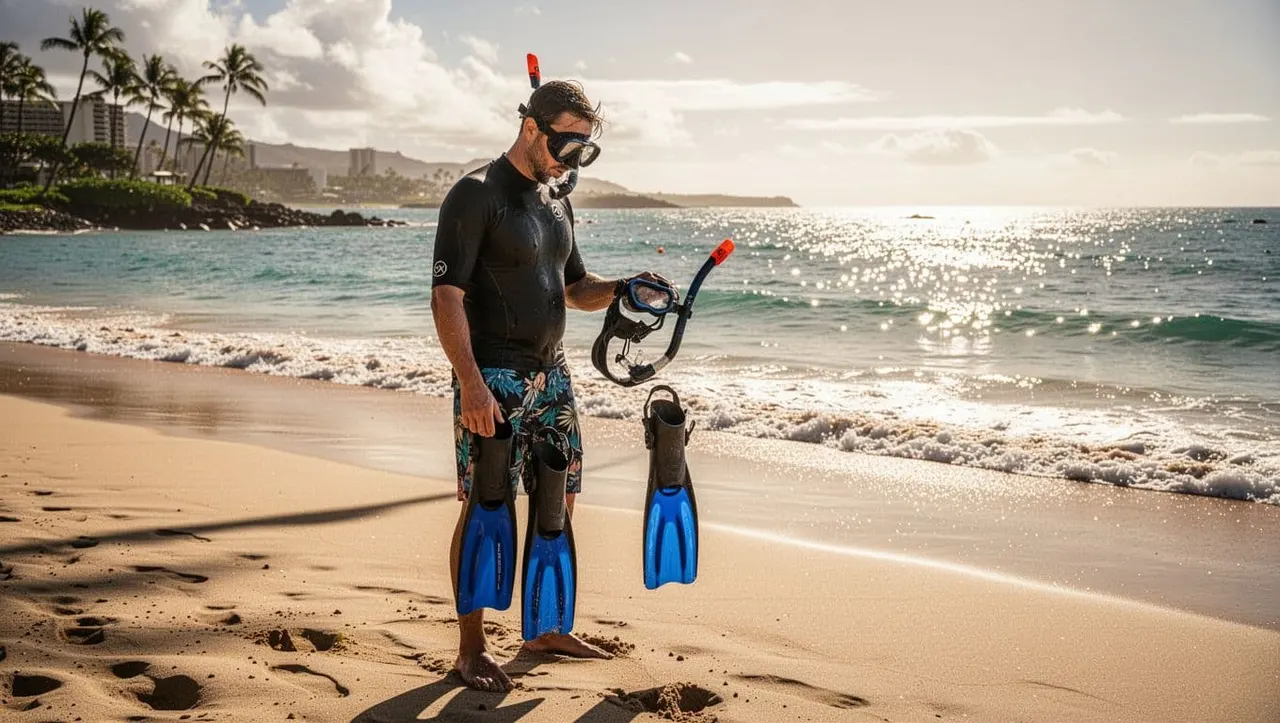
Look through the snorkel tube before using it. The opening should be clear, and the tube shouldn’t contain sand, standing water, or visible residue. Check the mouthpiece for splits, rough edges, or signs that the silicone has become stiff.
If the snorkel includes a purge valve, make sure the valve cover sits correctly. A purge valve helps drain water, but it doesn’t replace proper breathing technique. Ask the rental staff to demonstrate how the equipment works if you’re unsure.
The mouthpiece should rest comfortably between your teeth without forcing your jaw open. Children often need smaller equipment because an adult mouthpiece can feel uncomfortable and may make breathing harder.
Some snorkels include a splash guard or a dry-top design. These features can reduce water entering from above, but they won’t stop every wave. You still need to lift your head calmly and clear the tube when necessary.
Choose Fins for Control, Not Maximum Size
Fins should stay on your feet when you kick, but they shouldn’t pinch your toes or rub your heel. Try them with the same type of socks you plan to wear in the water. A bare-foot fit can feel different from a boot-style fin fit.
Move your ankle and make a few slow kicking motions while standing on a safe surface. Your heel shouldn’t slide out. At the same time, the foot pocket shouldn’t create sharp pressure across your toes.
Long fins can produce more power, but shorter fins may feel easier for beginners and children. If you’re swimming near a boat ladder or a crowded shoreline, control matters more than speed.
Ask whether the rental shop has open-heel fins with adjustable straps. These can offer a more flexible fit for families sharing equipment, although every person still needs to test the size before entering the water.
Check Cleanliness, Condition, and What’s Included
Ask how the mask, snorkel, and mouthpiece are cleaned between users. A reputable rental provider should explain its sanitation process clearly. If the answer is vague, request a freshly cleaned set or choose another provider.
Inspect each piece under good light. Look for:
- Torn mask straps or cracked buckles
- Split fin pockets or loose foot straps
- Damaged snorkel clips
- Brittle silicone around the mask
- Sand inside the snorkel or purge valve
- Missing flotation equipment or loose adjustment straps
You should also ask what happens if a strap breaks during your rental period. Some shops offer exchanges, while others expect you to return to the store. Knowing the policy matters if you’re walking to a beach or traveling to another part of Oahu.
Confirm the rental period, return time, late fees, and deposit rules. Ask whether the package includes a mesh bag, defog solution, prescription mask options, reef-safe sunscreen guidance, or flotation support. These details can change the total value of the rental.
For a local comparison, you can review the equipment and rental policies listed by Snorkel Bob’s Hawaii rental locations. You don’t need the cheapest package if it lacks support or properly maintained equipment.
Price also shouldn’t be your only filter. A low daily rate can become less appealing if you need to pay separately for fins, a vest, replacement parts, or transportation. Compare the complete package before making a decision.
Decide Whether You Want a Rental or a Guided Tour
Renting gear works well when you already swim comfortably, know where you’ll enter the water, and want to set your own schedule. It gives you flexibility for a short beach session or several separate outings.
A guided boat trip can be a better choice when you’re new to snorkeling, traveling with children, or hoping to see wildlife without guessing where to look. You receive help with equipment, water entry, and basic snorkeling skills. You also avoid carrying wet gear through Waikiki after your swim.
Living Ocean Tours departs from Kewalo Basin Boat Harbor, a short drive from Waikiki Beach. The company offers guided ocean experiences with professional snorkel guides, and its crew works with first-time snorkelers as well as experienced swimmers.
The Turtle Canyon Snorkel Excursion focuses on a natural underwater cleaning station known for Hawaiian green sea turtle sightings. Living Ocean Tours reports a 95% success rate for spotting turtles on this experience. You receive the necessary gear and guidance, so you can focus on breathing steadily and observing the reef.
For families who want more activity, the Deluxe Waikiki Snorkeling and Wildlife Cruise adds access to a less-crowded reef, a boat-mounted water slide, a water trampoline, and a floating lily pad. The Lokahi vessel also has shaded seating, restrooms, dry storage, heavy-duty ladders, and a SeaKeeper stabilization system that helps reduce rolling on the water.
Both choices can lead to a good day on the water. The right option depends on whether you value independent timing or expert support.
Prepare for Waikiki’s Water Conditions
A rental shop can provide equipment, but you still need to choose a suitable entry point and check current conditions. Wind, waves, visibility, and water movement can change throughout the day. If you’re inexperienced, ask a local professional whether the planned beach area is appropriate for your group.
Avoid standing on coral or touching marine life. Hawaiian green sea turtles need space, and coral can suffer damage from a single careless kick or handhold. Keep your fins below the surface, use a controlled flutter kick, and watch where you place your hands.
Apply reef-conscious sunscreen before entering the water, and follow local guidance about products and marine protection. Secure loose belongings before swimming. If you feel tired, cold, anxious, or short of breath, return to shore or alert your guide.
Families should check every child’s mask and fin fit before leaving the rental counter. A child who struggles with a leaking mask may become frightened quickly. A calm practice session in shallow water can help, but only where conditions are safe and permitted.
Your Quick Gear Check Before Paying
Use this short inspection before you accept a rental set:
- Press the mask to your face and test the seal without the strap.
- Inspect the lens, skirt, strap, and buckles for damage.
- Check that the snorkel tube and mouthpiece are clean and clear.
- Try both fins with the socks or footwear you’ll use.
- Confirm whether flotation gear and defog solution are included.
- Ask about exchanges, return times, deposits, and damaged equipment.
- Take a quick photo of existing damage if the shop’s policy allows it.
These checks take only a few minutes. They can prevent discomfort, extra charges, and a wasted swim.
Choose Gear That Lets You Enjoy the Ocean
Good Waikiki snorkeling gear rentals should fit your face, stay secure, and arrive clean. Before you pay, test the mask seal, inspect the snorkel, check the fins, and confirm exactly what the package includes.
If you want more guidance, Living Ocean Tours provides equipment and professional snorkel guides aboard Coast Guard-inspected vessels near Waikiki. Whether you rent independently or join a guided Turtle Canyon trip, respectful wildlife viewing and comfortable gear will help you enjoy the Pacific without taking unnecessary risks.