Whale Watching Waikiki: Upper or Lower Deck Photos
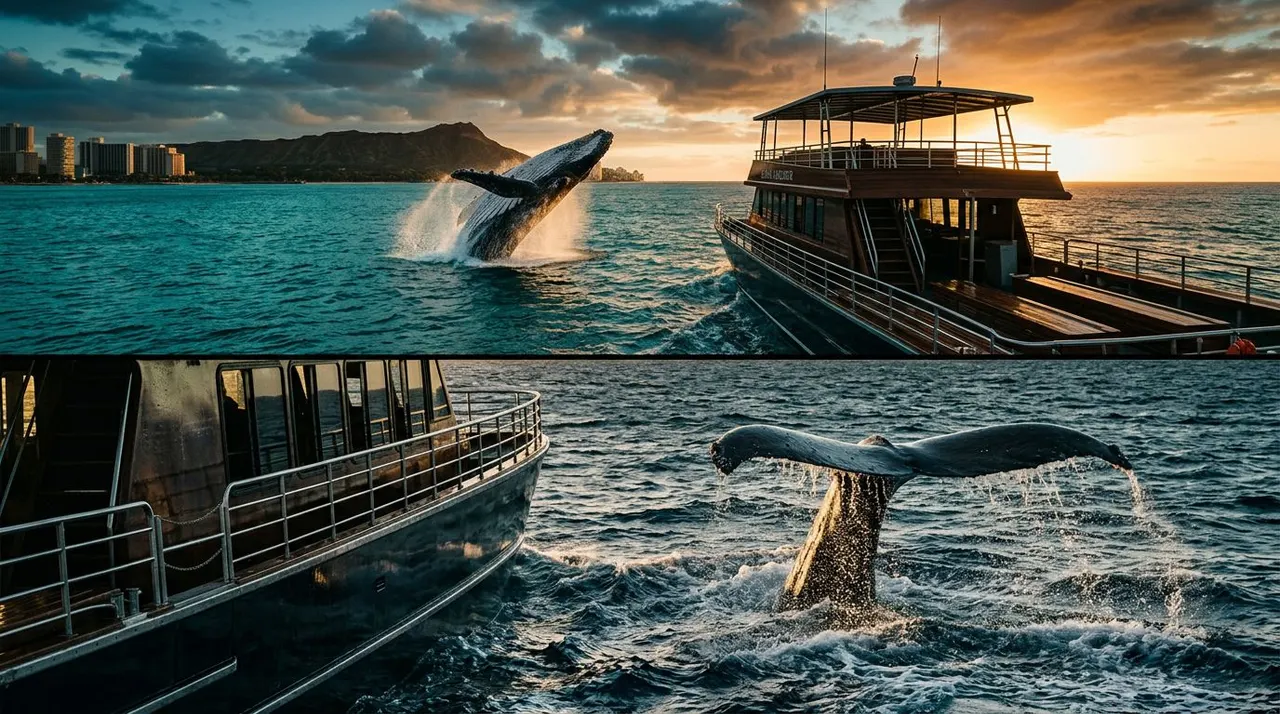
Your best whale photo often happens in a few unscripted seconds, when a spout breaks the horizon or a tail rises clear of the water.
On a whale watching Waikiki cruise, your deck choice affects what you see, how steady you feel, and how quickly you can frame the action. An upper deck gives you a broad view, while a lower deck can make the boat’s movement easier to manage.
Choose your spot based on the photos you want, the conditions you expect, and who is traveling with you.
Whale Watching Waikiki: How the Two Decks Change Your Photos
A double-decker boat gives you two distinct viewpoints. The upper deck places you above rails and other guests, while the lower deck keeps you closer to the water and usually nearer the boat’s center of movement.
Use this quick comparison before you board.
| Photo priority | Better starting deck | Why it helps |
|---|---|---|
| Wide ocean views and breaches | Upper deck | You get a clearer horizon and more room around the whale. |
| Steadier handheld shots | Lower deck | You usually feel less of the boat’s movement. |
| Photos with Diamond Head or coastline | Upper deck | The higher angle makes it easier to include the background. |
| Shade, family comfort, and screen visibility | Lower deck | Cover can reduce glare and offer a more relaxed base. |
Neither deck guarantees a closer encounter. Humpbacks choose when and where they surface, so your best position is the one that lets you stay patient, comfortable, and ready.
Choose the Upper Deck for a Wider Photo Angle
Get a clear line over the rail
The upper deck is usually the better choice when you want open-water compositions. You can scan farther across the surface, follow a whale’s travel direction, and frame a spout without another guest’s shoulder entering the shot.
Height also helps when a whale breaches farther away. Leave generous space around the subject because a full breach can rise higher than expected. A wider starting frame gives you a better chance of capturing the splash, too.
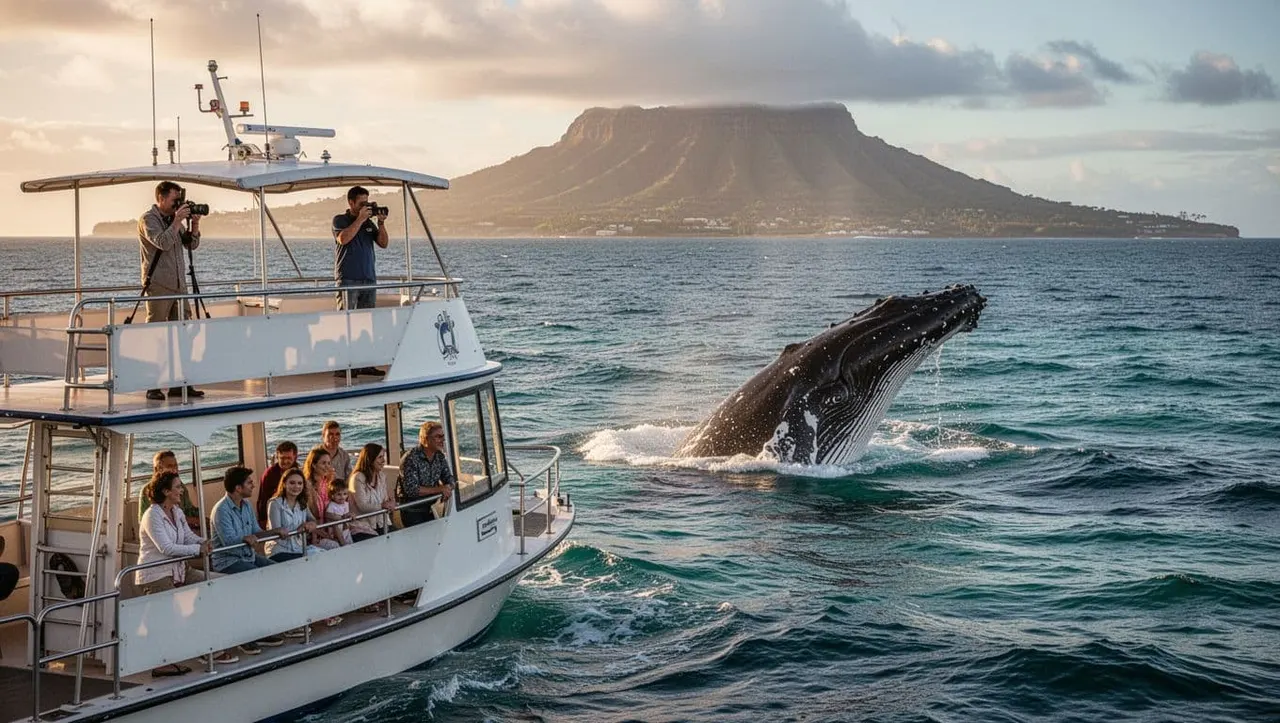
A high viewpoint works especially well for photos that place a whale against a clean horizon, blue water, and the Oahu coastline. If you are hoping to include Diamond Head, watch for the side of the boat with the strongest sightline after the crew shares its plan.
Prepare for wind and more movement
The same elevation that improves your view can make the boat’s motion more noticeable. Wind can also push hair, hats, camera straps, and loose clothing into your frame.
Use a wrist or neck strap and keep your camera close until the whale surfaces. If the deck is busy, step aside after you take a sequence so other guests get a clear view.
A higher deck changes your sightline, not your distance from the whale.
Upper-deck photographers should favor wide to medium focal lengths. A very long lens magnifies every roll of the boat and makes it harder to keep a fast-moving whale in frame.
Pick the Lower Deck When Stability Matters
Keep your camera steadier
A lower deck can be a smart choice when you are prone to motion sickness, traveling with children, or using a heavier camera body. You are lower on the vessel, so the roll often feels less dramatic than it does above.
Shade is another practical advantage. It can make your phone screen easier to see and reduce harsh glare on a camera display. It also gives you a comfortable place to wait through the quiet stretches between sightings.
Lower-deck shots can have a more intimate water-level feel. However, check your view before the first sighting. A rail, support post, or group at the bow can block the exact angle you need.
Let the crew guide your position
The captain and crew watch whale movement, water conditions, and other vessels. When they point out a spout or direct guests to one side, move promptly and give children extra space near the rail.
You don’t need to press against the front of the boat. A clear side angle often gives you a better composition, especially when the whale travels parallel to the vessel.
For whale watching Waikiki trips with family members, the lower deck gives you an easy home base. You can keep a bag stowed, protect your camera from spray, and still move when the action shifts.
Time Your Cruise for Better Light and Activity
Let light shape your deck choice
Winter conditions off Waikiki can change quickly. A bright morning may bring crisp blue water and clean visibility. Later trips can create warmer light, but sun angle and glare may be more difficult to manage.
If you love coastal landscapes, upper-deck photos often benefit from early light. If you are focused on whale details, look for a position where the sun is behind or beside you rather than directly in front of your lens.
Humpbacks visit Hawaii during the winter months. NOAA’s Hawaii winter whale photo journal shows the variety of marine life that can appear in local waters during that season. For trip planning, see this Waikiki whale watching season guide before you finalize your dates.
Watch for behavior, not just a splash
A whale may surface once, breathe several times, and disappear beneath the water. Keep your camera pointed toward the last sighting area, but don’t lock into a tiny frame.
A spout is often the first visible clue. After you see one, widen your composition and watch for a dorsal fin, tail slap, pectoral fin wave, or a second surface nearby.
No deck placement can predict a breach. Still, an alert photographer with a wide frame often has a better chance than someone who begins shooting after the leap.
Set Up Your Camera Before the Whale Surfaces
Use settings that favor speed
Set up your camera before departure, not after the crew calls out a whale. For interchangeable-lens cameras, start with continuous autofocus and burst shooting. A shutter speed around 1/1000 second is a practical starting point for tail slaps and quick surface action.
Use a moderate ISO if clouds or shade lower the light. A 70-200mm lens is flexible, although a shorter zoom can be easier on a moving boat. Skip the urge to zoom all the way in right away.
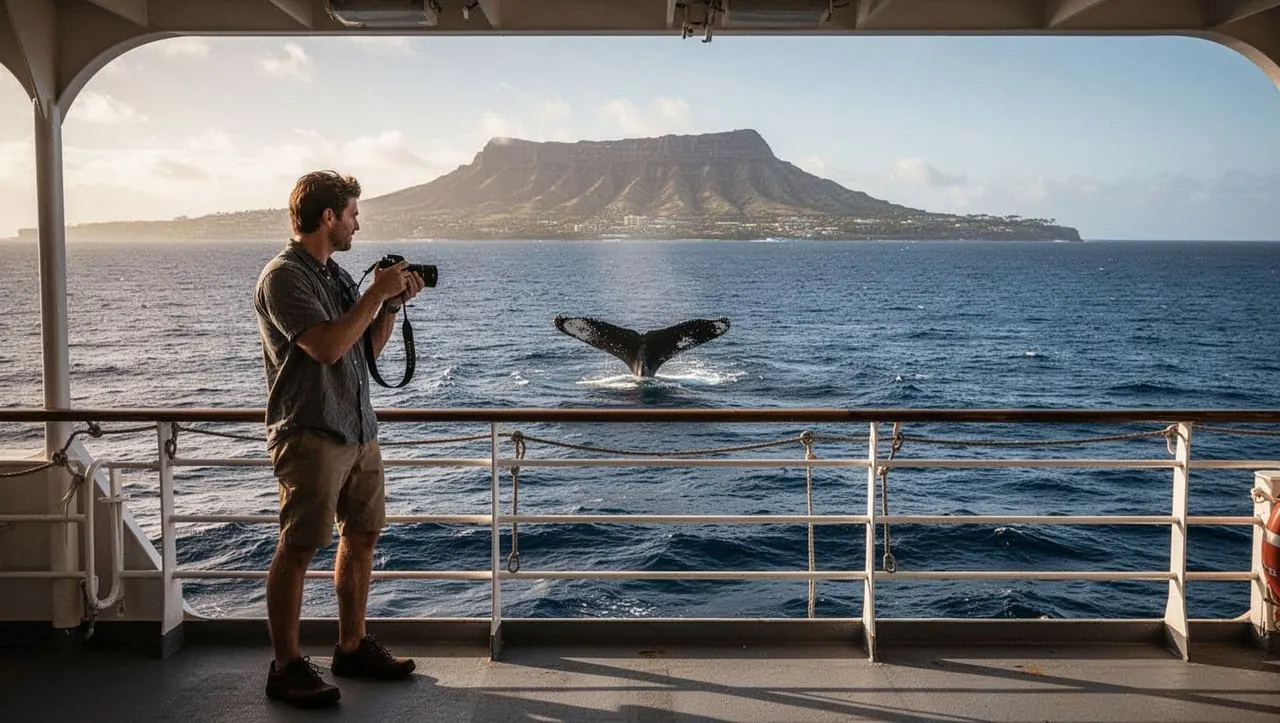
With a phone, clean the lens before leaving the harbor. Use the standard camera lens when possible, hold the phone securely, and avoid heavy digital zoom. A sharp, wider image is easier to crop later than a blurry close-up.
Shoot a short sequence, then look up
Take a short burst when the whale surfaces, then lower your camera long enough to watch with your own eyes. This helps you follow the animal’s direction and avoid missing the next moment because you were reviewing a screen.
Keep a microfiber cloth in a pocket or dry bag. A few drops of salt spray can soften every photo in a series. Wipe the lens gently before the next sighting.
For a breach, shoot vertically if the whale is close enough to fill the frame. Otherwise, stay horizontal and leave room above the waterline.
Photograph Humpbacks With Care
Respect Hawaii’s 100-yard rule
A close photo is never worth disturbing a whale. In Hawaii, federal regulations prohibit approaching humpback whales within 100 yards by vessel, land, or air. Review NOAA’s humpback whale viewing rules before your cruise.
Your captain chooses a lawful viewing position and adjusts the boat around whale behavior. Let the crew handle the distance. Avoid asking them to move closer, chase a whale, or cut across its direction of travel.
The strongest image often shows the whale within a larger ocean scene. That composition also tells the honest story of a wild animal moving freely through its habitat.
Share the rail and skip flash
Keep your gear compact when guests gather at one side of the boat. Lower your camera between sightings, and let kids move forward when it is safe.
Never use flash on wildlife. In addition, don’t throw anything into the water or try to get a whale’s attention. NOAA’s vessel-safety guidance around whales offers useful reminders for responsible viewing.
Respectful distance protects the whale and gives every guest a calmer experience.
Choose a Comfortable Waikiki Whale Watch
Your deck preference matters more when the boat gives you space to settle in. Living Ocean Tours departs from Kewalo Basin Boat Harbor, minutes from Waikiki, for seasonal humpback trips from January 2 through March 31.
The Coast Guard-inspected double-decker fleet includes shaded seating, onboard restrooms, dry storage, and easy-access ladders. If the Lokahi operates your departure, its SeaKeeper stabilization system helps reduce rolling, which can make handheld photography more comfortable.
For a dedicated outing, book the Whale Watch Waikiki cruise. If you are planning more time on the water, you can also browse Honolulu ocean tours and cruises. Living Ocean Tours is also the only tour company with professional snorkel guides if you plan to add a reef experience to your vacation.
Book early and stay flexible
Reserve early if your visit falls during peak whale season, especially if you are traveling with a group. Booking near the beginning of your vacation can also leave room to reschedule around weather when needed.
When you are ready to reserve your whale watch, CHECK AVAILABILITY.
Pick the Deck That Fits Your Shot
An upper deck is ideal when you want open horizons, broad ocean views, and room for a possible breach. A lower deck is often better when you value shade, steadier framing, and a more relaxed place for your family.
Whales won’t follow a script, so your strongest photo comes from staying prepared rather than chasing a perfect prediction. With the right deck, a ready camera, and respectful distance, your whale watching Waikiki memories can look as good as they felt.