Waikiki DSLR Camera Tips for Salt Spray Days
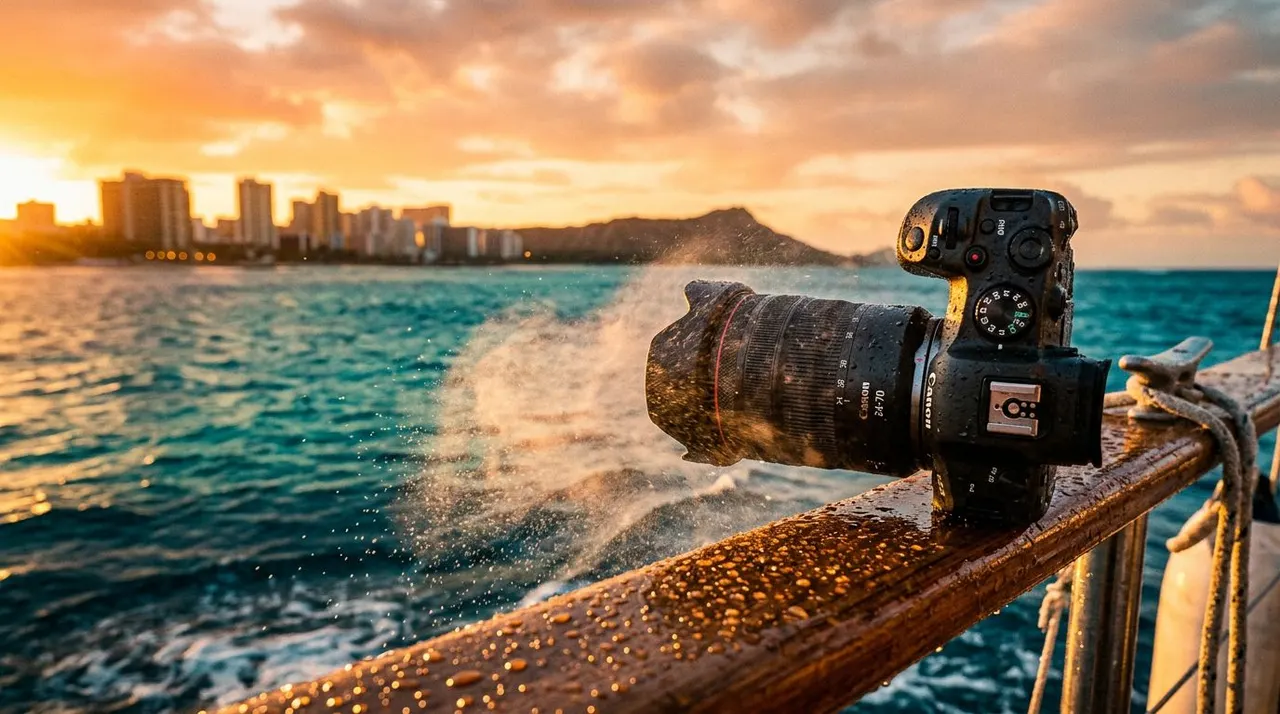
Salt spray can turn a clean DSLR into a mess in minutes. One gust, one wave slap, and suddenly your front element has tiny crystals on it.
If you’re shooting a boat tour near Waikiki, you need more than good timing. You need a setup that handles motion, glare, wet hands, and fast-changing light without slowing you down. These Waikiki DSLR camera tips will help you keep your gear safe and your photos sharp.
Living Ocean Tours makes it easy to get on the water near Waikiki, but your camera still needs a plan. The right prep keeps you ready for whales, turtles, skyline views, and sunset color.
Pack the camera bag for salt spray
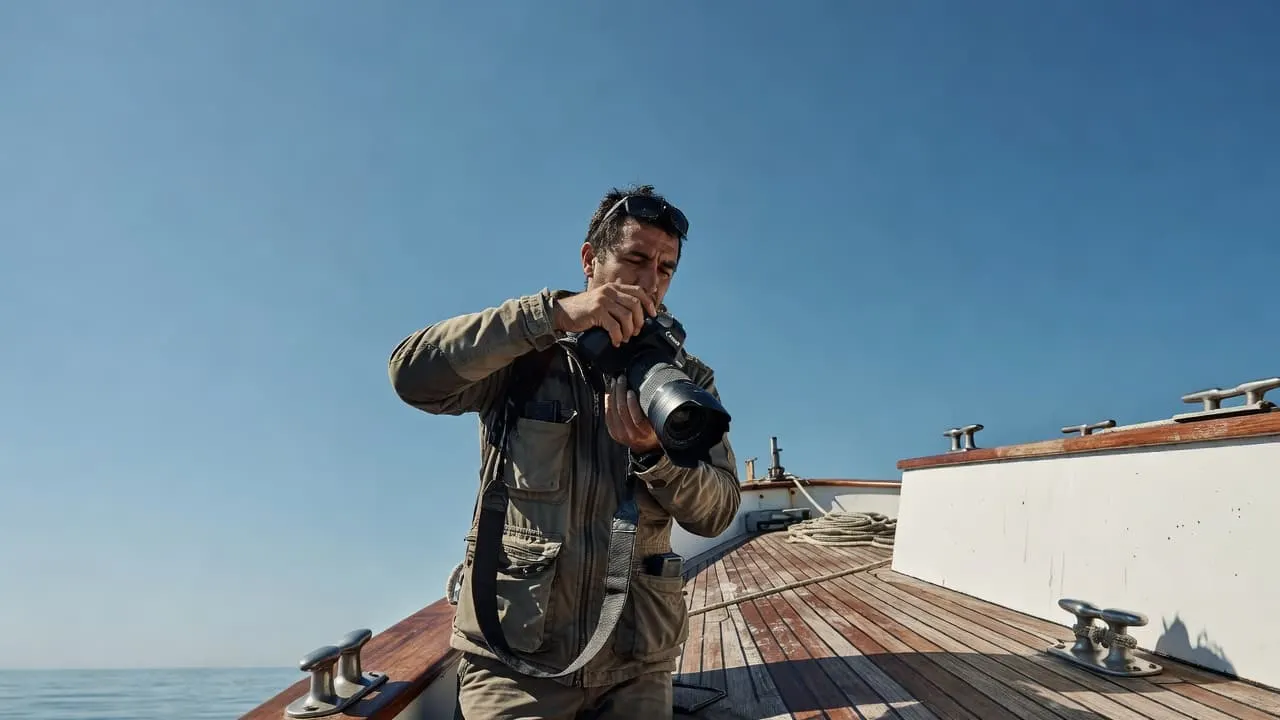
You want your bag set up before you step aboard. Once the boat starts moving, you don’t want to dig around for cloths, batteries, or caps while spray hits the deck.
A good boat-day kit starts with a weather-sealed body, if you have one. Then add a lens that can handle most scenes without a swap. That alone cuts down your risk.
| Gear | Best use on a boat tour | Why it helps |
|---|---|---|
| Weather-sealed DSLR body | Spray, wind, and quick deck movement | Gives you a buffer when mist hits |
| 24-70mm zoom | People, boat details, and mixed scenes | Covers most shots without changing lenses |
| Wide-angle lens | Skyline, boat deck, and sunset frames | Captures more of the scene in tight spaces |
| Microfiber cloths | Fast lens cleanup | Safer than using your shirt sleeve |
| Dry bag or padded pouch | Storage between shots | Keeps the body protected when you move around |
A lens hood belongs in your bag too. It helps block stray spray and cuts some glare. A UV filter can add a small layer of protection, but it doesn’t replace careful handling.
Salt crystals dry fast, and they’re harder on glass than they look.
Keep a few silica packets in the bag. Also keep a spare battery in a small inner pocket. Salt air and wind drain gear faster than a calm day on land.
For a field-tested look at protecting camera gear on a boat, see this boat camera safety guide.
Set DSLR controls before the boat moves
Your settings matter more on the water than they do on land. The boat tilts, the light shifts, and your subject can change in a second.
Start with a mode that gives you speed control. Aperture priority works well for a lot of boat trips because it lets you react fast. If wildlife or surf action is your goal, shutter priority can help too.
Use these settings as a strong starting point:
- Continuous autofocus for moving boats, people, and wildlife.
- Burst mode when a subject may break the surface or turn toward you.
- Auto ISO with a ceiling you trust, often 3200 or 6400.
- Shutter speed around 1/1000 for action, spray, or flying birds.
- Shutter speed around 1/500 for people on deck and slower scenes.
If the water is bright, your camera may overexpose the sky. Dial in a little negative exposure compensation, often -1/3 or -2/3 stop. That keeps the highlights under control.
Set white balance to auto if you plan to edit RAW files later. If you’re shooting JPEG, watch the color on your first test frames. Warm tropical light can fool the camera into leaning too blue or too yellow.
A quick test shot before departure helps a lot. Check the histogram, zoom in on the LCD, and make sure focus is landing where you want it. Ten seconds now can save a lot of missed frames later.
Shoot through spray, glare, and motion
Salt spray days reward patience. You don’t need to fight the boat. You need to work with it.
Stand with your back or shoulder toward the wind when you can. That simple move keeps spray away from the front element. It also gives you a steadier stance.
Brace your elbows against your ribs or the rail. Bend your knees slightly. Then take the shot in a smooth motion instead of reaching out with one hand. That helps with blur, especially when the deck rocks under you.
Keep the lens hood on while you shoot. It blocks some stray light and gives the front of the lens a little more cover. If a burst of spray hits, wipe the glass with a clean microfiber cloth, not your shirt.
Don’t swap lenses on an open, wet deck unless you have no choice. Every lens change gives salt a chance to get inside the body. If you know you’ll need more than one lens, plan the swap during a calm stretch or back in the cabin.
Wildlife needs space too. You’ll get better photos when you watch first and shoot second. That means keeping your hands off the animals and giving them room to move. Observing, not touching keeps the scene calm and protects the marine life you came to see.
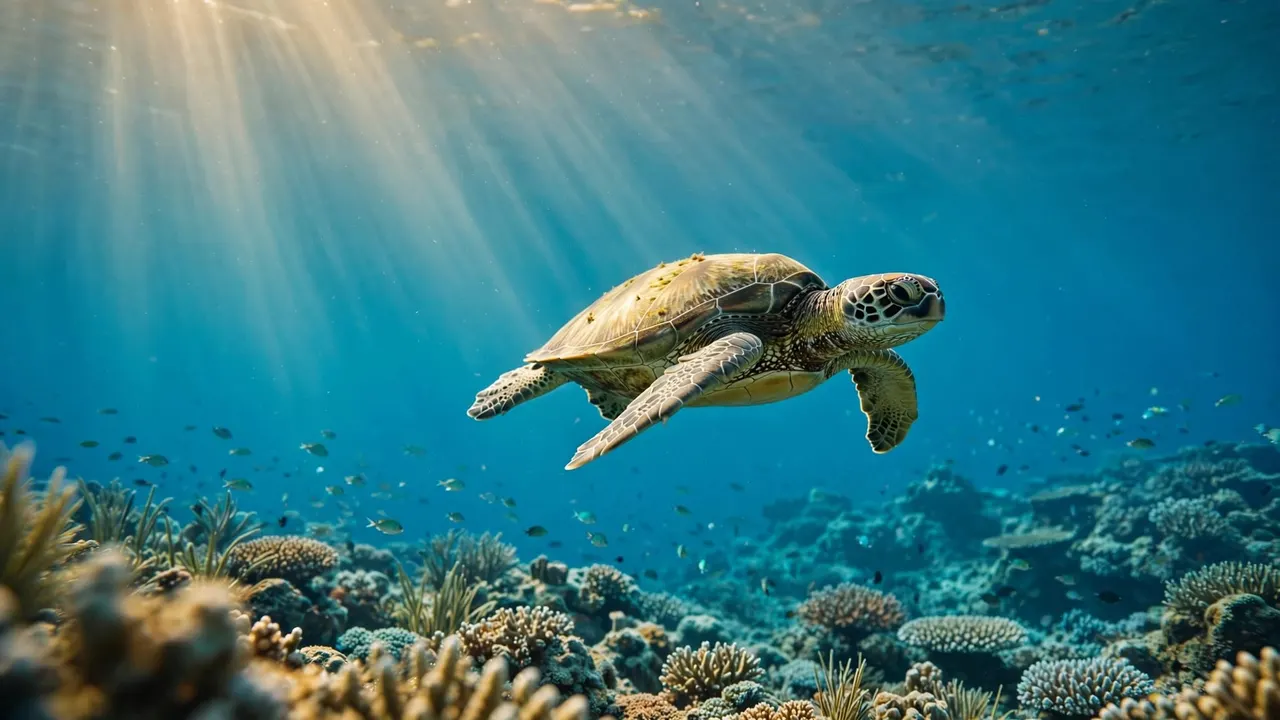
If a turtle surfaces near the boat, fire a short burst, then pause. Chasing the frame can push you into bad angles and shaky camera work. The better shot is often the one you wait for.
Frame Waikiki so the scene works for you
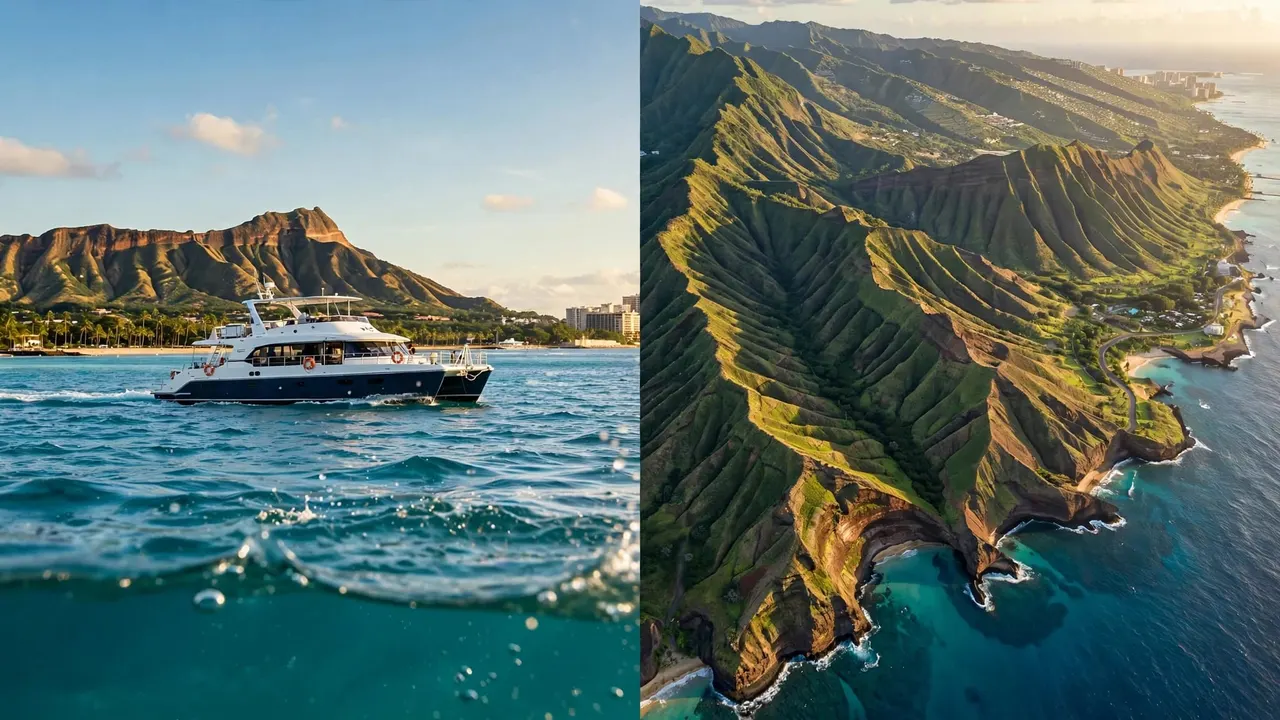
Boat photography around Waikiki gives you more than wildlife. You also get open water, skyline edges, Diamond Head, and the long lines of light that hit the ocean at sunset.
The trick is to stop treating the boat like a problem. Use it as part of the composition. A rail, wake pattern, or deck line can lead the eye into the frame.
Wide shots work well when you want context. Tight shots work when a turtle, whale breach, or sailboat detail takes center stage. If you only zoom in, you may miss the story around the subject. Let the background breathe a little.
Morning light is often crisp and clean. Late afternoon gives you warmer tones and softer shadows. Sunset is the easiest time to get dramatic color, but it can trick your meter. Expose for the sky when the clouds are glowing, then let the foreground go a little darker if needed.
A boat tour with room to move helps a lot. That’s where ocean tours in Honolulu make a difference, because you need space to pivot, kneel, and keep your balance while the scene changes.
Try these framing ideas as you work:
- Put the horizon level unless you want a strong tilt on purpose.
- Leave space in front of moving subjects.
- Use the wake as a line that pulls the viewer into the image.
- Keep a few shots wide enough to show the boat and the coast together.
The goal is simple. You want Waikiki to feel alive in the frame, not crowded by your lens.
Pick a boat that helps your camera
The boat you choose changes the kind of photos you can get. A steadier deck means fewer blur issues, easier framing, and less stress about your gear.
Living Ocean Tours runs from Kewalo Basin Boat Harbor, just minutes from Waikiki Beach in Honolulu. The company is eco-conscious, family-friendly, and built for guests who want a real ocean day without feeling rushed. It’s also the only tour company with professional snorkel guides, which matters when you want both safety and clear guidance on the water.
The fleet helps too. The Coral Kai gives you open deck space, and the Lokahi includes the SeaKeeper stabilization system. That extra steadiness makes it easier to hold a frame, watch your horizon, and keep your camera dry while the boat moves.
If you want turtle shots, the CHECK AVAILABILITY link for Turtle Canyons is a strong match. If you want softer light and a skyline backdrop, the CHECK AVAILABILITY sunset cruise fits that plan better.
A crew that knows the water can also help you move at the right time. That matters when you’re balancing a camera, a view, and changing light all at once.
Clean, back up, and edit before the salt dries
Don’t wait until the next day to clean your gear. Salt gets harder to remove once it dries.
Start with a blower, then a clean microfiber cloth. Wipe the lens hood, front element, and body seams. Avoid spraying water directly onto the camera. If you have salt on the strap or bag, wipe those parts down too.
Back up your files as soon as you can. A boat day can give you great frames, but memory cards don’t care how good the light was. Copy the files to a laptop or drive before you sort them.
If you shoot RAW, you’ll have room to refine the look. Pull back highlights on the water, warm the white balance a little, and add contrast with care. You want the image to feel clean, not over-processed.
A few edits help most boat photos:
- Trim tiny dust spots in the sky.
- Lower blown highlights on bright water.
- Add a touch of clarity to boat rails or wave texture.
- Keep skin tones natural if people are in the frame.
Don’t sharpen the water so much that it looks harsh. Waikiki light already gives you texture. Your job is to keep that texture smooth and real.
If you spot a dirty sensor after the trip, clean the gear at home or take it to a shop. The boat is not the place for a full sensor job.
A simple workflow for your next salt-spray day
You’ll get better results when your day follows the same rhythm every time. That way, you spend less energy thinking about the gear and more energy watching for the shot.
- Pack the DSLR, lens cloths, and spare battery in a dry bag before you leave.
- Set your mode, autofocus, and ISO ceiling before boarding.
- Keep the lens hood on and shoot from the sheltered side of the boat.
- Wipe the front glass after bursts of spray or mist.
- Back up your files and clean the camera as soon as you get back.
That routine is simple, but it works. It gives you fewer lens changes, fewer surprises, and fewer blurry frames.
It also helps you stay calm. A calm photographer sees better. When your hands know the next step, your eyes can stay on the water.
Conclusion
Salt spray doesn’t have to ruin your DSLR day on Waikiki. When you pack smart, set your camera before departure, and shoot with the wind in mind, you stay ready for the real moments.
The cleanest frames come when your gear is protected and your attention stays on the scene. If you choose a steady boat, keep your hands off the wildlife, and clean up before the salt dries, your photos will hold their detail and color.
The best Waikiki boat photos usually go to the photographer who is ready before the wave reaches the lens.