Whale Watching Oahu: Camera Settings for Fast Breaches
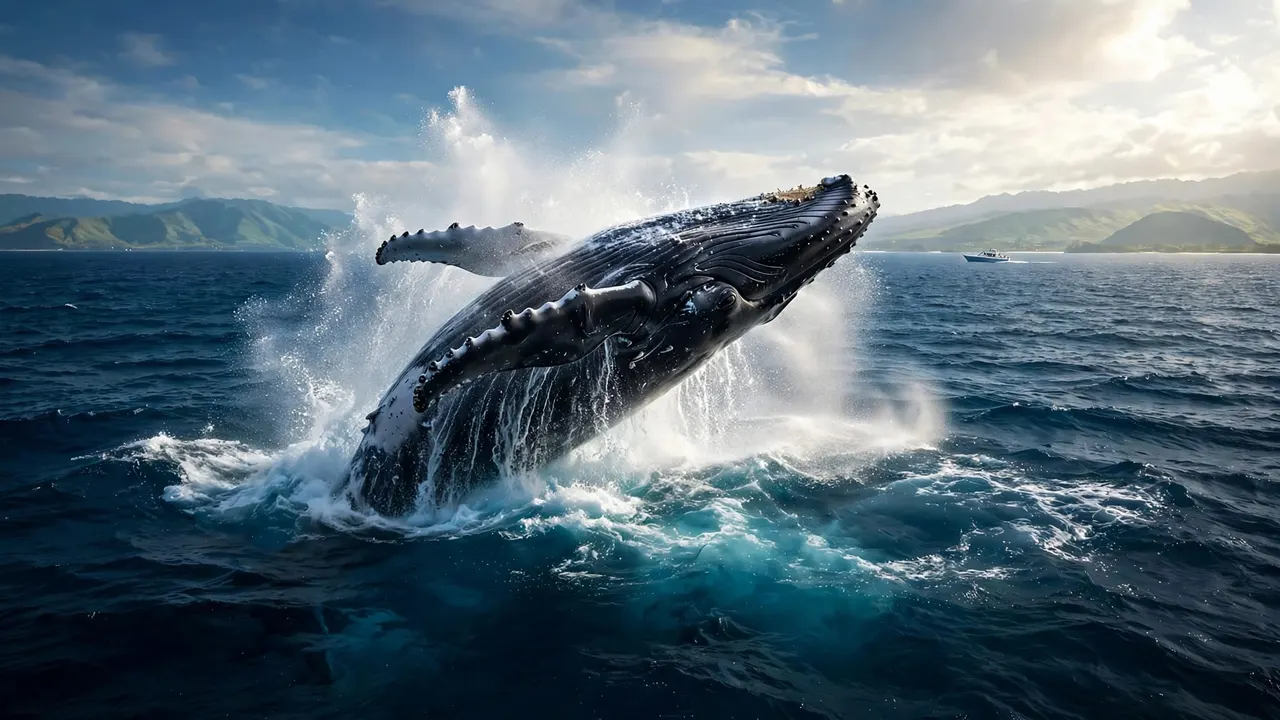
A humpback can leave the water while you’re still raising your camera. If you’re planning a whale watching Oahu trip with Living Ocean Tours, the best photo starts before that moment: set a fast shutter speed, leave room around the whale, and keep watching the water.
You don’t need to spend the cruise staring through a viewfinder. A few settings and a patient eye will help you react when the Pacific suddenly turns white with spray.
Spot the whale before the breach
The Hawaiian Islands Humpback Whale National Marine Sanctuary says visitors can see whales in Hawaii from November through April. Living Ocean Tours schedules its seasonal Waikiki whale watches from January through March. Whenever you go, a breach is possible, but no crew can promise one.
Scan with your eyes first
Watch broad sections of water instead of holding a long lens to your face. A blow, a dark back, or a patch of disturbed water may reveal where a whale has surfaced. Binoculars can help you inspect a distant sighting, but your unaided view catches movement across more of the horizon.
Once you spot activity, bring up your camera and keep both eyes aware of the surrounding water. The whale may surface somewhere else next.
Treat each surface as a chance, not a countdown
A whale that has surfaced repeatedly might seem ready for a dramatic leap. It can also dive, travel, or disappear behind a swell. Keep your settings ready without assuming its next move.
For whale watching Oahu, that patience matters as much as quick reflexes. If you wait to change modes until you see whitewater, the whale may already be falling back into the sea.
Camera settings for whale watching Oahu breaches
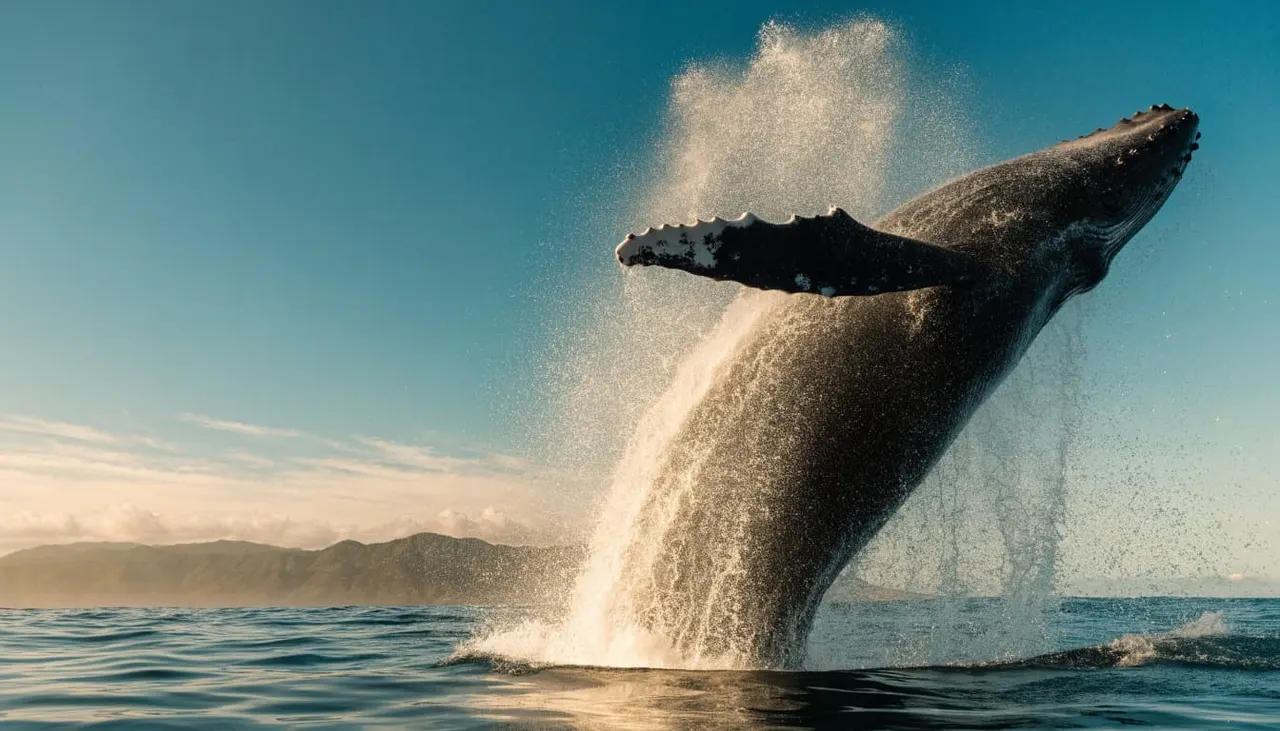
A fast-moving whale and a moving boat both challenge your camera. Use these as starting settings, then check your results and adjust for the light and your equipment.
Set shutter speed for the jump
Start around 1/1600 to 1/2500 second if the light allows. That range gives you a chance to freeze the whale and much of the spray. In bright sun, try 1/3200 second for sharper droplets. If the sky darkens, a slightly slower shutter may be preferable to a severely underexposed frame.
Shutter priority is useful when you’re learning because you can choose the speed while the camera handles exposure. If your camera offers manual exposure with Auto ISO, that gives you direct control over shutter speed and aperture while ISO responds to changing light.
Let ISO rise when it needs to
Try an aperture around f/5.6 or f/8 if your lens and available light permit. A little extra depth of field helps when autofocus lands on spray or a nearer part of the whale. Your lens may have a different widest aperture, especially at the long end of a zoom.
Then let Auto ISO compensate. A sharp photo with some noise is usually more satisfying than a smooth, blurry breach. Take a test shot of distant water, review its brightness, and check whether white spray has lost all detail.
Keep focus ready for sudden movement
A breach gives you little time to acquire focus. Set your camera up while the horizon is quiet, so you can respond to the first splash instead of searching through menus.
Choose continuous autofocus and a forgiving focus area
Use continuous autofocus, often called AF-C or AI Servo, so the camera can adjust as your subject moves. Start with a tracking zone or expanded focus area rather than a tiny single point. It gives you more room to pick up a whale that enters the frame unexpectedly.
Animal-eye detection can be helpful when a whale is close enough for the camera to recognize it. At a distance, the eye may be invisible. If tracking hunts against open water, return to a conventional focus area and aim at the whale’s body. For more on matching focus modes to moving subjects, see Reed Hoffmann’s autofocus guide.
Shoot short bursts, then look up
Set continuous shooting and fire brief bursts as the whale rises and falls. You improve your odds of catching the peak without filling your camera’s buffer before the next movement. Keep pressing the shutter through the splashdown if you have space.
Watch the action rather than immediately reviewing each frame. When the whale dives, check a few images for sharpness and exposure. Then clear your attention for the next sighting.
Frame wide enough to keep the whole whale
The longest focal length isn’t always your best choice. A tight frame can cut off a fluke, a pectoral fin, or the sheet of spray that gives a breach its scale.
Leave space above and around the splash
If you’re using a zoom, begin wider than you think you’ll need. You can crop a sharp image later, but you can’t restore part of a whale that landed outside the frame. Place the active patch of water away from the edge so there’s room for an upward leap.
A 70-200mm or 100-400mm zoom can give you flexibility, depending on your camera and how far away the whale is. Neither range guarantees a close-looking image. Responsible viewing distance comes first; your framing has to work with it.
Keep a little ocean in the story
A wide frame can show the height of a jump, the surrounding water, and perhaps Oahu’s coastline. If a whale is distant, aim for a clean composition rather than enlarging it until the image falls apart.
For whale watching Oahu photos, a clear silhouette above blue water may tell the story better than a heavily cropped patch of spray. Take a few wider shots between close attempts, especially if you’re traveling with someone who wants a sense of the whole scene.
Build a stable shooting position on the boat
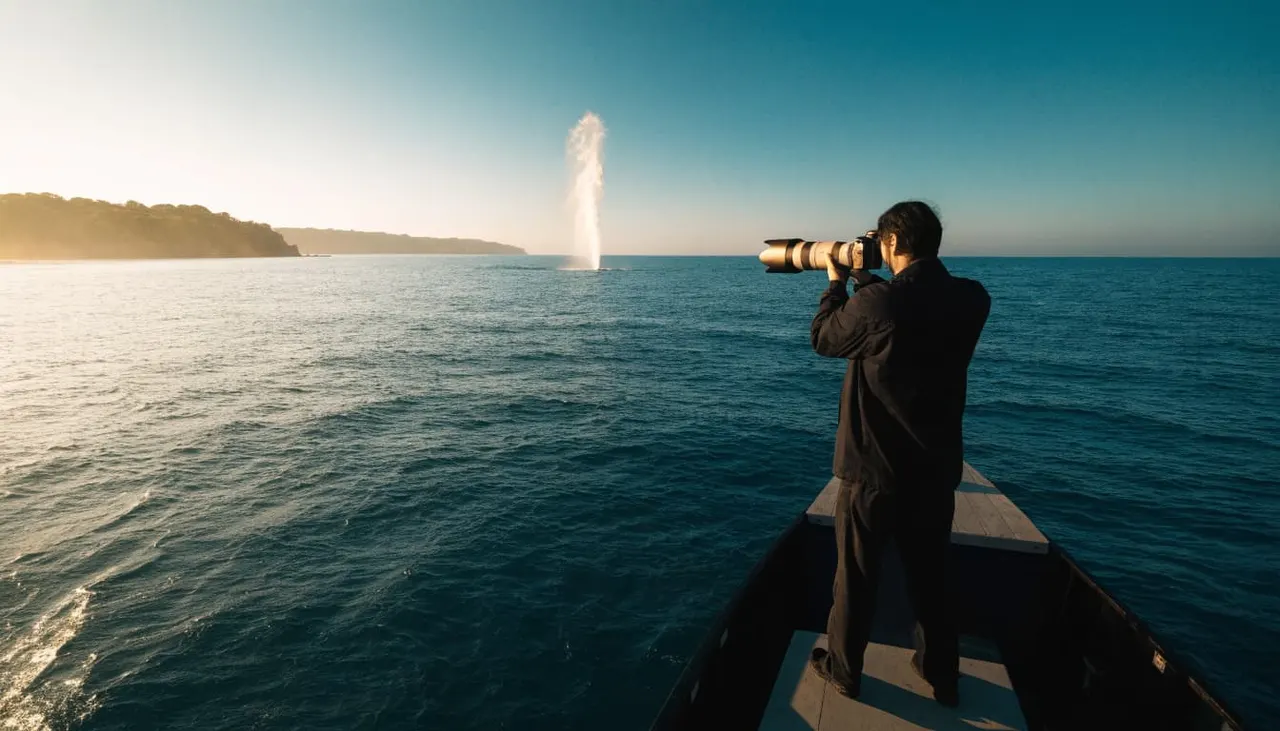
Your camera can stabilize small hand movements, but it can’t stop a boat from rolling or freeze a jumping whale. Give yourself a safe stance before activity starts.
Steady yourself without fighting the vessel
Stand where the crew permits, keep your knees slightly bent, and hold the camera close enough to control it. Use a secure strap. If you move to another viewing spot, lower the camera first and use a free hand for the railing.
Avoid bracing a long lens against a vibrating rail. A tripod also takes up deck space and can become awkward as the boat moves. On a shared cruise, a comfortable hand-held position is often the more practical choice.
Watch the horizon and your neighbors
A tilted horizon is easy to miss when you’re following a whale through a viewfinder. Leave enough space to level the image when editing. At the rail, give other guests a sightline and follow crew directions about where to stand.
When whale watching Oahu with children, settle them in a safe viewing place before you start tracking through the lens. Your photo can wait while everyone gets steady.
Handle glare, spray, and phone photography
Sunlight on the Pacific can make exposure change quickly as you turn the camera. A dark whale against bright water may need a different adjustment than white spray against a shaded coastline.
Protect highlights and your lens
Review a test image in bright conditions. If the spray looks like a blank white patch, reduce exposure slightly and check again. If the whale becomes too dark, raise it carefully. Your camera’s highlight warning or histogram can help when the rear screen is hard to see.
Keep a clean microfiber cloth accessible for salt spray, and avoid changing lenses on an exposed deck. A dry bag protects spare gear between sightings. Even one drop on the front element can leave a soft blur across a frame you otherwise timed perfectly.
Give your phone a fair chance
If you’re using a phone, select its burst or motion-photo feature before whales appear. Use an optical telephoto option if your phone has one, but skip excessive digital zoom. Hold the phone securely and include more water than you think you need.
You may miss the fastest breach, and that’s fine. Lower the screen now and then. Seeing a humpback rise with your own eyes is part of the trip.
Photograph humpbacks without crowding them
A longer lens helps you photograph a distant whale. It doesn’t change the rules for approaching one. NOAA’s 100-yard humpback approach rule prohibits approaching a humpback within 100 yards in Hawaii.
Let the captain manage the vessel’s position. Don’t ask the crew to chase a whale for a tighter frame, and never enter the water to approach one. If a whale moves toward the boat, follow the crew’s instructions rather than trying to arrange a photo.
Whale watching Oahu works best when the encounter stays on the animal’s terms. You’ll have time to notice a quiet blow or tail lift as well as the rare, explosive jump.
Plan your Waikiki whale watch with Living Ocean Tours
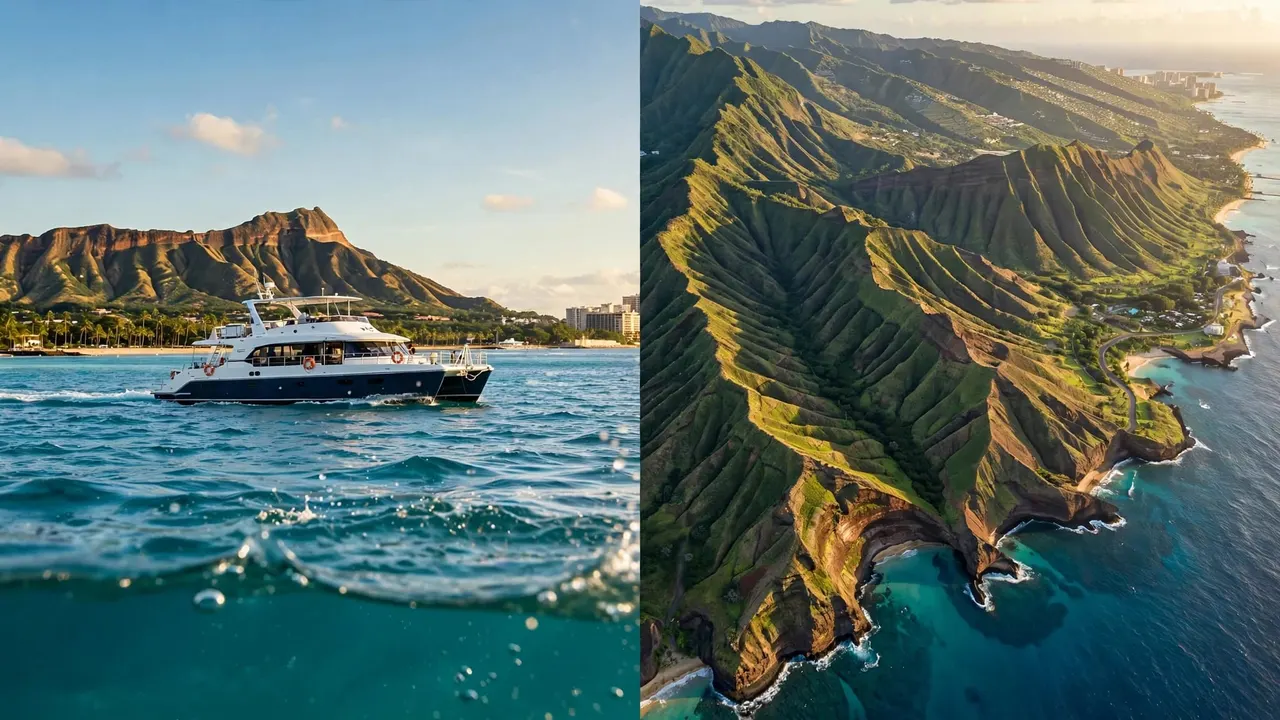
Living Ocean Tours departs from Kewalo Basin Boat Harbor, minutes from Waikiki. Its seasonal cruises give you a chance to watch for humpbacks along the coast while the captain and crew handle the search. You can compare its Oahu ocean tours and whale watches when planning your time on the water.
The company’s double-decker vessels offer open viewing areas, shade, restrooms, and dry storage. Living Ocean Tours is also the only Oahu tour company with professional snorkel guides, who lead its in-water experiences. On a whale watch, listen to the crew’s deck and wildlife-viewing guidance.
Bring a light layer, sun protection, and a secure camera strap. If boat motion affects you, prepare before departure and let the crew know early if you feel unwell. A comfortable trip makes it easier to stay alert through the quiet stretches between sightings.
You can CHECK AVAILABILITY for a seasonal Waikiki whale-watching departure.
Key takeaways for breach photography
- Set a fast shutter speed, continuous autofocus, and burst shooting before you spot a whale.
- Find activity with your eyes first, then raise the camera and leave room around the subject.
- Check exposure and lens cleanliness during quiet moments, not while a whale is moving.
- Respect the captain’s directions and the 100-yard approach rule, even when you want a closer photo.
Common camera questions
Should you use a phone or a dedicated camera? Use the one you can operate quickly and securely. A camera with a telephoto zoom gives you more framing options at a distance. A phone is easier to carry and can still capture a memorable wide shot if it’s ready when the action starts.
Will image stabilization freeze a breach? No. It can reduce blur from your hands, but the shutter speed must account for the whale’s movement. Keep stabilization on if your equipment supports it, then prioritize a fast shutter.
Is morning always better for photos? Choose the departure that fits your trip rather than counting on a particular hour. Light, glare, wind, and the whale’s position can change throughout an outing. A ready camera matters more than a perfect forecast.
Bring home the photo, and the moment
A breach may last seconds, but you can prepare well before it happens. Start with a fast shutter, dependable focus, a wide frame, and a safe place to stand.
Then give the water your attention. The best whale watching Oahu memory might be a sharp photo, or it might be the moment you lowered your camera and saw the whole jump.