Whale Watching Oahu: How to Identify Individual Humpbacks
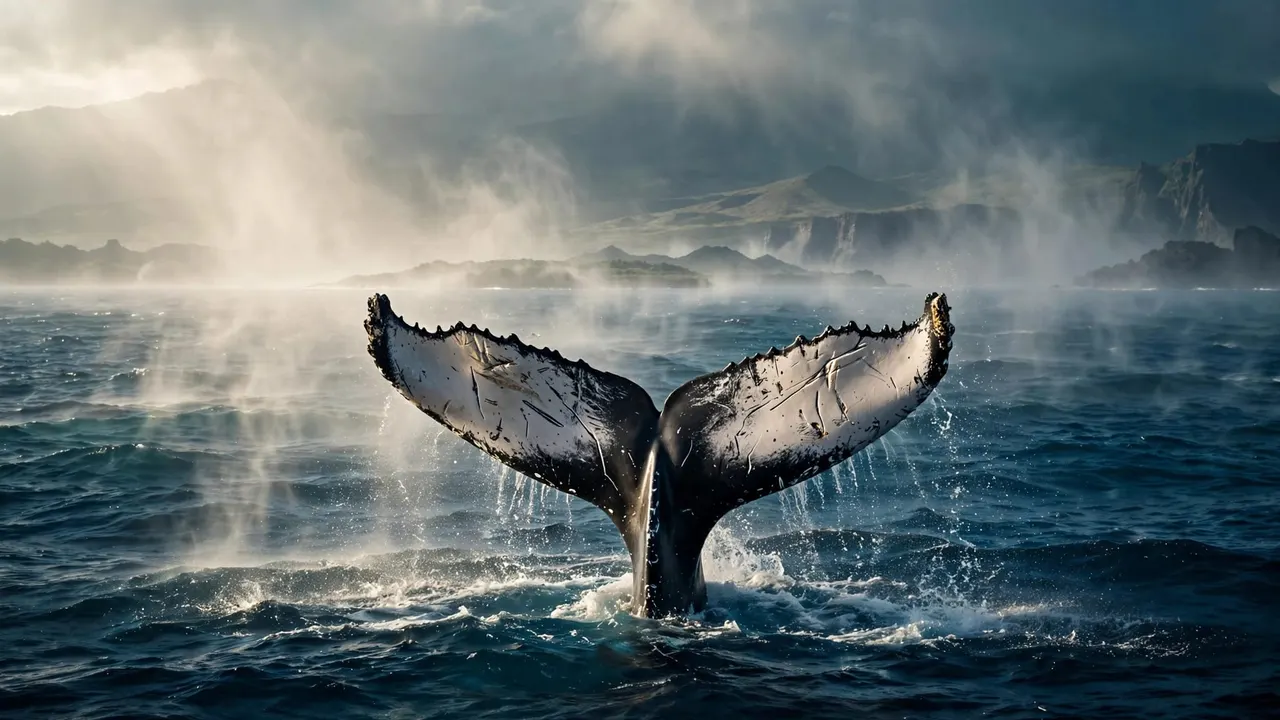
A humpback’s tail may show for only a few seconds, yet those seconds can reveal enough detail to recognize that whale again. During whale watching Oahu, you can learn to look past a dramatic breach and notice the markings, scars, and shapes that make each animal distinct.
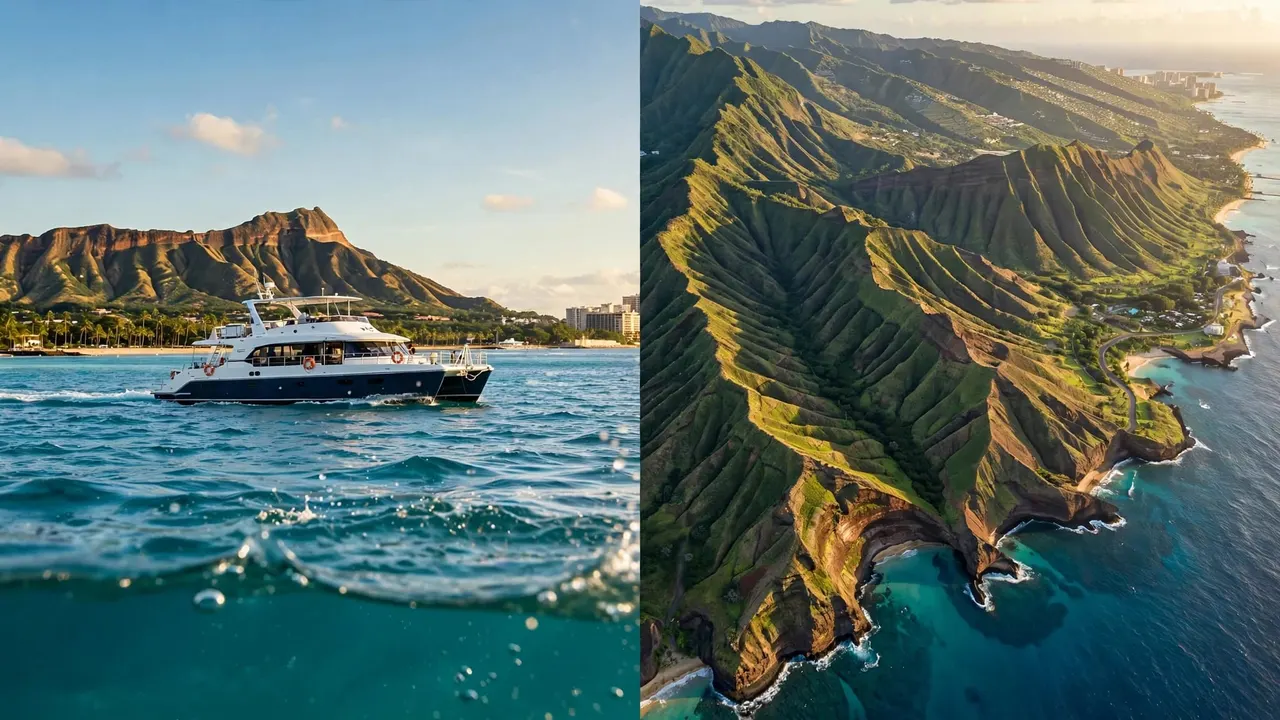
Living Ocean Tours runs seasonal wildlife cruises from Kewalo Basin Boat Harbor, minutes from Waikiki. You get a comfortable place to scan the horizon while the crew gives humpbacks room to choose their own course.
The next time a whale lifts its tail, you’ll know how to turn a fleeting sighting into a meaningful observation.
Whale Watching Oahu Starts With the Tail Flukes
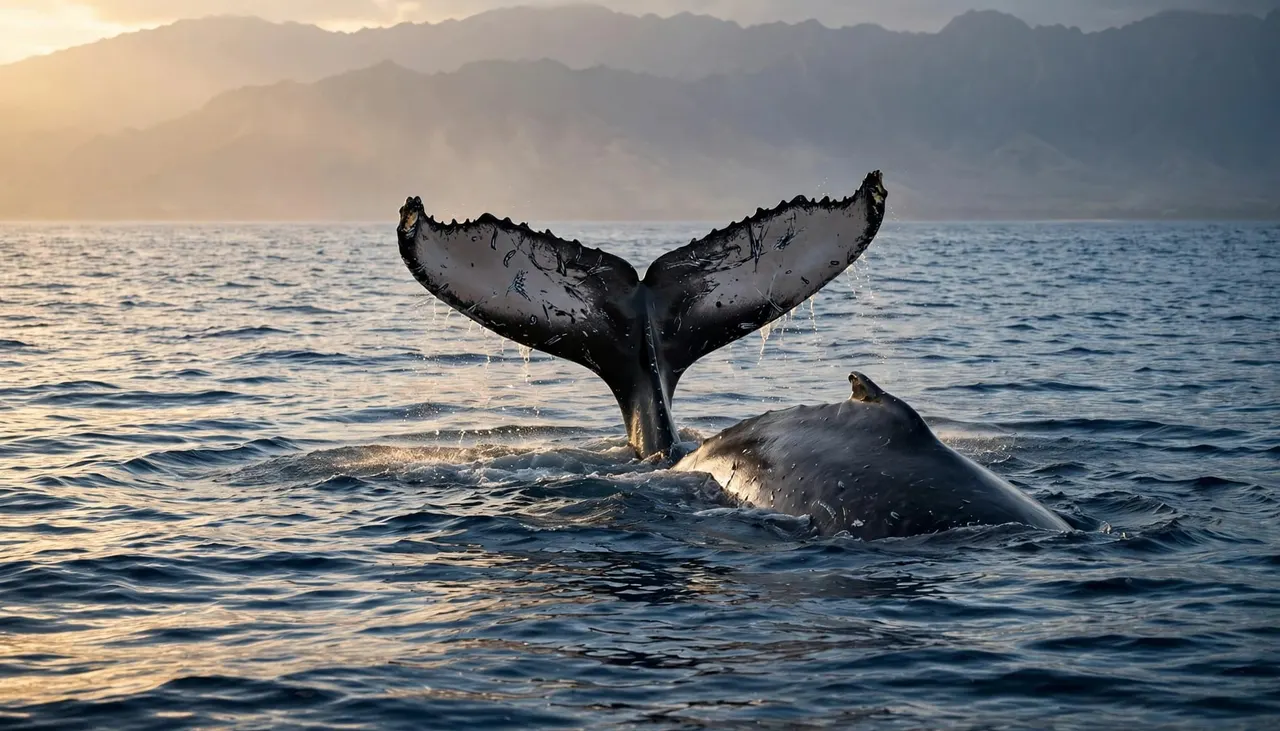
Humpbacks are best known for their broad tail flukes. When a whale begins a deeper dive, it may raise that tail above the surface before slipping beneath the water. This is your best chance to see features researchers use for identification.
Look at the underside, not only the outline
The underside of each fluke carries a different mix of white and black pigment. Some tails are mostly dark with a few pale marks. Others show large white fields, uneven edges, or sharply defined patches.
NOAA Fisheries explains that humpbacks have unique fluke markings, which allow researchers to track the same animal over time. A clear fluke photo can be far more useful than a close-up image of a splash.
Notice scars, notches, and trailing edges
Color patterns matter, but natural wear also helps. Study the fluke’s trailing edge for small notches, missing corners, scars, or a distinctive curve. These details can support a match when the lighting makes pigment hard to see.
Use more than one feature before deciding you have seen the same whale twice.
| Feature | What to notice | Why it helps |
|---|---|---|
| Fluke pigment | White and black patterning | Often provides the strongest identification clue |
| Trailing edge | Notches, curves, and missing sections | Stays visible across many photos |
| Scars | Pale lines or healed marks | Can separate similar-looking tails |
| Dorsal fin | Shape and visible nicks | Supports a fluke-based match |
A whale that never raises its fluke can still leave you useful clues. You simply need to be more cautious about any match.
Compare Supporting Features With Care
Individual identification works best when you treat the fluke as your primary evidence and every other visible feature as support. A dorsal fin, body shape, or behavior can help you organize photos, but none should replace a clear view of the tail.
Use dorsal fins as a secondary clue
A dorsal fin appears when the whale arches its back to dive. Some fins are more curved, taller, or visibly nicked than others. Researchers also use photographic identification of dorsal fins, flukes, and flanks when building records of individual whales.
Still, a fin can look different when the whale is farther away, angled away from you, or partly hidden by swell. Compare it with a fluke image whenever possible.
Match the whole pattern, not one spot
A single white patch can resemble another whale’s mark. Instead, compare the placement, size, and shape of multiple patches across the underside of the tail. NOAA’s humpback recovery plan describes the use of black-and-white fluke patterns for individual identification.
You can also note whether a whale had a calf nearby, traveled in a loose group, or repeatedly surfaced in one direction. Those observations add context, but whales move between islands and change companions. Behavior is never an identity tag by itself.
A tentative match is more honest than a confident mistake. A grainy photo can preserve a memory without proving an identification.
Photograph the Features You Can Compare Later
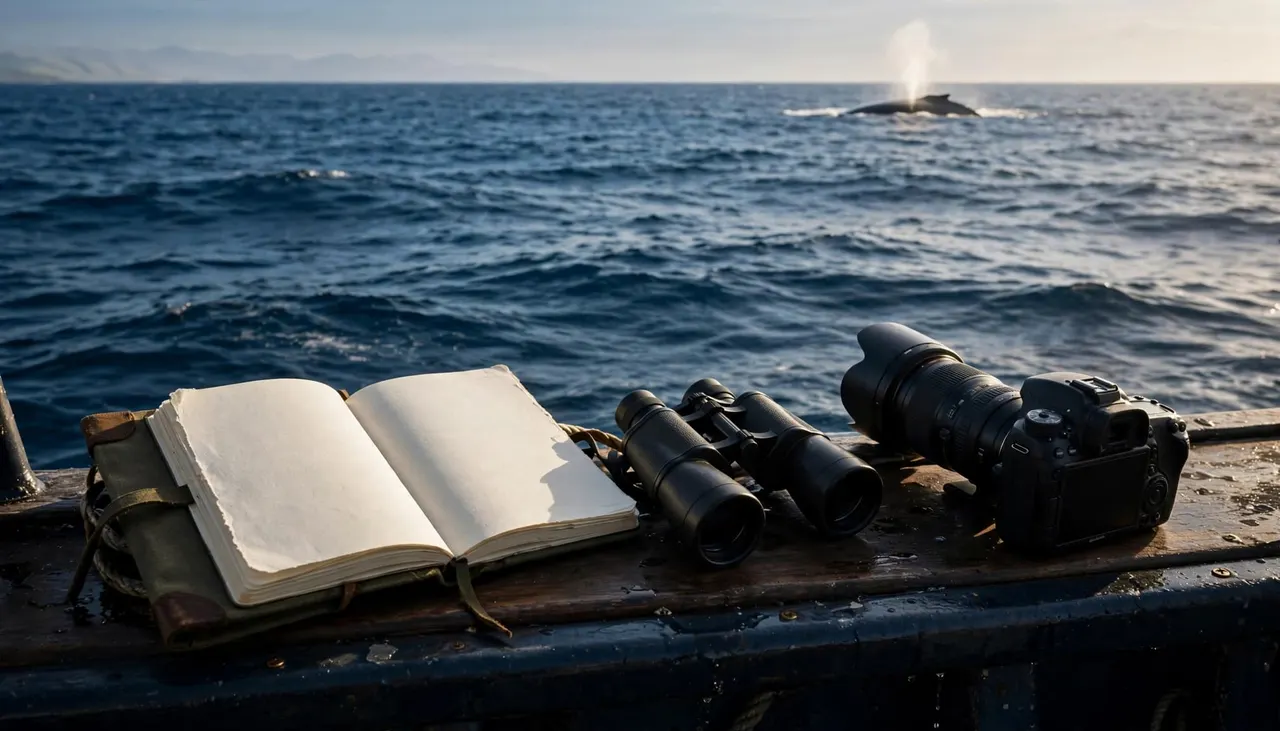
You don’t need professional gear to enjoy whale watching Oahu, but a few simple habits can make your photos more useful. Your goal is a clean record of the whale, not a rushed attempt to fill the frame.
Keep your camera ready for a fluke-up dive
Watch for the whale to lower its head and arch its back. If the movement looks slow and deliberate, keep the camera pointed toward the tail. A raised fluke may follow, although it is never guaranteed.
Use continuous shooting if your device offers it. Take several images rather than relying on one frame. Hold your camera steady, avoid zooming too far, and leave enough ocean around the whale to keep the tail from being cut off.
Record the conditions with the image
After the sighting, note the date, time, approximate location, weather, and direction of travel. Add details such as “fluke raised twice” or “small calf beside larger adult” while the moment is fresh.
If you compare images later, sort them by date before looking for matching marks. A photo taken from the opposite side, under different clouds, can make the same fluke appear darker or lighter.
When you spot a blow, dorsal fin, or tail, NOAA humpback whale guidance recommends staying alert for those visible signs. Patience usually gives you a better image than chasing a sudden movement around the deck.
Give Humpbacks the Space They Need
A careful observer knows when to lower the camera and let the moment unfold. Humpbacks are wild animals that travel, rest, socialize, nurse calves, and change direction without warning.
Let the captain position the boat
Approaching humpback whales is illegal, and you should follow your captain’s instructions at all times. A responsible crew watches the animals’ behavior, maintains appropriate space, and avoids pressuring a whale into a close pass.
That distance also improves the experience. You can watch a whale surface naturally instead of seeing it react to a boat that came too near.
Keep wildlife encounters non-invasive
Never try to swim toward, touch, feed, or call out to a humpback. This matters even more when you see a mother and calf. A calf may surface often beside its mother, but the pair still needs room to travel and rest.
Whale watching Oahu becomes more rewarding when you treat each appearance as wildlife behavior, not a scheduled show. A distant blow, a slow back roll, or a fluke-up dive can be just as memorable as a breach.
Plan a Comfortable Waikiki Whale Watch
Living Ocean Tours offers seasonal Waikiki whale-watching cruises from January through March. The 1.5-hour trips welcome guests ages 3 and up and can accommodate up to 49 passengers, with Waikiki’s coastline and Diamond Head often in view.
Choose comfort for a better horizon scan
A light layer, secure hat, reef-safe sunscreen, sunglasses, and a phone strap can make your time on deck easier. If motion sickness affects you, eat a light meal before departure and ask a pharmacist or doctor about options before travel.
Living Ocean Tours uses Coast Guard-inspected, custom-built double-decker vessels with shaded seating, restrooms, dry storage, and open viewing areas. The Lokahi also has a SeaKeeper stabilization system that reduces boat roll. For snorkeling adventures, Living Ocean Tours is the only tour company with professional snorkel guides.
Book for the season, not a guarantee
January through March is the strongest seasonal window for Living Ocean Tours’ whale trips. However, no ethical operator can promise a whale, a breach, or a mother-and-calf encounter on a particular departure.
Wildlife sets the schedule. Your captain and crew can search responsibly, while you stay ready for the brief surface moments that reveal a whale’s individual character.
Key Takeaways for Identifying Humpbacks
- During whale watching Oahu, prioritize a clear photo of the underside of the tail flukes.
- Compare several details, including pigment pattern, scars, notches, and the tail’s outer edge.
- Use dorsal fins and flanks as supporting evidence, not proof on their own.
- Record the conditions and behavior soon after the sighting.
- Respectful distance protects humpbacks and gives you a better view of natural behavior.
- Treat every possible match as tentative unless the photos show consistent, clear features.
Frequently Asked Questions
Can you identify every humpback you see off Oahu?
No. A whale may stay underwater, surface far away, or show only its back and dorsal fin. Even a visible fluke can be hard to compare if glare, spray, or distance hides the markings.
You can still make a valuable observation. Save your best photos, note the conditions, and avoid assigning a name or identity without strong visual evidence.
Does a tail slap identify a humpback whale?
A tail slap is exciting, but it does not identify an individual whale. You need a clear view of the fluke’s underside, including its pigment pattern and edge shape, for the strongest comparison.
A breach, pectoral-fin slap, or spyhop can help you spot a whale’s position. However, those behaviors can occur in many different whales and change from one encounter to the next.
Let Each Whale Remain Wild
The most useful humpback identification skill is careful attention. Watch for the tail, photograph the marks you can see, and keep your conclusions modest when the evidence is limited.
Whale watching Oahu offers more than a chance for a big splash. When you recognize the details in a fluke and give the animal space, you see a visitor to Hawaii’s winter waters on its own terms.