Waikiki Whale Watching Photography: Breach Settings
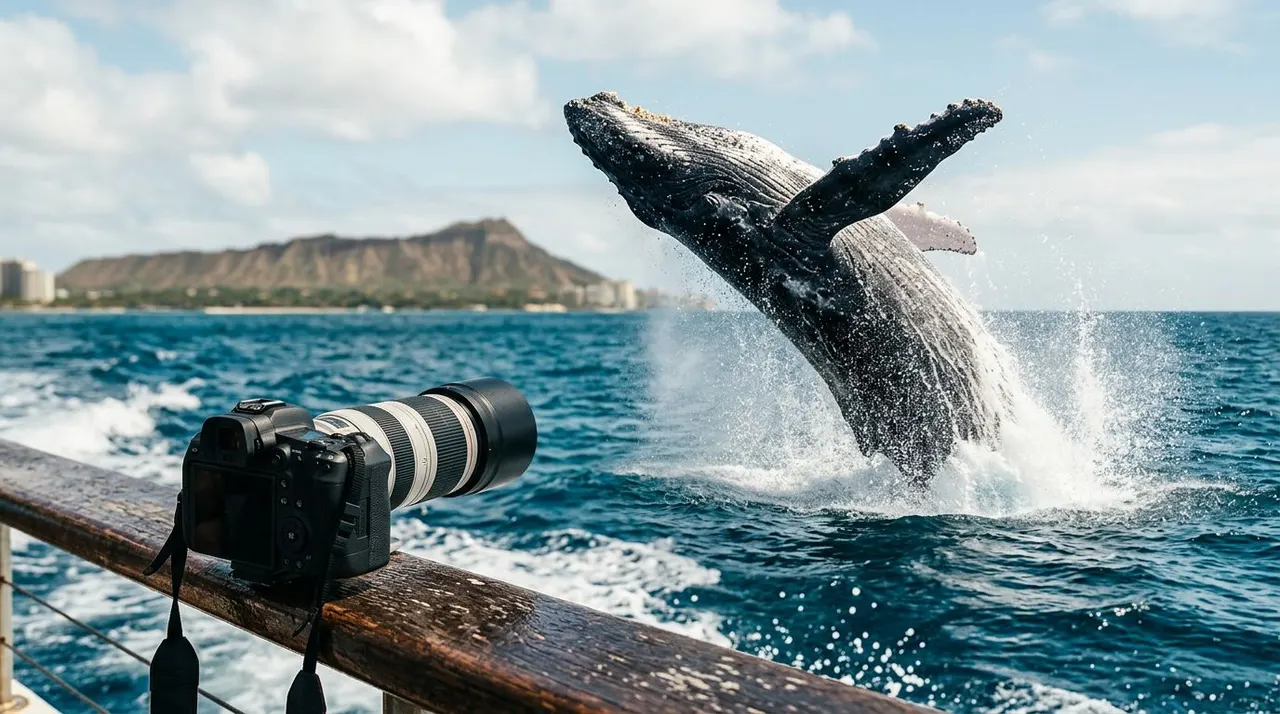
A humpback breach can last only a few seconds, and your camera has to be ready before the whale leaves the water. For Waikiki whale watching photography, the right shutter speed, autofocus mode, and framing matter more than expensive equipment.
Bright Pacific sunlight gives you plenty of exposure to work with, but a moving boat adds shake and makes fast subjects harder to track. Set your camera before departure, keep your lens wide enough for changing distances, and let the crew help you find the action.
Key Takeaways
- Start with a shutter speed between 1/1000 and 1/2000 second for breach photos.
- Use continuous autofocus, burst mode, and Auto ISO with a practical limit.
- Zoom out slightly because a breaching whale can fill the frame quickly.
- Protect your camera from salt spray, then review images after the boat ride.
- Book a whale watching trip during Oahu’s seasonal humpback period, typically January through March.
Prepare Your Camera Before Leaving Waikiki
The best whale photo often arrives while you’re still adjusting a dial. Before boarding, charge your batteries, format your memory card, and choose your shooting mode. If you use a DSLR or mirrorless camera, RAW files give you more control over highlights, shadows, and color during editing.
A telephoto zoom is the most useful lens for whale watching. A 100-400mm lens gives you reach while keeping enough flexibility for a whale that surfaces closer than expected. A 70-300mm lens also works well, especially on a crop-sensor camera. Avoid starting with the longest focal length available because you may lose the whale as it moves through the frame.
Set your camera to shutter priority if you want a simple setup. Choose the shutter speed yourself, then let the camera select the aperture. Manual mode with Auto ISO gives you more control, but shutter priority is easier when clouds pass over the water.
Before the boat leaves, test the following:
- Continuous autofocus, called AF-C on many mirrorless cameras or AI Servo on Canon models.
- High-speed continuous shooting.
- RAW or RAW plus JPEG.
- A center or small tracking area instead of the widest automatic focus mode.
- A fast shutter speed that you can keep steady while standing on deck.
You also need a way to keep the camera accessible. A padded shoulder strap or cross-body harness is safer than placing the camera on a bench. Keep a lens cloth in a sealed pocket, and avoid changing lenses once salt spray reaches the deck.
Camera Settings for Breaching Whales
A breach combines rapid movement, bright water, dark skin, and a constantly shifting background. Your settings should freeze the whale without forcing the camera into an unnecessarily high ISO.
Start with a shutter speed of 1/1000 second. Increase it to 1/1600 or 1/2000 when the light is strong and you want to freeze droplets around the whale. Nikon’s guidance on photographing whales also recommends 1/500 second or faster, but a faster setting gives you more protection against both subject movement and boat vibration.
Use an aperture around f/5.6 to f/8 when the light allows. This range gives you useful depth of field while keeping enough light for a fast shutter. If your lens opens to f/2.8, you can use it in lower light, but you may need to stop down slightly when the whale is angled across the frame.
Auto ISO works well on a boat because the light can change quickly. Set a maximum ISO of 800 in strong sun or 1600 when clouds cover the water. A sharp image with some grain is more useful than a clean image blurred by a slow shutter.
| Camera control | Starting point | Why it helps |
|---|---|---|
| Shutter speed | 1/1000 to 1/2000 second | Freezes a breach and water spray |
| Aperture | f/5.6 to f/8 | Balances light and depth of field |
| ISO | Auto, limit 800 to 1600 | Adjusts for changing sunlight |
| Focus | AF-C or AI Servo | Tracks movement across the water |
| Drive mode | High-speed burst | Captures the sequence around takeoff |
| File type | RAW | Preserves editing flexibility |
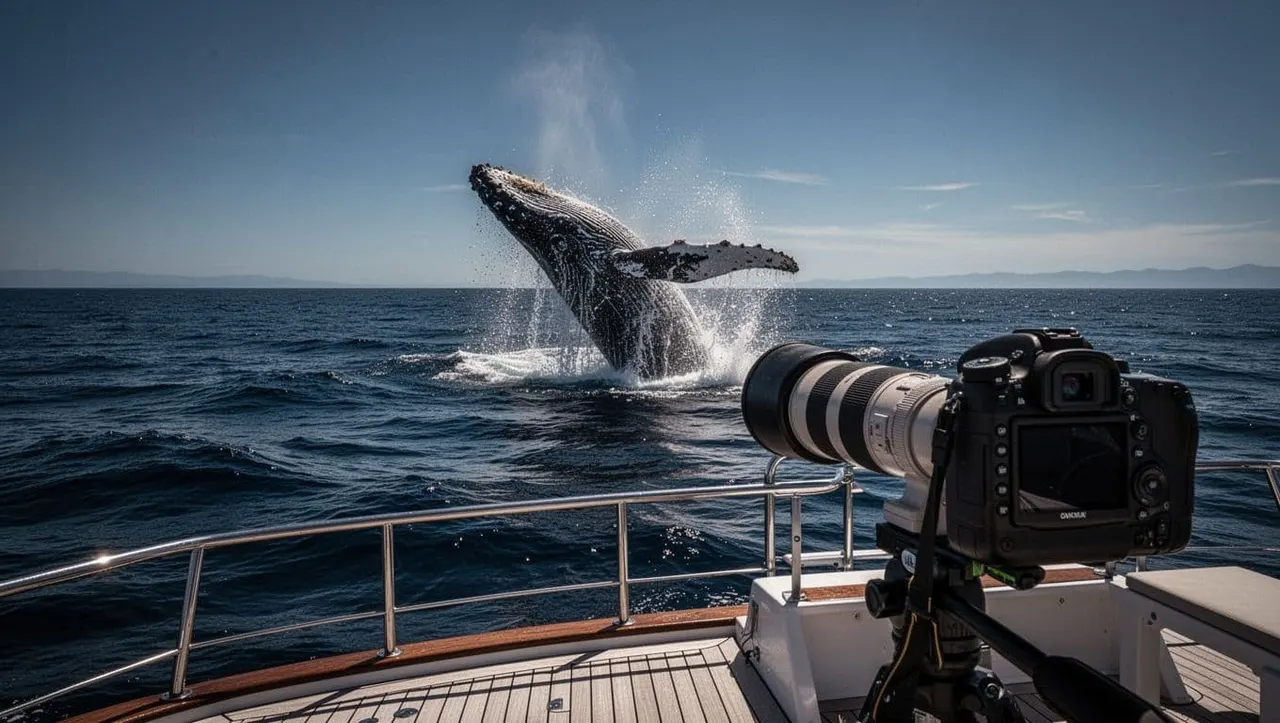
Review your first few shots when the boat is steady. If the water and sky look too bright, reduce exposure compensation to -1/3 or -2/3. This can protect detail in white spray and sunlit clouds. If the whale looks too dark, raise exposure slightly or use spot metering on the subject when the background is bright.
For additional guidance, Nikon’s whale photography tips offer useful starting points for shutter speed, aperture, and exposure.
Focus and Framing Techniques That Work on a Boat
Autofocus needs a clear target, but the horizon can confuse a camera when the whale appears for only a moment. Keep your focus area small enough to avoid locking onto distant water, yet wide enough to follow the animal during a jump. Continuous autofocus and a moderate tracking zone are a practical combination.
Watch the direction of the boat and listen to the crew. A guide may point out a whale before you see it, giving you time to aim toward the correct area. The boat photography advice from Alaska Magazine also recommends using spotters and zooming out when you need help finding the subject.
Keep both eyes open while tracking. Your camera eye follows the viewfinder, while your other eye watches the surrounding water. This makes it easier to react when the whale surfaces outside your first composition.
Leave space in front of the whale. If the animal moves toward the right side of the frame, place it slightly left of center. A little extra water around the subject also protects you from cutting off the tail, spray, or fin.
Start shooting before the breach reaches its highest point. Continue for a second after the whale drops back into the ocean. The first frame may show the most dramatic lift, while the next frame could capture a clean silhouette or a curtain of spray.
Use horizontal framing for a full-body breach and surrounding ocean. Switch to vertical framing when the whale rises sharply or when you want a taller column of water in the composition. Keep your zoom below its maximum until the subject’s position is clear.
Your camera may offer animal-eye autofocus, but open-water conditions can make it inconsistent. Test it before the trip. If it hunts across the sky or water, return to a simple tracking area and place the focus point over the whale’s body.
Protect Your Gear From Salt Spray and Boat Movement
Salt water is harder on camera equipment than ordinary rain. Even a light mist can leave residue on a lens, viewfinder, or control dial. Keep a microfiber cloth and a small rain cover within reach. A plastic bag with an opening for the lens can provide temporary protection if spray increases.
Don’t set your camera on the deck while you move around. A sudden turn can send it sliding, and a wave can wet it before you react. Use the boat’s dry storage when you need both hands, but keep the camera ready when the crew announces activity.
A moving deck also changes how you hold the camera. Stand with your feet apart, keep your elbows close, and press the viewfinder gently to your face. Avoid leaning a long lens against a railing because vibrations can travel through the boat and soften the image.
Image stabilization helps, but it can’t replace a fast shutter speed. Turn it on for handheld shooting unless your camera or lens manual recommends another setting. A monopod usually adds bulk and can create a hazard when several guests are moving around the deck.
Your phone can capture a breach too. Use the action or sports mode, tap the whale before shooting, and keep the exposure slightly lower if the sky dominates the frame. Hold the phone with both hands and record short bursts rather than relying on a single tap.
Choose a Waikiki Whale Watching Tour That Supports Photography
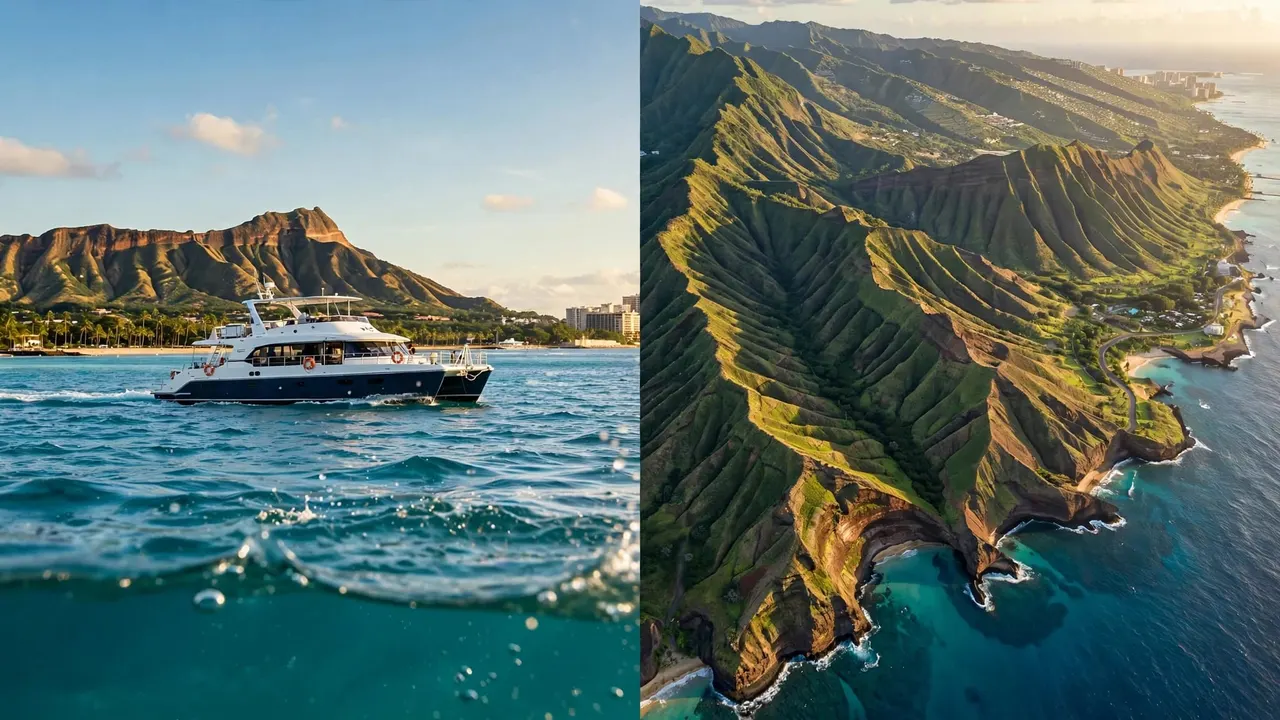
Living Ocean Tours departs from Kewalo Basin Boat Harbor, only minutes from Waikiki Beach in Honolulu. Its seasonal humpback whale watching tours run from January through March, when visitors may have opportunities to photograph surfacing, tail slaps, and breaches. Wildlife encounters remain unpredictable, so your crew can help you watch the water without promising a particular behavior.
The double-decker fleet includes the Coast Guard-inspected Coral Kai and Lokahi. Both boats offer shaded seating, restrooms, dry storage, and sturdy ladders. The Lokahi also has a SeaKeeper stabilization system that helps reduce rolling, which can make it easier to stand safely while tracking a moving whale.
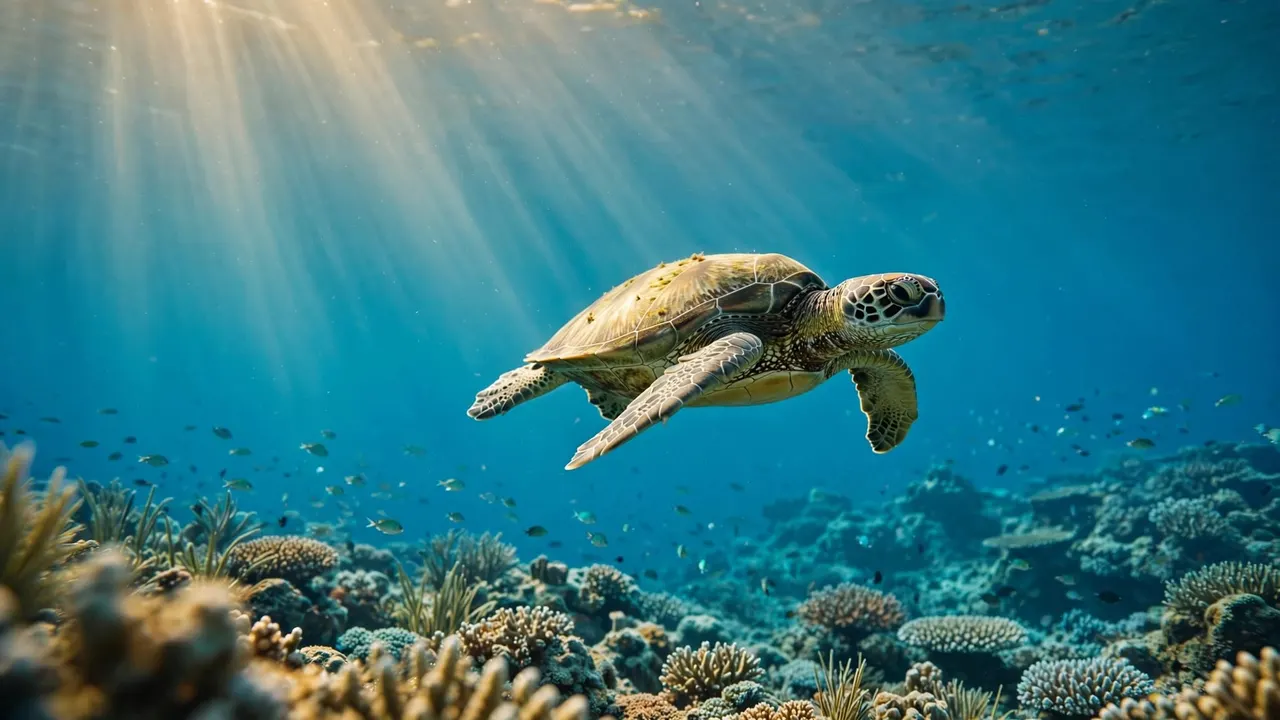
Guides can help you face the right direction, understand what you’re seeing, and keep a respectful distance from marine life. Living Ocean Tours is also the only tour company with professional snorkel guides, so you can add a guided Turtle Canyons experience on another day. You can explore Living Ocean Tours experiences when you want to compare whale watching with snorkeling and other Waikiki cruises.
Keep your distance, follow crew instructions, and observe rather than touch or disturb wildlife. Flash photography has little value outdoors and can distract people around you. Your best whale images come from preparation, patience, and a steady camera.
For seasonal dates and open seats, CHECK AVAILABILITY.
Conclusion
A successful breach photo starts before the whale appears. Set a shutter speed of at least 1/1000 second, use continuous autofocus and burst mode, and leave enough space around the subject to follow sudden movement.
Protect your camera from spray, listen to the crew, and stay ready through the entire encounter. With the right Waikiki whale watching photography settings, you can spend less time changing controls and more time watching the Pacific horizon.