Waikiki Sunset Cruise Camera Settings for Golden Hour
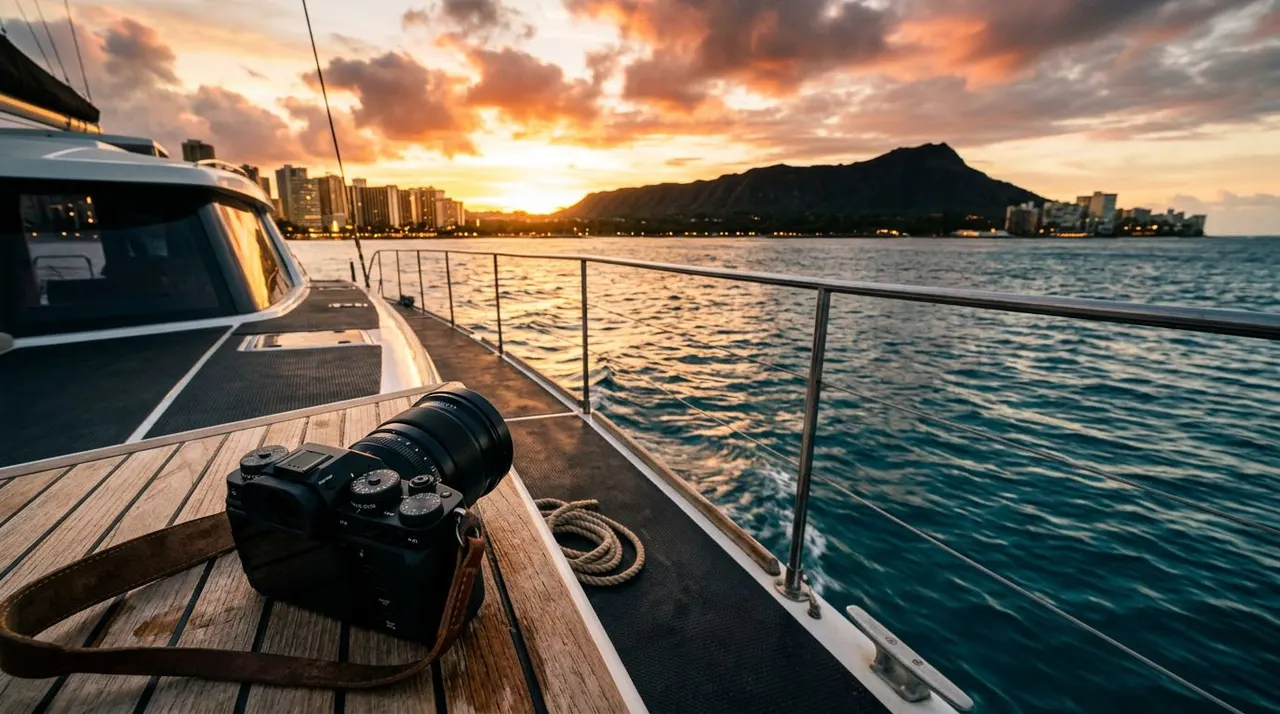
Golden hour can turn the Waikiki coastline into warm gold, but the light changes quickly once your boat leaves the harbor. The right Waikiki sunset cruise camera settings help you keep bright skies, sharp subjects, and rich ocean color in the same frame.
You also have to work with movement, glare, wind, and changing light. Start with a reliable setup before the sun drops, then adjust shutter speed and ISO as the boat moves along the coast. These practical settings will help you capture better photos without spending the whole cruise staring at your camera.
Why Golden Hour on a Boat Needs Different Settings
A sunset photo from land gives you time to set up a tripod and wait for the perfect light. On a boat, the scene keeps changing. The vessel moves beneath your feet, people walk across the deck, and the sun can disappear behind clouds or Diamond Head within minutes.
The ocean creates another challenge. Water reflects a large amount of light, so your camera may underexpose the foreground while protecting the sky. If you use automatic mode, the result can include a dark subject, a washed-out sunset, or both.
Movement matters as much as exposure. Even a gentle swell can soften a photo when you use a slow shutter speed. Wind can also move hair, clothing, and loose objects in the frame.
Before boarding, choose a starting point that fits the scene:
- Use a faster shutter speed for people, waves, and handheld photos.
- Keep ISO low while the sun remains bright.
- Open the aperture when the light fades.
- Watch the highlights around the sun and bright clouds.
- Shoot several frames when the light changes quickly.
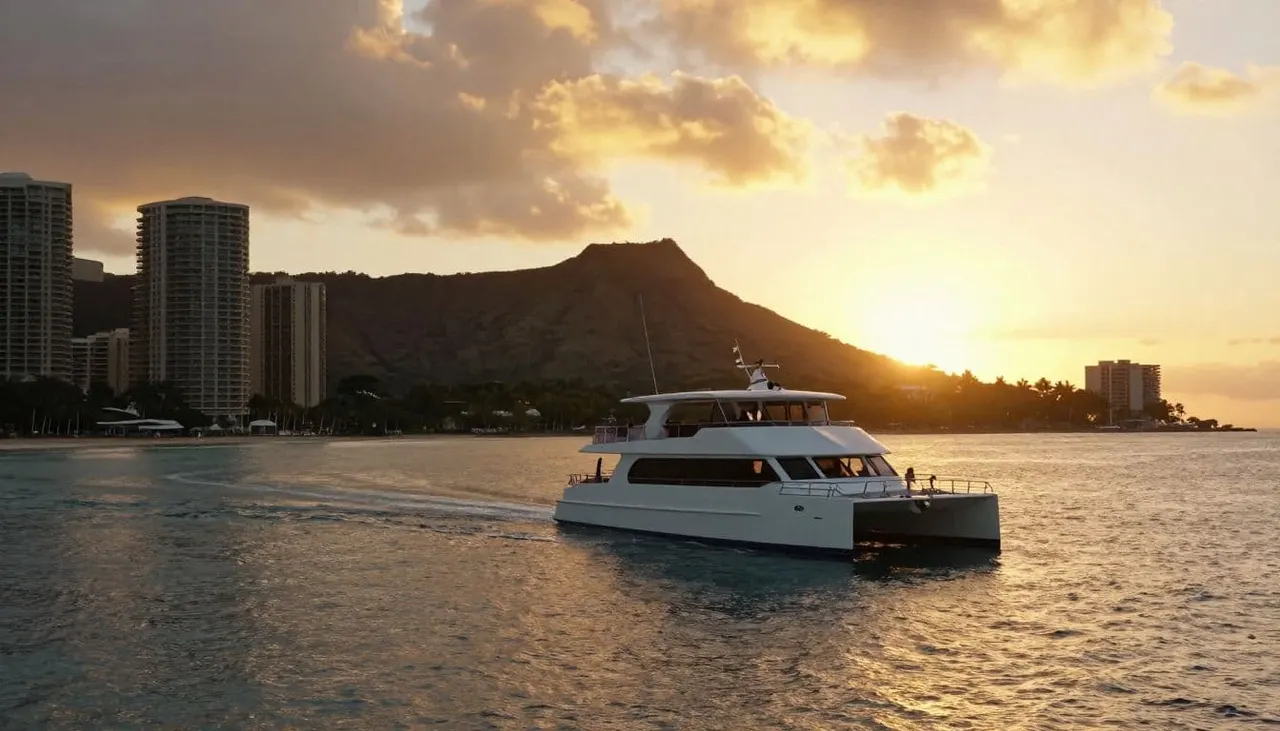
A boat also gives you more than one viewpoint. The upper deck can provide a clear horizon and wider coastline view, while a shaded lower area may produce better portraits with softer light. Move carefully and keep your camera strap secured.
Waikiki sunset cruise camera settings at a glance
Use these settings as starting points, not fixed rules. Check your LCD screen and histogram after each major change in light.
| Scene | Aperture | Shutter speed | ISO | Focus |
|---|---|---|---|---|
| Wide coastline and sunset | f/8 to f/11 | 1/250 sec | 100 to 400 | Single-point AF |
| People with sunset behind them | f/4 to f/5.6 | 1/250 sec | 200 to 800 | Face or eye AF |
| Silhouette near the sun | f/8 | 1/500 sec | 100 to 200 | Single-point AF |
| Waves and active movement | f/5.6 to f/8 | 1/500 to 1/1000 sec | 200 to 800 | Continuous AF |
| After the sun reaches the horizon | f/2.8 to f/4 | 1/250 sec | 800 to 1600 | Face or eye AF |
| Smartphone sunset scene | Automatic or sunset mode | Keep phone steady | Automatic | Tap the bright sky |
For a broad view of the ocean, f/8 to f/11 gives you more depth of field. Beach photography guidance from Rachel Carter Images also recommends this range for landscapes with foreground and sky detail.
Portraits need a different approach. Use f/2.8 to f/5.6 if you want the person to stand out against a softer background. If you’re photographing a group, f/5.6 gives you more room to keep everyone sharp.
On a phone, tap and hold the brightest part of the sky to lock exposure. Then drag the exposure slider down slightly. This protects the sunset colors and usually creates a more attractive silhouette.
Set your exposure for the sun, sea, and people
Your camera has to balance several bright and dark areas at once. Manual exposure gives you the most control, but aperture priority works well when the light changes from minute to minute.
Aperture controls the look of the scene
Choose f/8 or f/11 when the coastline, ocean, and sky all need to stay sharp. These settings work well for Diamond Head, the horizon, and wide shots of the vessel.
Open the aperture to f/2.8, f/4, or f/5.6 when you photograph someone near the rail. A wider aperture lets in more light and separates your subject from the background. Keep the person’s face away from the direct sun if you want softer skin tones.
At very small apertures, such as f/16 or f/22, you may create a starburst around the sun. However, these settings reduce the amount of light reaching the sensor and may require a slower shutter speed. On a moving boat, that trade-off can create blur.
Shutter speed keeps handheld photos sharp
Start at 1/250 second for most handheld photos on a Waikiki sunset cruise. That speed can freeze normal movement and reduce softness caused by the boat’s motion.
Increase the shutter speed to 1/500 second when someone is moving, a wave is breaking, or you want crisp details in the water. Use 1/1000 second for fast action, spray, or a person jumping near a waterslide on a daytime wildlife cruise.
As the sun drops, the camera may try to slow the shutter. Watch for speeds below 1/125 second. You can sometimes hold a camera steady at that speed, but the boat’s movement makes it risky.
Image stabilization helps, but it doesn’t freeze a moving subject. If your subject is walking or turning toward the camera, a faster shutter speed remains the better solution.
Raise ISO only when the light requires it
Keep ISO at 100 or 200 while the sun is still strong. If the scene becomes darker, move to ISO 400 or 800 before lowering your shutter speed too far.
Modern mirrorless and DSLR cameras often produce usable results at ISO 1600. A little grain is easier to fix than a blurry photo. For a phone, let the camera control ISO unless you use a manual camera app.
A useful golden-hour starting range is ISO 100 to 400, with f/2.8 to f/4 for portraits and f/8 to f/11 for landscapes. Artbeat Studios’ golden-hour photography guide offers similar baseline ranges.
A sharp photo at ISO 800 is usually more useful than a clean-looking photo ruined by motion blur at ISO 100.
Use RAW and choose a warm white balance
RAW files preserve more highlight and shadow information than JPEG files. That extra detail helps when the sky is bright but the boat deck or a person’s face is dark.
Set white balance to Daylight or Cloudy if you want to keep the warm color of sunset. Auto white balance may neutralize the orange light and make the image look flatter.
Daylight usually preserves a natural golden tone. Cloudy adds more warmth, which can work well after the sun reaches the horizon. If you shoot RAW, you can change white balance later without permanently altering the image.
Use focus and metering that can handle a moving deck
Autofocus is usually the fastest choice during a sunset cruise. Manual focus can work for a distant horizon, but the boat’s movement makes it easy to miss focus when you change subjects.
For landscapes, select a single focus point and place it on Diamond Head, a distant sail, or another clear subject. Avoid focusing directly on the sun. Your camera may hunt or fail to lock.
For people, turn on face or eye detection if your camera offers it. Use continuous autofocus when your subject is walking, turning, or posing near the rail. Single autofocus works well for a person standing still.
Burst mode can help when the light is changing. Take a short burst of two or three frames instead of holding the shutter continuously. You can then choose the sharpest image while reducing unnecessary files.
Your metering mode also affects the result:
- Evaluative or matrix metering works well for general scenes.
- Spot metering helps expose a person’s face, but it may make the sky too bright.
- Highlight alerts show which parts of the image are losing detail.
- Exposure compensation lets you darken the frame by one-third to one full stop.
If the sky looks pale on your screen, set exposure compensation to -1/3 or -2/3. The darker image will often preserve stronger orange and pink tones. You can brighten the shadows later if you shoot RAW.
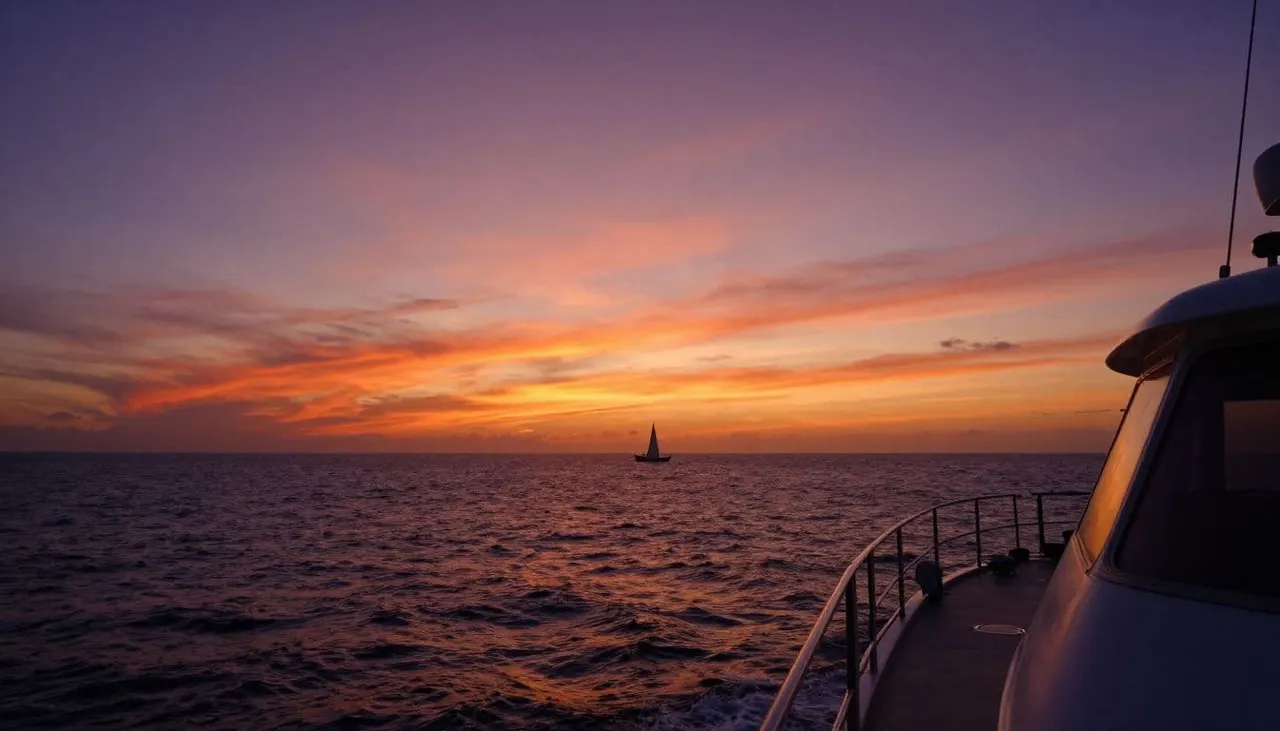
For a silhouette, expose for the bright sky rather than the subject. Place the focus point near the edge of the sun or on the bright horizon, then check that the person or railing forms a clean dark shape.
Build stronger compositions on the Waikiki coastline
Good settings won’t rescue a crowded or crooked composition. Before pressing the shutter, look at the horizon, bright reflections, and distractions behind your subject.
Keep the horizon level. The ocean makes tilted lines easy to notice, especially in a wide landscape. Turn on your camera’s grid display if you tend to tilt the frame while shooting handheld.
Place the sun off-center when possible. Leave more space in the direction your subject faces or in the area where the light leads the eye. A person looking toward the sunset usually needs open space in front of them, not behind them.
Diamond Head gives your photo a clear sense of place. Include enough sky to show the color, but keep the crater large enough to identify. A wide lens between 16mm and 35mm works well for the coastline. A 50mm lens creates a more focused view of a person, the sun, or a distant landmark.
Reflections add shape to the lower half of the frame. Look for a bright path across the water, then place it near the center or lower third. Avoid pointing the camera directly at a reflection if it causes large blown-out areas.
The boat itself can become part of the composition. Use a railing, deck edge, or mast to lead the viewer toward the horizon. Keep these lines clean and avoid cutting through a person’s face.
For more location-specific ideas, see these Waikiki sunset cruise photo tips, including suggestions for where to stand on board.
Choose the right lens and phone technique
A 24-70mm zoom is a strong all-purpose choice for a boat trip. At the wide end, you can capture the coastline, sky, and several people. At the longer end, you can frame a tighter portrait or compress the sun against the horizon.
A 16-35mm lens works well for dramatic views, but watch the edges of the frame. Wide lenses can stretch people near the sides and make the horizon appear farther away.
A 50mm or 85mm lens creates flattering portraits and attractive silhouettes. Keep enough distance between your subject and the edge of the deck so the composition doesn’t feel cramped.
Phones can produce excellent sunset photos when you control exposure. Use the main camera instead of an extreme wide-angle lens unless you need to include a large group. The 2x lens often gives a cleaner portrait than digital zoom.
Clean your phone lens before the cruise. A small amount of salt spray or sunscreen can turn the sun into a large blurry glow. Use a soft lens cloth and keep the phone inside a waterproof pouch when you’re not shooting.
Don’t use flash for the sunset. It can create harsh reflections on nearby faces and distract from the natural light. If you need fill light for a close portrait, move the subject into softer ambient light instead.
Protect your camera while you enjoy the cruise
Ocean air is hard on camera equipment. Salt spray can settle on the lens, screen, and buttons even when the deck feels dry.
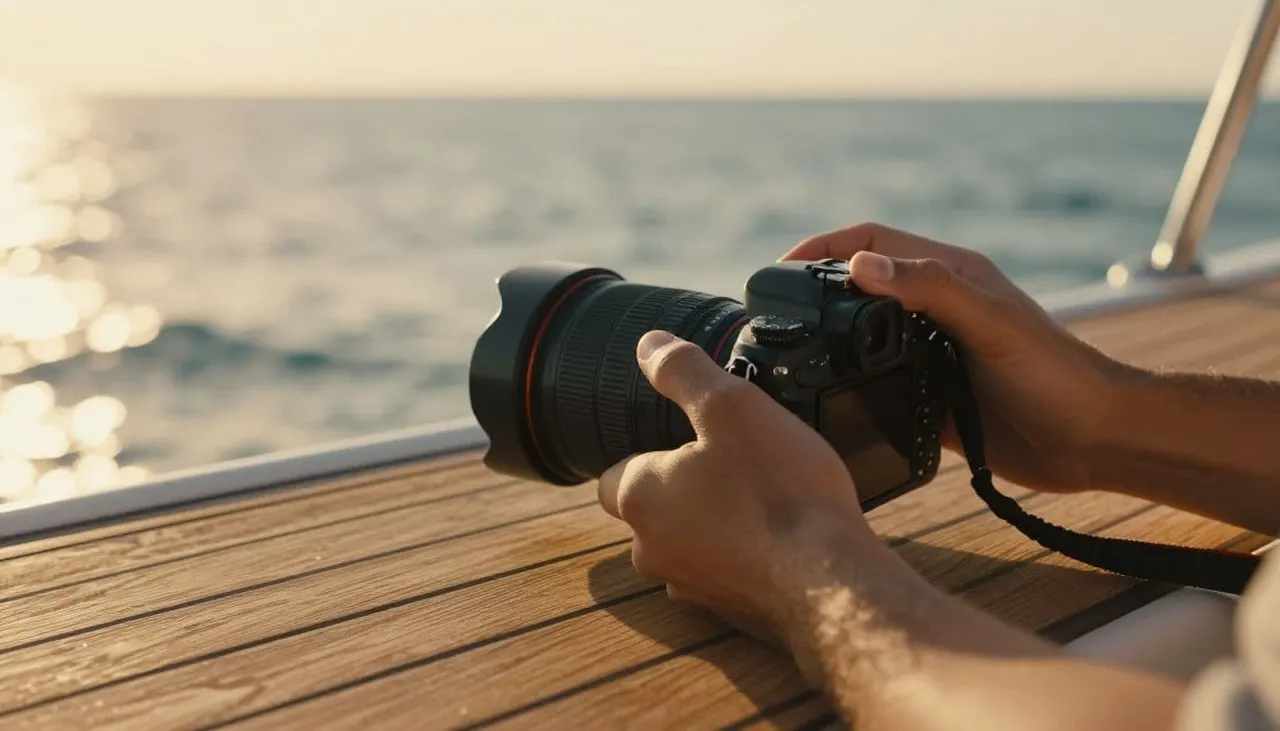
Carry a small microfiber cloth, a waterproof pouch, and a spare battery. Keep extra memory cards in a sealed pocket. A lens hood can reduce glare and help protect the front element from light spray.
Avoid changing lenses when the wind is strong. If you must switch, turn your back to the wind and keep the camera pointed downward. A zoom lens reduces the need to expose the sensor during changing conditions.
Use a wrist strap or neck strap whenever you stand near the rail. Hold the camera with both hands while shooting, but keep your posture relaxed. Bracing against a railing can help, although you should never place the camera where a wave or passenger could knock it loose.
A tripod usually creates more problems than it solves on a moving passenger boat. It can block walkways and still won’t eliminate motion from the vessel. Handheld shooting with a faster shutter speed is safer and more practical.
Plan your Waikiki sunset cruise around the light
Your best photos often come during several short windows, not one single moment. Early in the trip, use the brighter light for coastline details, portraits, and wide views. As the sun reaches the horizon, switch to silhouettes and saturated color. After sunset, raise ISO and look for soft blue-hour portraits.
Living Ocean Tours departs from Kewalo Basin Boat Harbor, a short distance from Waikiki Beach. Its sunset cruises run for about 90 minutes and include BYOB and cash-bar options, depending on the cruise. That gives you time to photograph the coastline, settle into the view, and enjoy the evening without rushing every frame.
The company operates Coast Guard-inspected, custom-built double-decker vessels with shaded seating, restrooms, dry storage, and easy water access. The Lokahi includes a SeaKeeper stabilization system that helps reduce rolling, which can make handheld photography more comfortable.
Living Ocean Tours is also the only tour company with professional snorkel guides. The crew’s ocean knowledge, safety support, and respect for Hawaii’s marine life carry through the company’s experiences. If you want to compare available boat trips before choosing your sunset outing, browse the Living Ocean Tours catalog.
When wildlife is nearby, keep your camera ready but give animals space. Photograph Hawaiian marine life without touching, feeding, or chasing it. A respectful distance protects the animals and often produces more natural images.
For the sunset cruise, check availability before your preferred evening fills:
Conclusion
The strongest Waikiki sunset cruise photos come from a balanced setup: use a fast enough shutter speed, keep ISO low while you can, and expose carefully for the bright sky. Switch between landscape and portrait settings as the light changes, then use the boat’s movement and Waikiki coastline to shape your composition.
Set your camera before golden hour peaks, protect it from salt spray, and keep watching the scene instead of the screen. With a steady hand and flexible settings, you can capture the sunset while still enjoying the view.