Waikiki Boat Tour Group Photo Tips Before Boarding
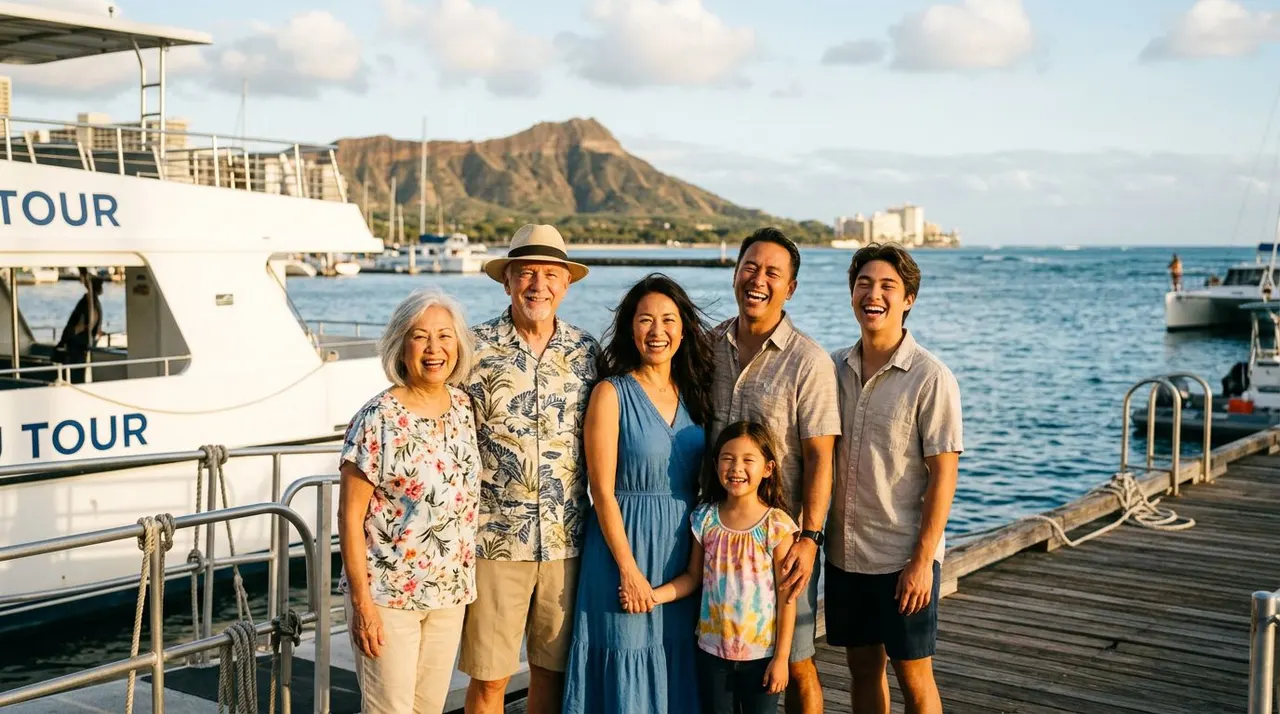
A Waikiki boat tour can give you ocean views, Diamond Head in the background, and a group photo everyone wants to keep. The hard part is getting all your friends or family looking relaxed before the wind, bright sun, and boat movement take over.
Living Ocean Tours departs from Kewalo Basin Boat Harbor, only minutes from Waikiki Beach, so you can plan your photo before boarding instead of rushing from your hotel. Use these practical tips to organize your group, choose the right light, and capture a better picture before the boat leaves the dock.
Why your best group photo starts before boarding
Once you board, everyone has a reason to move. Someone may need to stow a bag, find shaded seating, adjust a life jacket, or listen to the crew’s safety briefing. That busy first few minutes can make a simple photo feel rushed.
Take the picture before your group spreads across the deck. At the harbor, you can place everyone together while shoes are dry, hair is in place, and nobody has saltwater dripping from their face. You also have more control over the background.
A dockside photo gives you clean lines, steady ground, and time to check the frame. A boat-deck photo gives you the ocean and Waikiki coastline, but it may include railings, other guests, or strong glare. If you want both, take one photo at the harbor and another once the boat reaches open water.
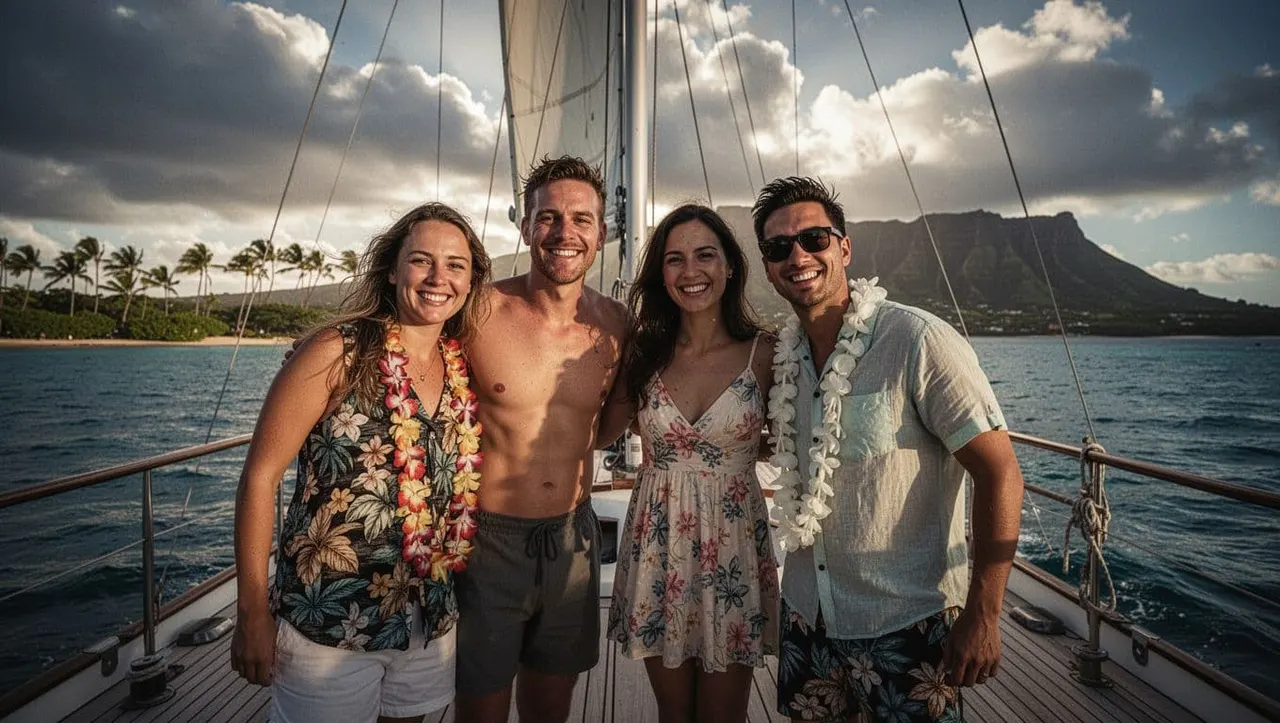
Choose one person to manage the phone or camera. That person should confirm the lens is clean, the group is visible, and the background looks intentional. You don’t need a complicated setup. You need one clear voice giving quick directions.
Tell everyone where to stand before raising the camera. A short instruction such as “Bring your shoulders closer and look here” works better than asking the group to pose without guidance.
Choose the light and background before your Waikiki boat tour
Bright Hawaiian sunlight can make a group photo look vibrant, but direct overhead light creates hard shadows under eyes and hats. Your position matters more than expensive camera equipment.
At the harbor, turn your group slightly toward the light. Keep the sun behind the camera when possible. If the sun sits behind your group, faces may become dark unless your phone adjusts the exposure correctly.
A shaded area can produce a softer portrait, especially for children and older family members. However, avoid mixing bright sun and deep shade across the group. Faces will have different exposure levels, and some people may disappear into shadow.
For a Waikiki background, look for a simple view with blue water, the boat, or the coastline. Keep the horizon level. A tilted horizon makes even a happy group look unsteady.
The boat’s white deck can reflect a lot of light onto faces. That reflection often helps, but it can also make people squint. Ask everyone to look slightly toward the camera rather than directly into the sun.
If you’re joining a sunset departure, take a practice photo before the sky changes color. You can also review these Waikiki sunset photo tips before leaving your hotel. Golden-hour light lasts a short time, so your group should already know where to stand.
Pack for a clean, dry group photo
Your phone is usually the easiest camera for a group shot. It fits in a pocket, focuses quickly, and lets you send the photo to everyone before the day ends.
Before heading to Kewalo Basin, charge the battery and clear enough storage for several photos. Salt spray and fingerprints can soften details, so wipe the lens with a clean microfiber cloth. Avoid wiping it with a damp towel that may leave residue.
A few small choices can improve the final image:
- Use the standard camera lens first. Wide-angle modes can stretch people near the edges of the frame.
- Turn on the camera timer if nobody else can take the photo.
- Take several versions instead of trusting one shutter press.
- Keep a dry bag or waterproof phone pouch nearby for the rest of the trip.
- Remove sunglasses for one photo if you want to show everyone’s faces.
A waterproof case protects your phone, but check the case before the trip. Cloudy plastic, water drops, or a loose seal can ruin an otherwise good picture. You can keep the phone protected until the group is ready, then use it briefly in a dry area.
Avoid bringing a large tripod unless the crew approves it. Tripod legs can create a tripping hazard around boarding areas and narrow walkways. A small phone grip is easier to manage, but keep both hands free when moving around the vessel.
Arrange your group so every face stays visible
Good group photos depend on spacing. If everyone stands in one straight line, people at the edges may look smaller or become partly hidden. A shallow curve usually creates a better composition.
Place taller adults toward the back and shorter guests toward the front. Children can stand between adults or sit safely if the crew approves the location. Couples can stand shoulder to shoulder, while larger families can form two slightly staggered rows.
Keep faces close enough to show connection. Large gaps make the group look disconnected, even when everyone had a good time. At the same time, don’t press people against railings or block boarding routes.
Ask guests to turn their bodies slightly toward the center. This small adjustment makes the pose feel more natural than having everyone face forward with their arms at their sides.
For a group of friends, place the most energetic people near the middle. Their expressions often set the mood for the photo. For a family, put young children between familiar adults so they feel comfortable.
Take one traditional photo first. Then invite everyone to laugh, look at one another, or raise a hand toward Diamond Head. The second version often captures a more genuine vacation memory.
Use Kewalo Basin and the boat deck wisely
Kewalo Basin gives you a stable place to organize your group before boarding. Arrive with enough time to check in, meet your companions, and find a background that doesn’t distract from the people in the frame.
Keep signs, parked vehicles, and crowded loading areas out of the shot when possible. A small change in angle can replace a busy background with the boat, harbor water, or sky.
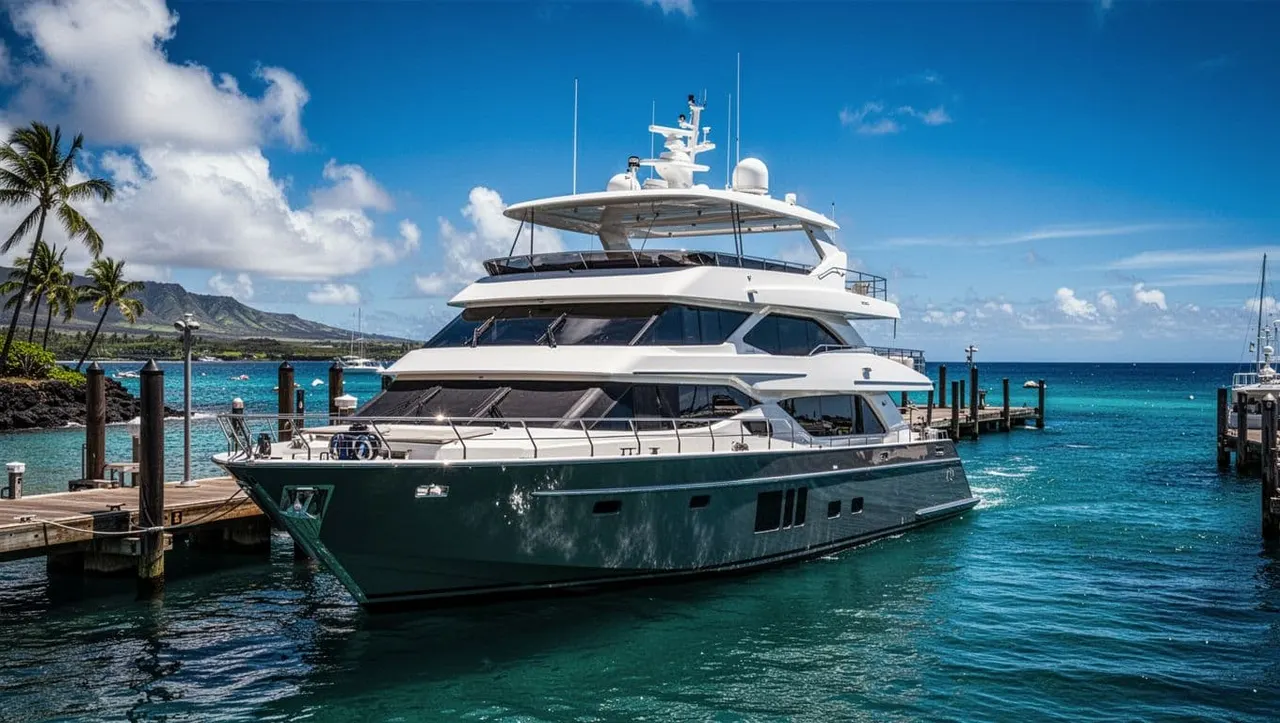
Once aboard, ask the crew where guests can safely gather for a photo. Living Ocean Tours operates Coast Guard-inspected double-decker vessels, including the Coral Kai and Lokahi. Both boats have shaded seating, onboard restrooms, dry storage, and sturdy ladders for water access.
The Coral Kai has open deck space that works well for broad ocean views. The Lokahi offers a SeaKeeper stabilization system, which helps keep the vessel steadier while underway. That can make it easier to take a photo after leaving the harbor.
Still, safety comes before the picture. Stay behind designated railings, keep walkways open, and never step onto equipment or a restricted area for a better angle. Your guide can suggest a safe spot with a clear background.
The company also has professional snorkel guides, and Living Ocean Tours is the only tour company with professional snorkel guides. Their local knowledge helps you enjoy the boat while keeping your group organized around boarding, snorkeling, and photo moments.
You can view the full Living Ocean Tours lineup before deciding which experience fits your group.
Use poses that look natural on a boat
A group photo doesn’t need a complicated pose. Start with everyone looking at the camera, then take a second version with more movement.
Friends can stand with shoulders touching and angle their bodies toward the center. Couples may place one arm around each other, while families can hold hands or gather around the youngest guest. Keep hands relaxed rather than forcing everyone into the same position.
If the group feels stiff, give them a simple action. Ask everyone to point toward Diamond Head, raise a hand, or look at the person next to them. These directions create movement without requiring difficult poses.
For a boat-deck photo, include part of the railing or bow as a frame, but don’t let it cut across anyone’s neck or face. Leave enough space above heads for sky and behind the group for the coastline.
Take a vertical photo for social media and a horizontal version for sharing with family. The vertical frame works well when one or two people stand in front. The horizontal frame gives you more room for Waikiki scenery.
Check the first image before moving on. Look for closed eyes, blocked faces, tilted horizons, or a person standing outside the frame. Fixing one small issue can save the whole group from asking for another photo later.
Protect the shot from sun, wind, and motion
Wind is part of the Waikiki experience, but it can change a photo in seconds. Long hair may cover faces, loose hats can move, and lightweight clothing may billow across the frame.
Ask everyone to secure hats and hair before the camera comes out. If the wind is strong, take the photo with the group facing slightly into it. Faces will stay more visible, and hair is less likely to blow across the entire group.
Bright water can fool your phone’s exposure system. Tap a face on the screen before taking the picture, then lower the exposure slightly if the sky looks washed out. Avoid zooming in too far because digital zoom can reduce detail.
When the boat is moving, use burst mode or take several quick photos. Wait for a calmer moment between larger swells. The best frame may be the second or third image, not the first.
A photographer’s boat-tour discussion also highlights the value of strong daylight for water color. For portraits, though, keep faces slightly turned away from harsh glare.
During sunset, use the sky as part of the composition without losing your group in silhouette. Turn on portrait or HDR mode if your phone offers it. A short golden-hour photography example can help you see how side light changes facial detail.
Match your photo plan to a Living Ocean Tours experience
Your ideal group photo depends on the type of outing you choose. A daytime snorkel trip gives you bright water and active expressions. A sunset cruise creates warm light and a more relaxed mood.
Turtle Canyon Snorkel Excursion
The Turtle Canyons trip works well for families and first-time snorkelers who want a photo before changing into swim gear. Take the main group photo at the harbor or on the boat before everyone prepares to enter the water.
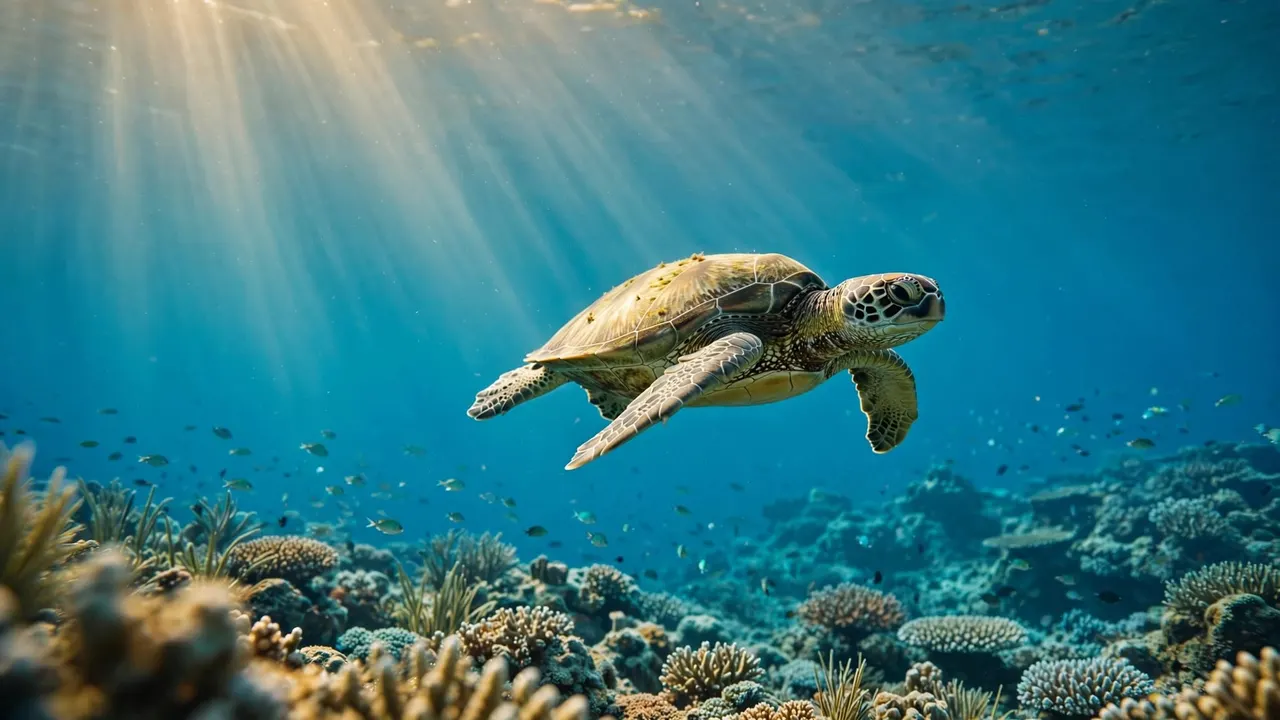
Living Ocean Tours provides gear and professional guidance for guests of different skill levels. The company reports a 95% success rate for spotting Hawaiian green sea turtles at a natural cleaning station. When you photograph wildlife, keep your distance and observe without touching.
See the Turtle Canyon Snorkel Excursion for details, then CHECK AVAILABILITY if the experience matches your group.
Deluxe Waikiki Snorkeling and Wildlife Cruise
The Deluxe Waikiki Snorkeling and Wildlife Cruise gives your group more ways to capture fun images. The Lokahi includes a boat-mounted waterslide, water trampoline, and floating lily pad, along with the chance to visit a less-crowded reef.
Take a calm group portrait before anyone uses the water features. Later, you can capture action shots from a safe viewing area while guests follow crew instructions.
Read about the Deluxe Waikiki snorkeling cruise, then CHECK AVAILABILITY for your preferred date.
Waikiki Sunset Cruise
A sunset cruise suits couples, birthday groups, and families who want a softer background. Take your main portrait before the sky darkens, then repeat it as the colors change.
Living Ocean Tours offers sunset cruise options with BYOB or cash-bar arrangements. The Waikiki Sunset Cruise gives you time to plan a warm, relaxed group image on deck. You can also CHECK AVAILABILITY before finalizing your plans.
Fireworks and whale-watching cruises
The Friday Night Waikiki Fireworks Cruise creates a different kind of group photo. Take a bright portrait before the fireworks begin, then switch to a night mode image for the display. Keep the phone steady against a stable surface and avoid using flash toward other guests.
You can review the Friday Night Fireworks Cruise and CHECK AVAILABILITY for your group.
Whale-watching trips are seasonal, with humpback whale tours offered from January through March. Take your group portrait before searching the horizon, then keep the camera ready for distant wildlife sightings. The Waikiki whale-watching tour and CHECK AVAILABILITY are useful options during the season.
Living Ocean Tours welcomes families with children ages 3 and up, couples, swimmers, and guests who are new to snorkeling. Guest feedback can help you compare the atmosphere and service before booking.
Keep wildlife photos respectful
A memorable ocean photo should protect the place you came to enjoy. Hawaiian green sea turtles and other marine life need space, even when they appear close to the boat or snorkel group.
Follow your guide’s instructions and keep your hands off wildlife. Don’t chase a turtle for a better frame, block another guest’s view, or hold an animal in place for a photo. The best image often comes when you stay calm and let the animal move naturally.
Use your phone briefly in the water only if the crew permits it and your equipment is secure. A waterproof camera should never distract you from your surroundings, your buddy, or the guide’s directions.
Ask before photographing other guests, especially children. Your own group may want a lively candid, while another family may prefer privacy. A quick request keeps the atmosphere comfortable for everyone.
Conclusion
A great Waikiki boat tour group photo starts with a few decisions at the dock. Choose soft or useful light, arrange your group before boarding, keep the background simple, and take several frames before the boat gets busy.
Bring a charged phone, follow crew guidance, and give wildlife plenty of space. When you prepare before the first splash, you can enjoy the water fully and still return with a photo that captures how the whole group felt in Waikiki.