Tripod on Boat Tour: What Works for Coastal Photos
You’ll usually get more reliable harbor and coast photos handheld once a tour boat starts moving. A tripod on boat tour outings follows the deck’s motion, so it can’t provide the fixed foundation you get ashore.
With Living Ocean Tours, you can enjoy Waikiki’s coastal views while keeping your setup light and your attention on the experience. Safe footing and short exposures matter more than a tall camera platform. Start by separating what helps at the dock from what works aboard.
Key Takeaways for Your Camera Bag
- Handheld photography is usually the most practical option on a moving sightseeing boat.
- Carrying a tripod and opening it on deck are separate matters, and crew directions take priority.
- Short exposures help control motion blur, while camera stabilization handles only part of the movement.
- A compact bag, secure camera strap, and clean lens are more useful than bulky equipment for most coastal pictures.
Bringing a tripod on boat tour outings
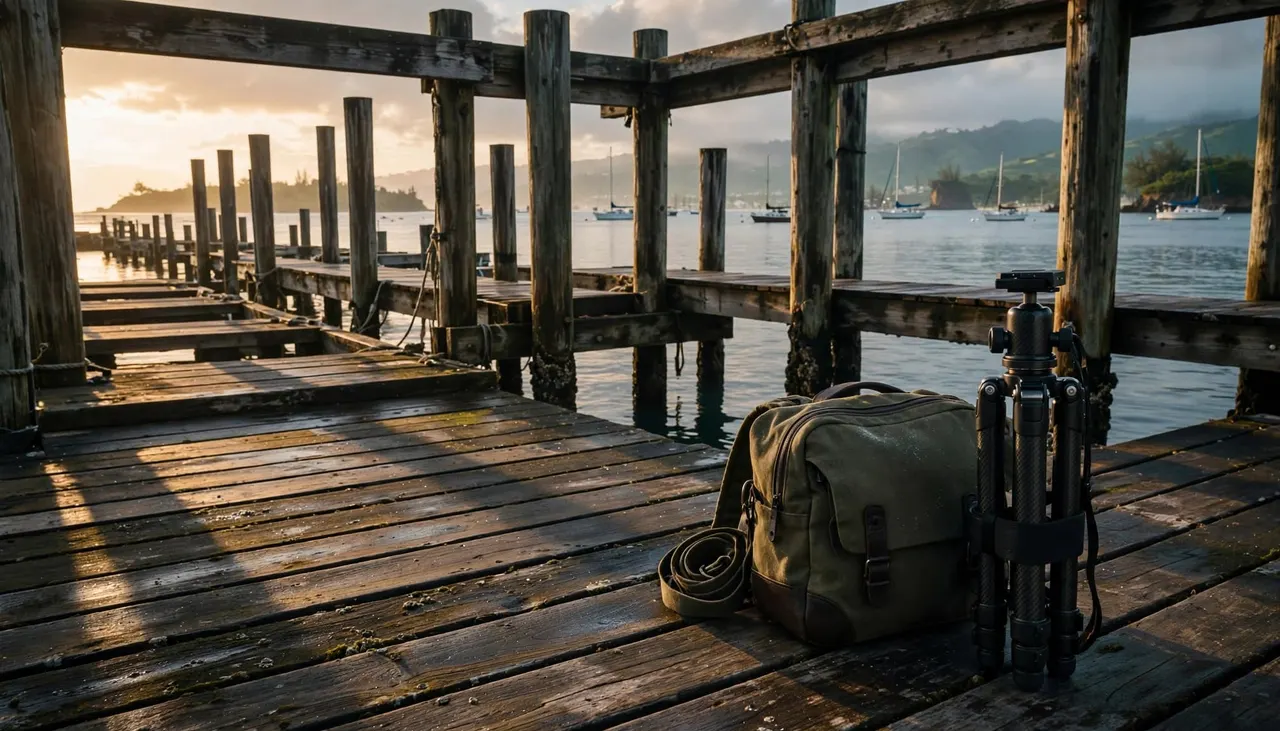
Carrying equipment isn’t permission to spread out
There’s no single tripod rule covering every sightseeing vessel. Your practical default is handheld shooting, with larger supports kept packed unless the crew permits their use.
A folded travel tripod takes less room than extended legs, but it still needs a secure storage place. Avoid treating an empty seat, stair landing, or patch beside a gate as equipment storage.
Before boarding, organize your bag so nothing swings loose. Put your camera away while stepping aboard, then settle into a safe position before taking it out.
Keep shared space accessible
Tripod legs can extend beyond the area you’re watching through the viewfinder. Meanwhile, passengers and crew may need that same space to move.
Keep stairs, gates, ladders, and access to safety equipment clear. The U.S. Coast Guard’s boating equipment guide covers recreational boating safety equipment, including life jackets and fire extinguishers; your camera gear should never obstruct access to safety equipment aboard.
If the crew directs you to sit or clear a passage, do that before adjusting your camera. A promising composition can wait.
Why a Tripod Won’t Stop Boat Movement
The deck moves beneath the camera
Even a tripod on boat tour decks moves with the vessel. It can reduce movement caused by your hands, but it doesn’t stop the boat pitching, rolling, or changing position.
That distinction matters when you’re photographing distant buildings or a straight horizon. During a long exposure, those details can shift across the image even when the camera stays firmly attached to its support.
Engine vibration can also reach a camera through a deck or railing. Avoid pressing your lens against a vibrating surface and expecting it to behave like solid ground.
Stabilization helps within limits
Your camera’s optical or sensor-based stabilization can reduce certain types of shake. However, it can’t freeze a changing viewpoint or stop a moving subject.
Our Lokahi has a SeaKeeper stabilization system that reduces vessel roll. You still need an exposure suited to the movement that remains.
A level horizon and a sharp horizon require different solutions: gridlines help with alignment, while a short exposure helps control blur.
Take several frames when the view looks promising. Small differences in movement can leave one photograph noticeably sharper than another.
Camera Settings for Sharp Harbor and Coast Photos
Start with shutter speed
For a dedicated camera, shutter-priority mode gives you direct control over exposure time. In daylight, around 1/500 second is a useful starting point for coastal scenery from a moving boat.
That setting isn’t a guarantee. Longer focal lengths, rougher movement, or moving subjects may need a shorter exposure.
As evening approaches, let automatic ISO rise rather than accepting a blurred shoreline. Some image noise is easier to reduce afterward than motion blur.
Review an enlarged section of one photograph. Look at building edges, distant ridgelines, or harbor lights instead of judging sharpness from the small preview alone. If edges smear, shorten the exposure and try again.
Keep phone photography simple
Start with your phone’s standard camera lens and normal photo mode. A wide composition gives you room to include the coastline and straighten the horizon later.
Heavy digital zoom makes visible shake harder to manage. Instead, keep a wider view and crop modestly afterward.
Phone night modes often combine frames or use longer capture times. Because the boat moves, compare a night-mode result with a normal photograph before relying on it.
Doubled shoreline lights and smeared edges reveal movement clearly. Also, skip flash for distant scenery; it won’t illuminate Diamond Head or the horizon.
When bright sky loses detail, tap near it and lower exposure slightly. Keep enough detail in the darker shoreline to preserve the scene.
Choose Different Shots at the Harbor and Offshore
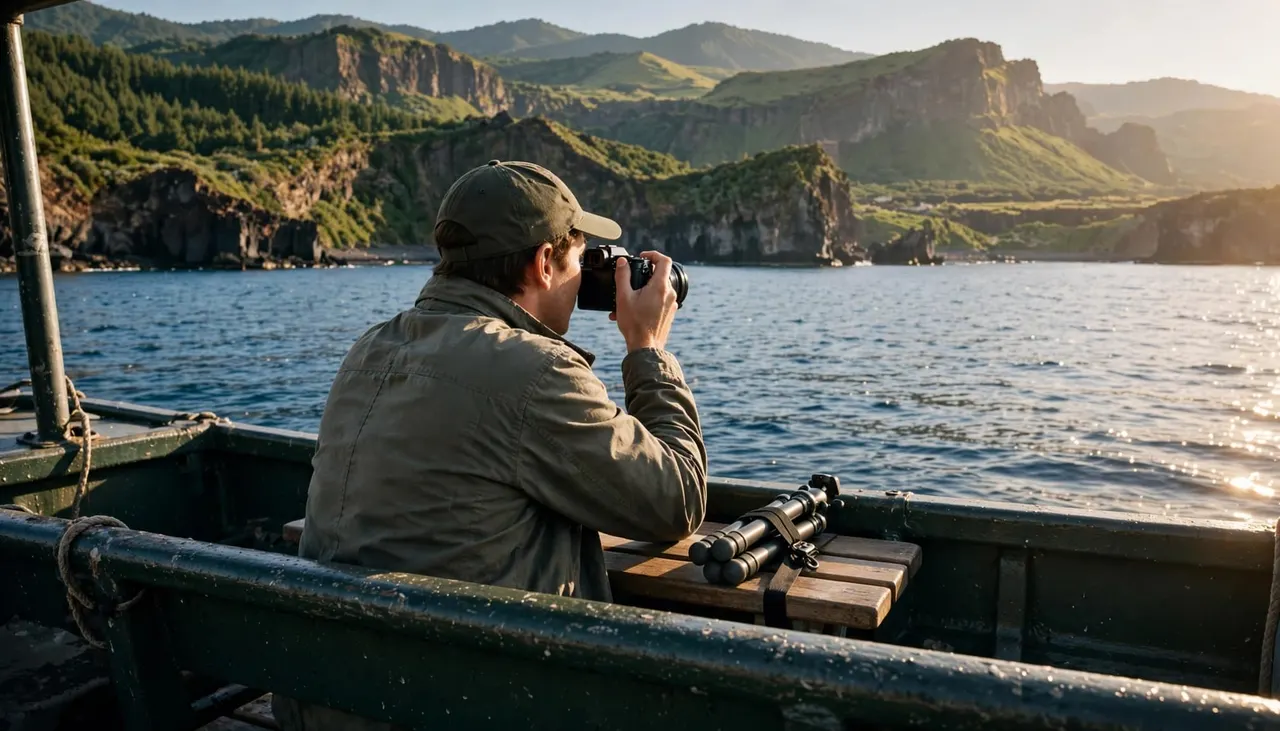
Use shore-based support where it helps
A tripod can earn its place during a separate shore-based photography stop. From firm ground, it can support longer exposures of harbor reflections or evening lights.
Even there, keep pedestrian routes clear. A floating dock can move, so it doesn’t necessarily offer the same stability as a fixed waterfront walkway.
Finish any equipment adjustments before approaching the boarding area. You’ll have an easier transition when your camera and folded support fit inside one manageable setup.
Let the coastline change your composition
Once underway, use the boat’s changing angle to find new arrangements of water, shoreline, and sky. You don’t need to chase every view around the deck.
Using a tripod on boat tour outings can slow those changes because you have to reposition equipment as well as yourself.
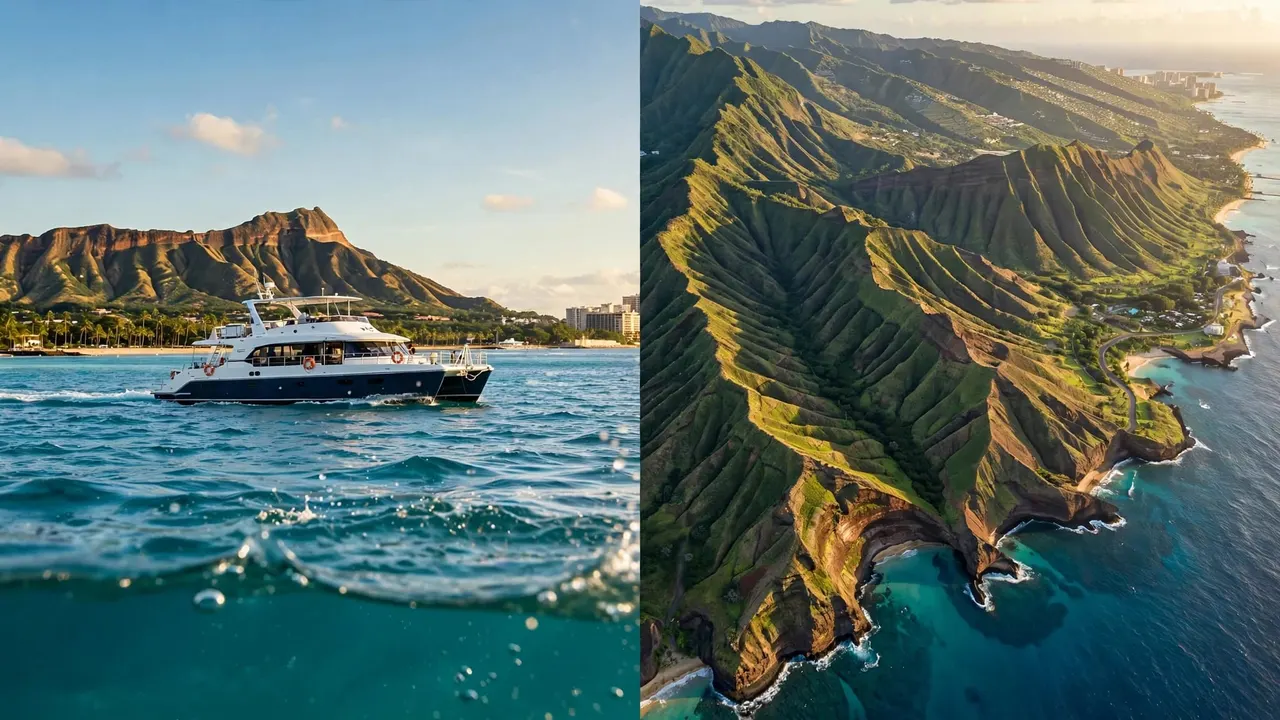
For Waikiki scenery, leave space around Diamond Head and along the horizon. Straightening your photograph later will crop its edges.
Ask before making another passenger your main subject. For family pictures, settle children safely first, then frame the photograph without leaning outside the rail.
Pack a Small Kit You Can Control
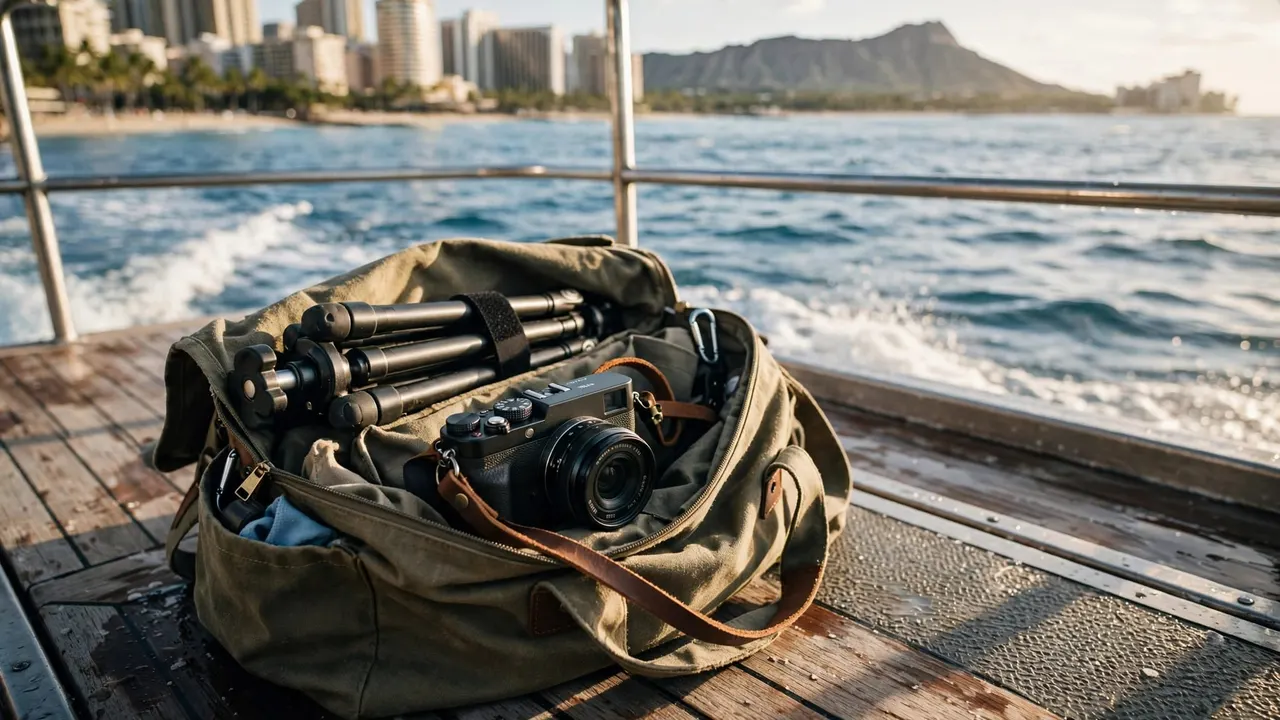
If you carry a tripod on boat tour days, keep it folded and securely contained whenever it isn’t in approved use. Avoid loose straps or projecting legs that could catch nearby equipment.
For most passengers, a camera or phone, a suitable strap, a protective pouch, and a microfiber cloth cover the essentials. Bring only accessories you can manage without spreading them across seats.
Salt droplets and fingerprints can soften bright reflections. Clean your lens before departure, then wipe it again if spray reaches it.
Dry your hands before opening a protective bag. Also, remember that a splash-resistant pouch doesn’t automatically protect equipment during immersion.
While walking, keep one hand available for a railing. Put your camera away before using stairs or stepping across a threshold.
Once settled, keep your elbows near your body and your feet securely planted. Don’t walk backward while watching a screen.
If something falls out of reach, alert the crew instead of lunging after it. Recovering equipment never takes priority over your balance.
Enjoy Waikiki Photography With Living Ocean Tours
Our Honolulu ocean tours depart from Kewalo Basin Boat Harbor and give you opportunities to enjoy Waikiki’s coastline with your family or partner.
Our double-decker vessels have shaded seating, onboard restrooms, and dry storage. Keep your bag in the crew-designated area rather than leaving it beside your feet in a passage.
For snorkeling experiences, we’re the only tour company with professional snorkel guides. Their guidance supports beginners while keeping attention on the group and the marine environment.
Whether you’re photographing from the deck or entering the water, observe wildlife without touching it. Never let a camera draw you away from crew instructions.
You don’t need a complicated photography setup to enjoy the outing. A few clear pictures can preserve the coastline while leaving time to watch it without a screen.
Frequently Asked Questions About Boat Photography
Can a mini tripod on boat tour tables help?
It can support a camera, but the table still moves with the boat. That limits its value for long exposures. Don’t place equipment on shared surfaces or attach it to fittings without crew permission.
Is a monopod a better alternative?
A monopod occupies less floor space than three extended legs, but it still follows vessel movement. It can also become awkward when passengers need to pass. Handheld shooting remains the simpler choice for most casual coastal photographs.
Can you fix motion blur afterward?
Editing can improve contrast, reduce noise, and straighten a tilted horizon. However, it can’t reliably restore detail that motion smeared during capture. Prioritize a short exposure, then make restrained adjustments after returning ashore.
Should you use a timer for couple photos?
Only use a timer when your camera has a secure, permitted position and you can remain safely settled. Never balance it unsecured on a railing. Another person’s photo isn’t worth creating an obstruction or leaving equipment at risk.
Bring Home the View Without Managing Extra Gear
For most harbor and coast photographs aboard a moving vessel, handheld simplicity gives you the most flexibility. Keep your exposure short, your equipment contained, and your footing secure.
Save tripod-based long exposures for a suitable stationary viewpoint ashore. Once aboard, take a few thoughtful photographs, then give yourself time to enjoy the coast with the people beside you.