How to Use Landmarks While Snorkeling Oahu
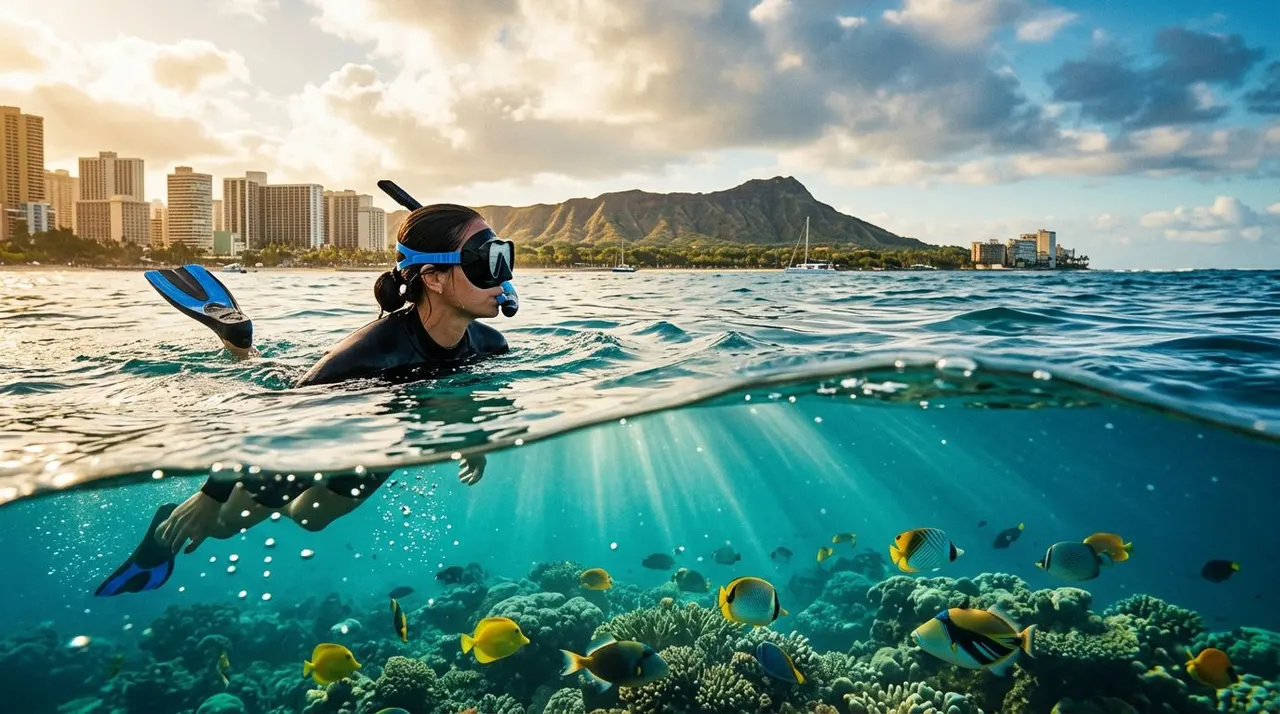
A beautiful reef can make you forget which way you came. When you’re snorkeling Oahu, landmarks help you stay oriented, conserve energy, and return to your boat or beach without guessing.
The best reference points are large, fixed features such as Diamond Head, the Waikiki skyline, shoreline parks, and distinct headlands. Before you enter the water, choose your landmarks and learn how they look from the surface. Then use them with your buddy, your guide, and current conditions.
Why Landmarks Matter While Snorkeling Oahu
Once your face is in the water, your view changes. You may focus on coral, tropical fish, or a Hawaiian green sea turtle and lose track of the shoreline. Waves can also turn you around, while glare makes familiar buildings appear different from the water.
A landmark gives you a visual reference. It tells you where land is, which direction your boat sits, and whether you’re drifting away from your starting point. You don’t need advanced navigation skills. You need a few clear reference points and the habit of checking them.
Choose features that are:
- Fixed: Use mountains, buildings, parks, and shoreline formations rather than another swimmer or a moving boat.
- Distinctive: Diamond Head is easier to recognize than a long row of similar hotels.
- Visible from the water: A landmark hidden behind trees or low buildings won’t help once you swim farther offshore.
- Easy to describe: You and your buddy should use the same name for each reference point.
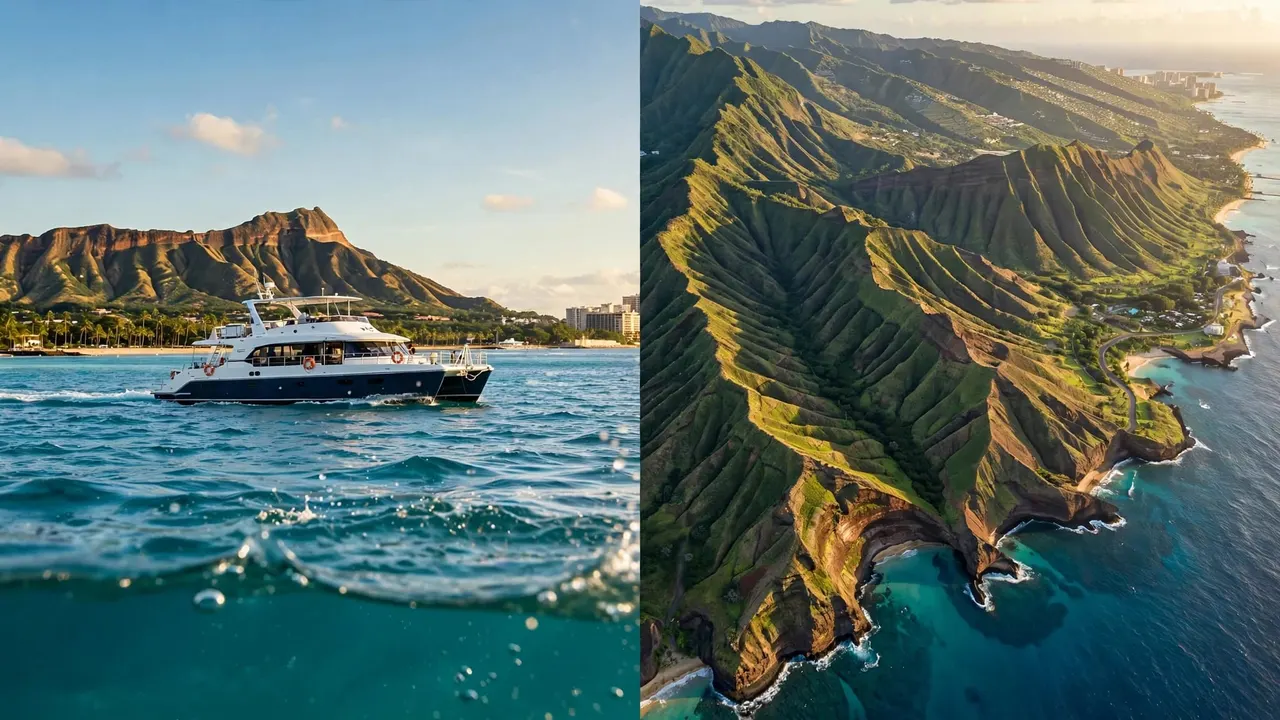
Diamond Head is one of the most useful landmarks along the Waikiki coast. Its broad crater shape stands out against the skyline, even when you’re some distance from shore. You can also use the Waikiki hotel line, Ala Moana Beach Park, or the higher buildings near downtown Honolulu.
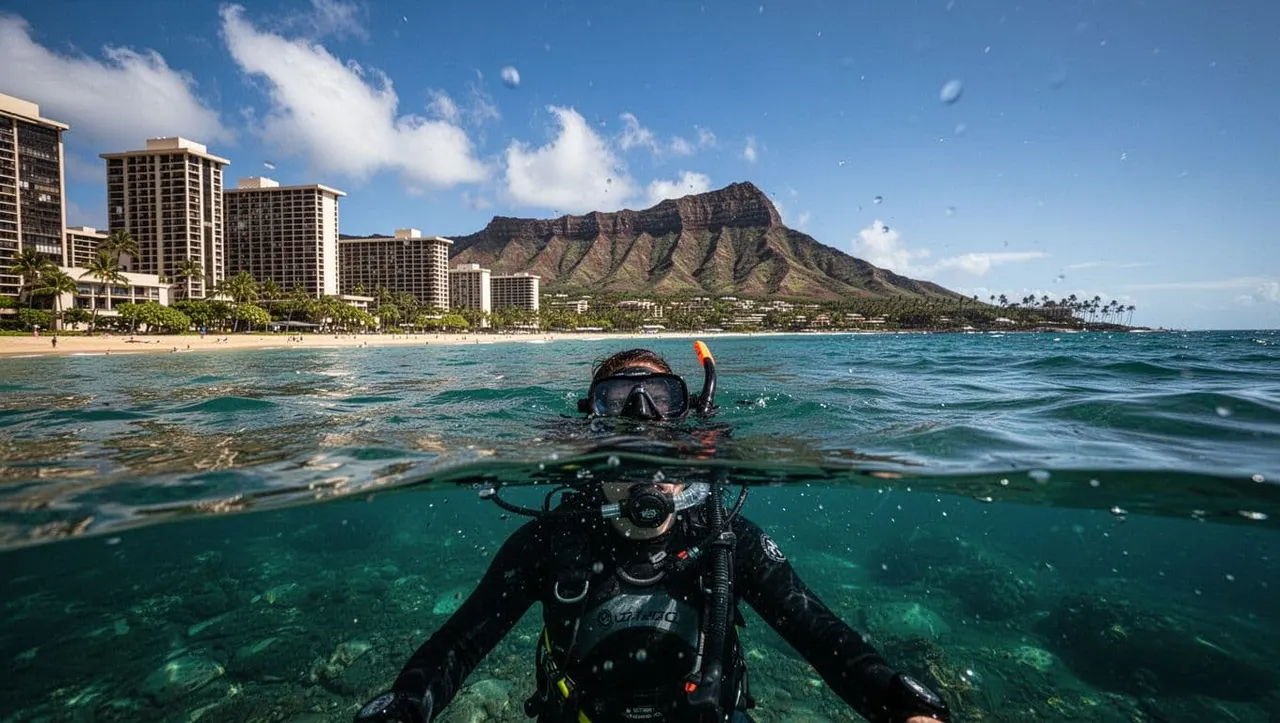
Before your trip, review visitor tips for snorkeling on Oahu and compare the landmarks you expect to see with the actual shoreline. That small bit of preparation can make your first view from the water much easier to read.
Build Your Landmark Plan Before Entering the Water
Take a few minutes on the beach, dock, or boat before you start snorkeling. Look toward shore and identify two or three features in different directions. Then turn around and notice the open-water view, including the position of your boat, nearby vessels, and any visible buoys.
Your first landmark should show your general direction. For example, you might use Diamond Head to identify the eastern side of Waikiki. Your second landmark should help you judge your position along the coast. A particular hotel cluster, park, or breakwater can tell you whether you’ve moved east or west.
Use a simple mental map:
- Identify your starting point. Note the beach, dock, or boat where you entered the water.
- Choose a large landmark. Pick a mountain, crater, or clearly visible shoreline feature.
- Choose a secondary reference. Use a building, park, or headland that helps you estimate your position.
- Check your view regularly. Lift your head every few minutes instead of waiting until you feel lost.
You can also use alignment. If Diamond Head appears directly behind a certain section of the shoreline, remember that view. When the crater shifts far to one side, you know your position has changed.
Keep the plan simple. Three landmarks are usually enough. Too many reference points can make you hesitate, especially when glare, clouds, or waves change the view. Tell your buddy what you’re watching so both of you can make the same decision if you need to head back.
Your landmarks should guide your direction, not replace your safety plan. Strong current, wind, or boat traffic can change your route. If the water becomes rough or you feel tired, return to your starting point with your buddy or follow your guide’s instructions.
Use Shoreline Features to Maintain Direction
Snorkeling requires frequent surface checks. You can study the reef below while swimming, but you should lift your head often enough to confirm your position. A quick glance can prevent a long, tiring swim in the wrong direction.
Try to swim in short sections. After exploring one area, pause, look toward shore, and compare the landmark view with what you saw at the beginning. Ask yourself whether the main landmark is still in front of you, farther to the side, or hidden from view.
When you want to return, aim for a broad area rather than one exact object. Swimming directly toward a single hotel or building can be difficult because the shoreline appears flat from the water. A wider target, such as Diamond Head or Ala Moana Beach Park, gives you more room for small changes in direction.
The sun can help you notice changes in lighting, but don’t treat it as a reliable compass. Clouds move, reflections shift, and your position changes with the current. Shoreline features are easier to verify because they stay in place.
Boats and swimmers can help you locate your group, but they aren’t permanent landmarks. A boat may move, another snorkeler may drift, and a floating marker may look different as waves rise. Use those points only with fixed features on land.
If you’re snorkeling near a reef, avoid swimming with your head down for long stretches. You can miss approaching vessels, other snorkelers, and changes in water depth. A surface check protects your orientation and keeps you aware of what’s around you.
Your strongest navigation habit is simple: look down to explore, then look up to confirm where you are.
Let a Professional Guide Handle the Hardest Navigation
A guided trip gives you more than equipment and a boat ride. It gives you someone who knows the coastline, watches conditions, and helps you focus on the marine life instead of constantly checking your position.
Living Ocean Tours departs from Kewalo Basin Boat Harbor, a short distance from Waikiki Beach. The company is the only tour company with professional snorkel guides, and its crew welcomes first-time snorkelers, families, and experienced swimmers.
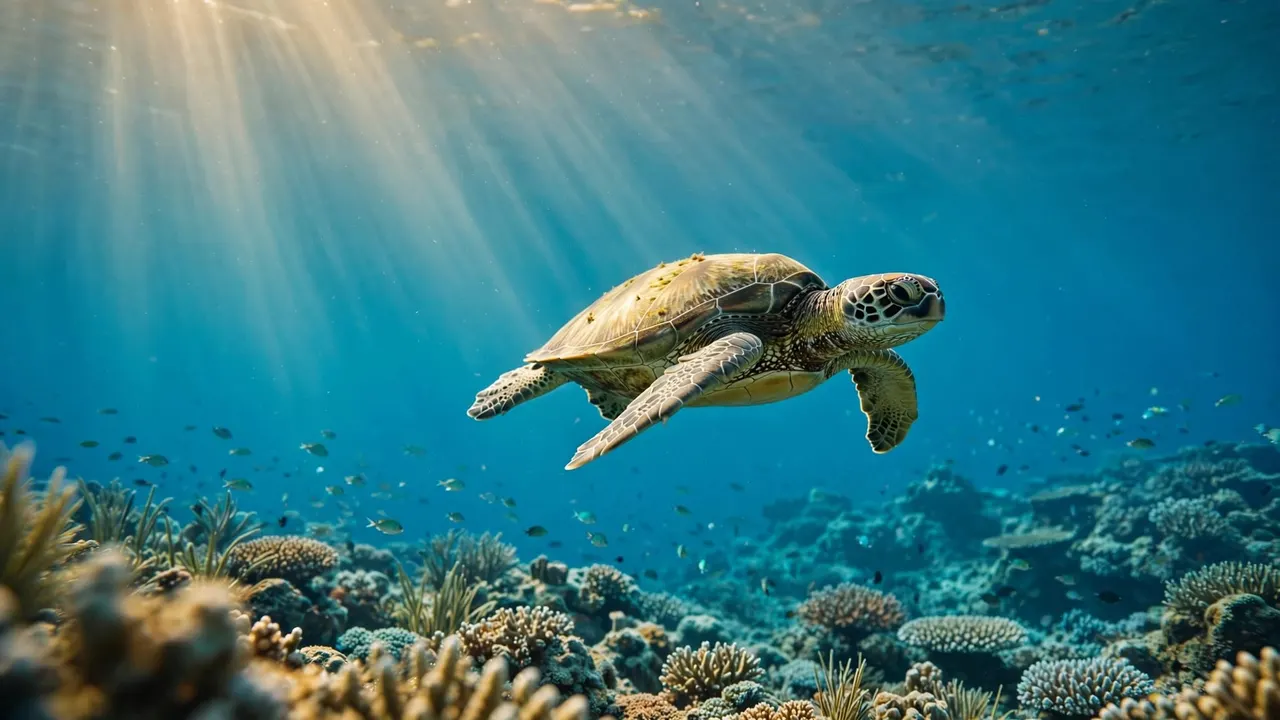
The Turtle Canyons Snorkel Excursion visits a natural underwater cleaning station where Hawaiian green sea turtles often appear. Living Ocean Tours reports a 95% success rate for turtle sightings. Your guide can point out the best surface landmarks before you enter and help you stay with the group during the snorkel.
You can review the Turtle Canyons snorkel tour when choosing a guided option from Waikiki. The Coast Guard-inspected double-decker vessels include shaded seating, restrooms, dry storage, and sturdy ladders for easier water entry.
The Deluxe Waikiki Snorkeling and Wildlife Cruise offers another useful choice for families and couples. The Lokahi features a SeaKeeper stabilization system, shaded areas, and water activities including a boat-mounted slide, water trampoline, and floating lily pad. You can snorkel at a less-crowded reef while the crew keeps track of the group and the surrounding conditions.
When you’re new to snorkeling, professional guidance removes much of the guesswork. You still learn to recognize landmarks, but you don’t have to manage every part of the route alone.
Stay Safe When Landmarks Disappear
Landmarks may vanish behind waves, rain, glare, or a low cloud. That doesn’t mean you should keep swimming and hope the shoreline comes back into view. Stop, float, and let your buddy or guide know that you need to reorient.
Conserve energy instead of fighting the water. The Hawaii Ocean Safety snorkeling guidance recommends floating to conserve energy and considering a flotation device. A relaxed swimmer can think more clearly and return to shore with less effort.
Stay close enough to your buddy that you can communicate. If you separate, don’t swim farther in search of the other person. Follow your agreed plan, signal for help, or return to the boat with assistance from the crew.
Never use a landmark as a reason to cross a boat channel, push through strong current, or enter water beyond your ability. Conditions matter more than your planned route. If the water changes, leave the reef and follow the safest available direction.
Respect the reef while you navigate. Don’t stand on coral, grab rocks, or touch turtles and other marine life. Swimming calmly helps you protect the habitat and keeps animals comfortable. Your guide can show you where to look while maintaining a respectful distance.
Practice the Route Before You Swim Far
Before you explore, spend one minute testing your landmark plan close to the boat or beach. Look toward shore, identify your main feature, then swim a short distance and check it again. You’ll quickly learn how the shoreline looks from different angles.
Keep your mask sealed, your snorkel clear, and your flotation support within reach. If you need to adjust equipment, face the boat or stay beside your buddy while you stop. Equipment problems are easier to solve when you still know exactly where you are.
As you return, use the same landmarks in reverse. Confirm the broad shoreline feature first, then look for your boat, group, or entry point. Avoid swimming directly toward a moving vessel without checking for crew instructions and nearby traffic.
Conclusion
Landmarks turn snorkeling Oahu into a more controlled and comfortable experience. Choose fixed shoreline features before entering, check them often, and use them with your buddy rather than relying on memory.
Diamond Head, the Waikiki skyline, parks, and headlands can keep you oriented, while professional guides can handle route decisions when conditions or visibility change. When you know where you are, you can spend more time enjoying the reef and less time wondering which way to swim.