Snorkeling Oahu: Clear Your Snorkel at the Surface
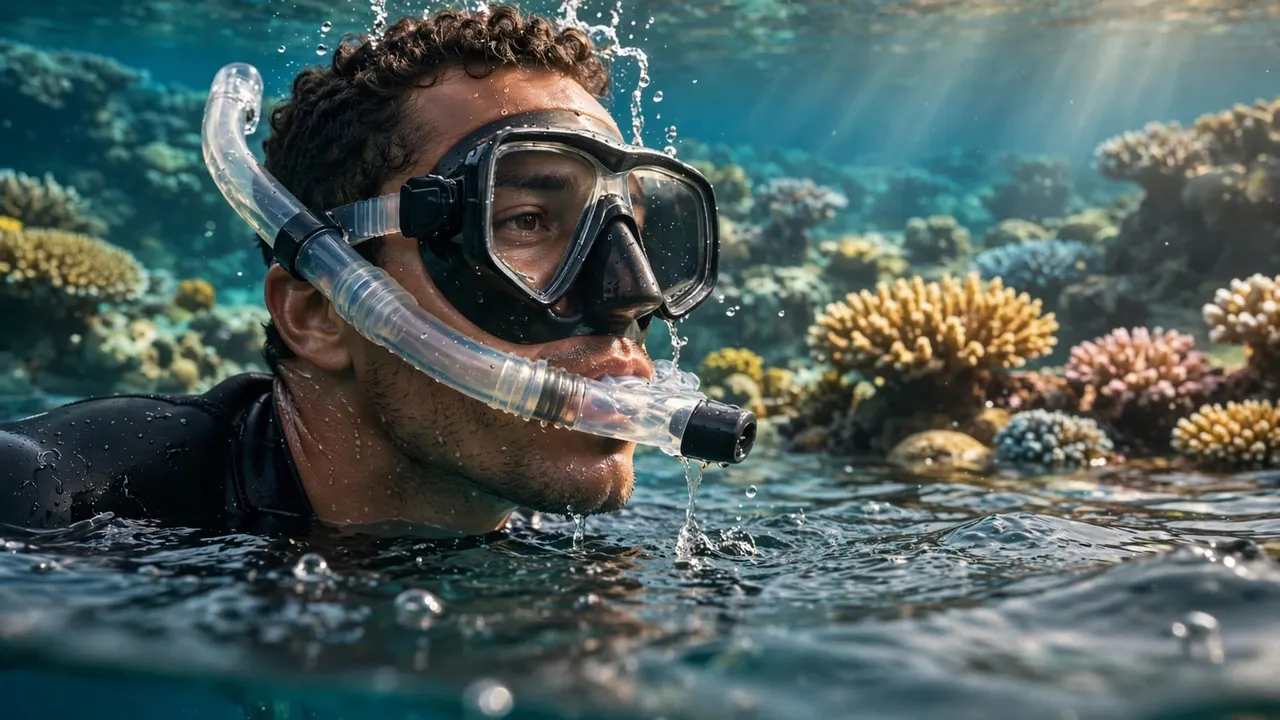
A splash in your snorkel can interrupt a beautiful reef view, but knowing how to respond helps you stay composed. When you’re snorkeling Oahu, your first priority is comfortable breathing, followed by clearing the tube.
Living Ocean Tours helps beginners prepare with equipment fitting, safety instruction, and professional in-water guides near Waikiki. A short clearing lesson before you swim gives you more time to enjoy the reef.
Start by recognizing when you can clear the tube and when you should lift your face for air.
Recognize Water in Your Snorkel
Water in your snorkel often announces itself with a gurgle, bubbling sound, or moisture around the mouthpiece. However, you shouldn’t take a bigger breath to investigate. That can draw water toward your mouth.
A splash can enter the opening, or your head position can push the tube below the surface. Keeping your face angled toward the reef beneath you usually helps the opening stay above water.
Remember that a conventional snorkel only lets you breathe when its opening is above the surface. It doesn’t provide air underwater.
Water inside your mask is a separate problem. You clear a snorkel through your mouth, while mask-clearing techniques involve different actions. Ask your guide to demonstrate both rather than trying to solve a leaking mask by blowing through the tube.
PADI’s instructor manual includes clearing a snorkel and resuming breathing as a taught skill. Learn it with qualified instruction before relying on it offshore.
Clear Your Snorkel Without Lifting Your Face
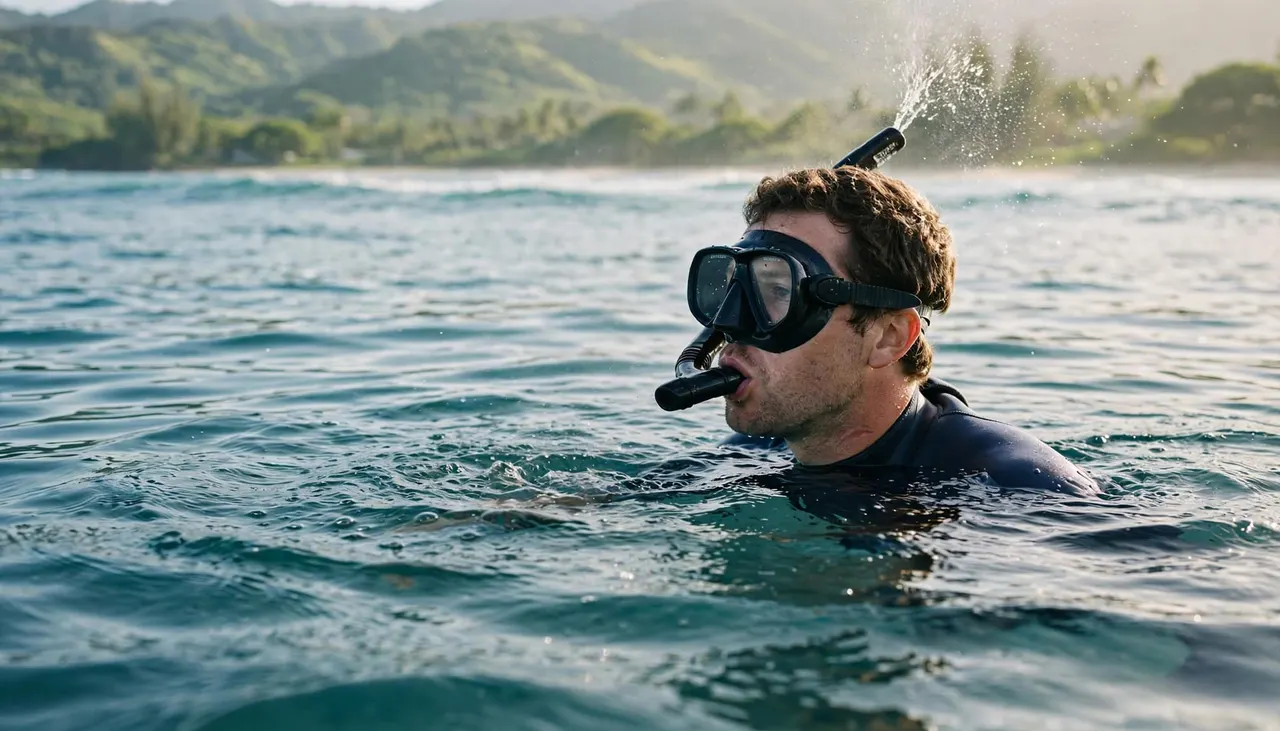
For surface clearing, you need the snorkel opening above water and enough air for a controlled exhalation. Have your guide demonstrate the technique using your actual equipment.
Understand the Blast Clear
The common blast-clearing method uses a short, forceful exhalation through your mouth into the snorkel. That burst pushes water out of the tube. Keep the mouthpiece sealed with your lips rather than letting the air escape around it.
You don’t need to empty your lungs with a long, exhausting blow. The aim is a brief burst, followed by checking whether the airway is clear.
If you haven’t got enough air to exhale comfortably, lift your face and remove the mouthpiece instead. During snorkeling Oahu adventures, preserving an easy breathing rhythm matters more than keeping your face underwater.
Take a Cautious Test Breath
After clearing, begin with a small, cautious inhalation. Don’t immediately gulp a full breath because some water may remain.
If you hear gurgling or feel water, pause. Lift your face if you need fresh air, then ask your guide to help you troubleshoot.
A clearing attempt isn’t complete until you can breathe comfortably. A quieter tube alone doesn’t prove that all the water has gone.
Practice this response under supervision so you can recognize the difference between a clear tube and one that needs attention.
Lift Your Face When Clearing Doesn’t Work
You never have to keep the snorkel in your mouth while struggling for air. If clearing fails, raise your face fully above the surface, remove the mouthpiece, and breathe normally.
Use your properly fitted flotation support as instructed. Then alert your buddy or guide. Avoid frantic kicking, which uses energy and makes communication harder.
Once you’re settled, you can drain the snorkel and check its position with assistance. Don’t repeatedly blow through a flooded tube until you’re exhausted.
If you cough, stop snorkeling and recover with your airway above water. Persistent coughing, chest discomfort, or unusual breathlessness means you should leave the water with assistance and seek immediate medical help.
For an emergency, have someone call 911. At staffed beaches, alert the lifeguard immediately. The Honolulu Ocean Safety Department responds to beach and nearshore emergencies on Oahu.
Your reef visit can wait. Returning to comfortable breathing is the immediate goal.
Before Snorkeling Oahu, Check Your Gear
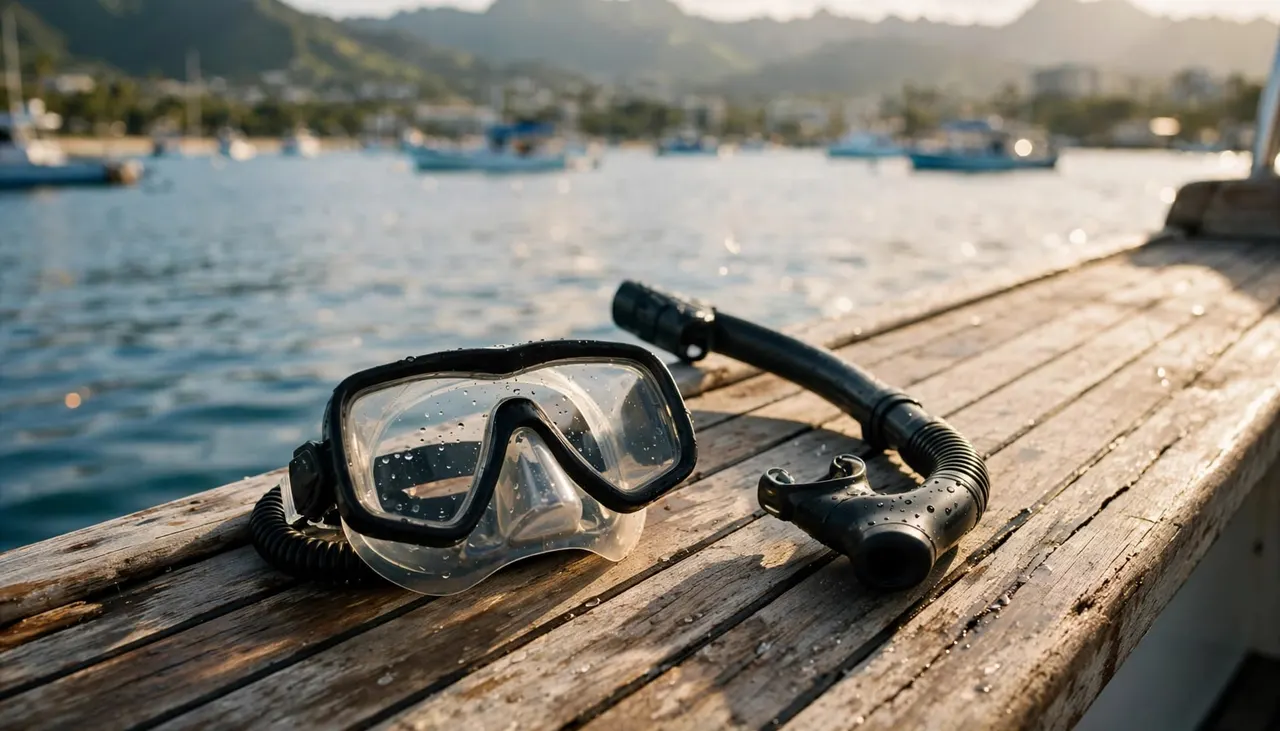
A quick equipment check helps you avoid preventable interruptions. Ask for help before entering if anything feels loose, uncomfortable, or difficult to breathe through.
Fit the Mouthpiece and Mask Separately
Your lips should seal around the mouthpiece comfortably. Bite tabs help hold it in position, but clenching hard can tire your jaw.
Meanwhile, your mask should fit without requiring an overly tight strap. Move hair away from the sealing edge and ask your guide to check persistent leaks.
A leaking mask doesn’t necessarily mean your snorkel is flooded. Identifying which piece of equipment needs attention saves you from repeating the wrong clearing action.
For children, fit matters as much as instruction. Have the crew assess the equipment rather than assuming an adult-sized mouthpiece will work.
Check the Tube’s Position
Make sure the snorkel attachment holds the tube in a comfortable position beside your head. When you’re face-down, its opening needs to stay above the water.
Ask your guide to explain any valves or moving parts on your rental snorkel. Don’t assume every model clears in exactly the same way.
Even with a dry-top design, you still need to know how to respond to water or interrupted airflow. If breathing feels restricted during your equipment check, stop and ask for another assessment.
Practice Before You Reach the Reef
A pool or suitable sheltered setting gives you room to learn without dividing your attention between equipment and marine life. When planning snorkeling Oahu outings, make practice part of your preparation.
Learn With Qualified Supervision
First, get comfortable breathing through the snorkel while your face is in the water. Then ask an instructor or qualified guide to introduce clearing practice appropriate to your equipment.
Don’t deliberately flood your snorkel alone or practice while struggling to stay afloat. You should already feel supported and able to lift your face easily.
Your goal is a calm response, not a fast performance. Repeat only while you’re comfortable, and take breaks before you become tired. Familiarity with your gear makes the first ocean entry less distracting.
Agree on Buddy Signals
Before entering, ask which signals mean “I’m okay,” “I need help,” and “I want to return.” Signals can differ between groups, so confirm them during the briefing.
Keep your buddy close enough to notice a problem. A partner swimming far ahead can’t help you promptly.
For families, an adult should remain attentive to each child’s comfort and breathing. Guides provide valuable support, but parents shouldn’t assume group supervision replaces their own attention.
Choose Conditions That Support Easy Breathing
Technique helps, but conditions still matter. Repeated splashes, surge, or fatigue can turn a simple equipment issue into a stressful swim.
Hawaii Ocean Safety’s snorkeling guidance generally favors morning conditions and advises avoiding dawn, dusk, and murky water. However, a morning departure doesn’t guarantee suitable conditions.
Before snorkeling Oahu reefs, check current conditions and follow the crew’s or lifeguard’s advice. Beginners should avoid using a rough-water outing as their first clearing lesson.
Calm-looking water also deserves respect. The Hawaii Ocean Watch safety guide shares guidance developed in response to snorkeling-related drownings, including incidents in calm water.
Stay within your swimming ability and use flotation as directed. If you’re unusually tired or uncomfortable before entering, tell the crew rather than pushing through.
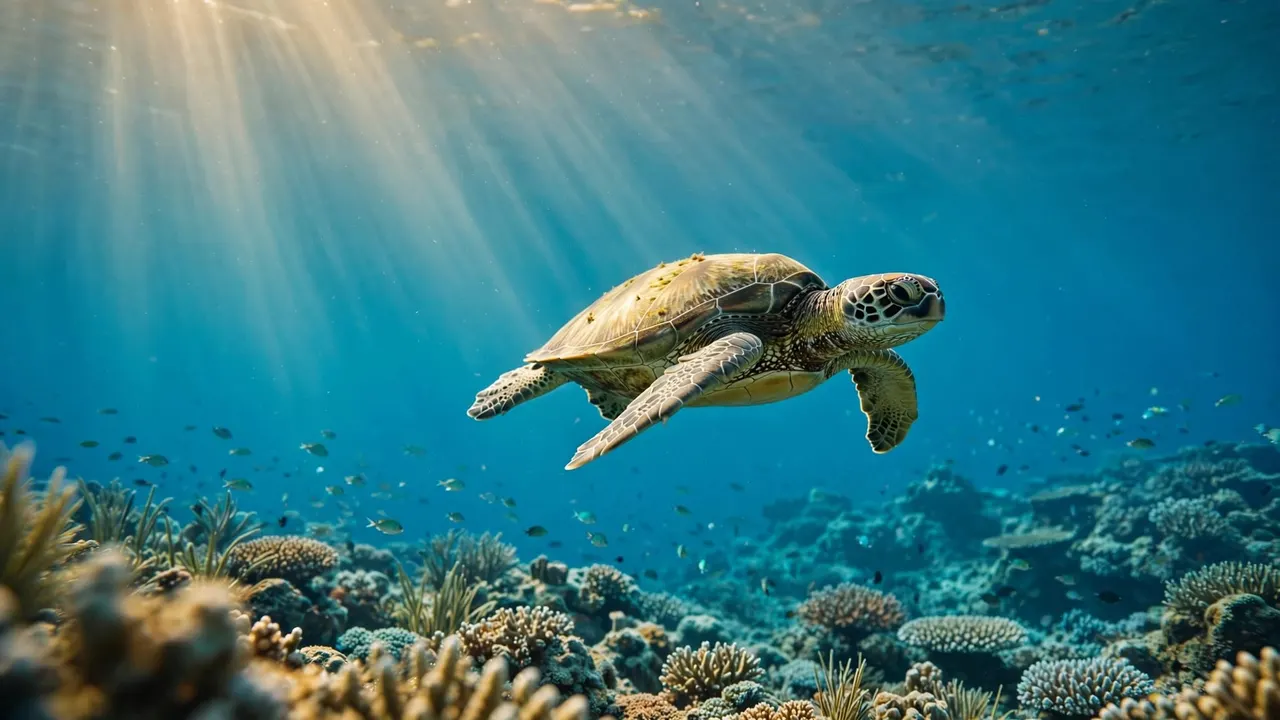
Finally, avoid standing on coral while adjusting equipment. Signal for assistance or move to an appropriate exit. Give Hawaiian green sea turtles space, and observe wildlife without touching or chasing it.
Get In-Water Support Near Waikiki
When you’re snorkeling Oahu for the first time, a guide nearby gives you someone to ask when equipment feels unfamiliar. You can request another demonstration before leaving the boat instead of trying to remember everything mid-swim.
Living Ocean Tours operates from Kewalo Basin Boat Harbor near Waikiki. The family-owned company provides snorkel equipment, flotation support, safety briefings, and in-water assistance. It describes itself as Oahu’s only tour company with professional snorkel guides.
You can compare its guided Oahu snorkeling excursions based on your group’s swimming confidence and interests. Tell the crew about first-time snorkelers, young children, or concerns about breathing before entering.
Ask to practice removing the mouthpiece, getting fresh air, and clearing your particular snorkel. That attention helps you spend less time adjusting gear and more time observing reef life respectfully.
If turtles are your main interest, CHECK AVAILABILITY for a Turtle Canyon outing, and discuss your comfort level with the crew before booking.
Key Takeaways for Surface Clearing
Keep these priorities in mind when you’re snorkeling Oahu:
- Learn the clearing technique with qualified instruction, using the equipment you’ll take into the water.
- Keep the snorkel opening above the surface and check your breathing cautiously after clearing.
- Lift your face and remove the mouthpiece whenever you need air or feel uncomfortable.
- Stay close to your buddy or guide, and stop if coughing, fatigue, or breathing difficulty develops.
Comfort comes before technique. You can pause, get assistance, or end your swim without completing another clearing attempt.
Frequently Asked Questions About Snorkel Clearing
Should You Blow Through Your Nose or Mouth?
You clear a conventional snorkel by exhaling through your mouth into the mouthpiece. Blowing through your nose addresses a different space, your mask. Ask your guide to demonstrate both skills so you don’t confuse them when water interrupts your swim.
Why Does Your Snorkel Keep Refilling?
Splashes, an opening dipping below water, or an equipment issue can cause repeated flooding. Head position also matters. Rather than repeatedly forcing water out, stop and have your guide check the tube, attachment, and mouthpiece. Change conditions or equipment if needed.
Can You Remove the Snorkel Instead of Clearing It?
Yes. At the surface, you can lift your face, remove the mouthpiece, and breathe normally. This is a sensible response when you need air or feel uncomfortable. Clear and reposition the equipment only after you’re settled, with help if necessary.
Finish Your Swim With Confidence
A flooded snorkel is easier to handle when you’ve practiced and know how to get fresh air. Learn the clearing method with a qualified guide, then check that breathing feels comfortable before continuing.
For your Oahu adventure, keep an easy exit from discomfort in mind: lift your face, remove the mouthpiece, and ask for help. That habit lets you enjoy the reef without rushing through a breathing problem.