Snorkeling Oahu: How to Find Safe Reef Exit Points
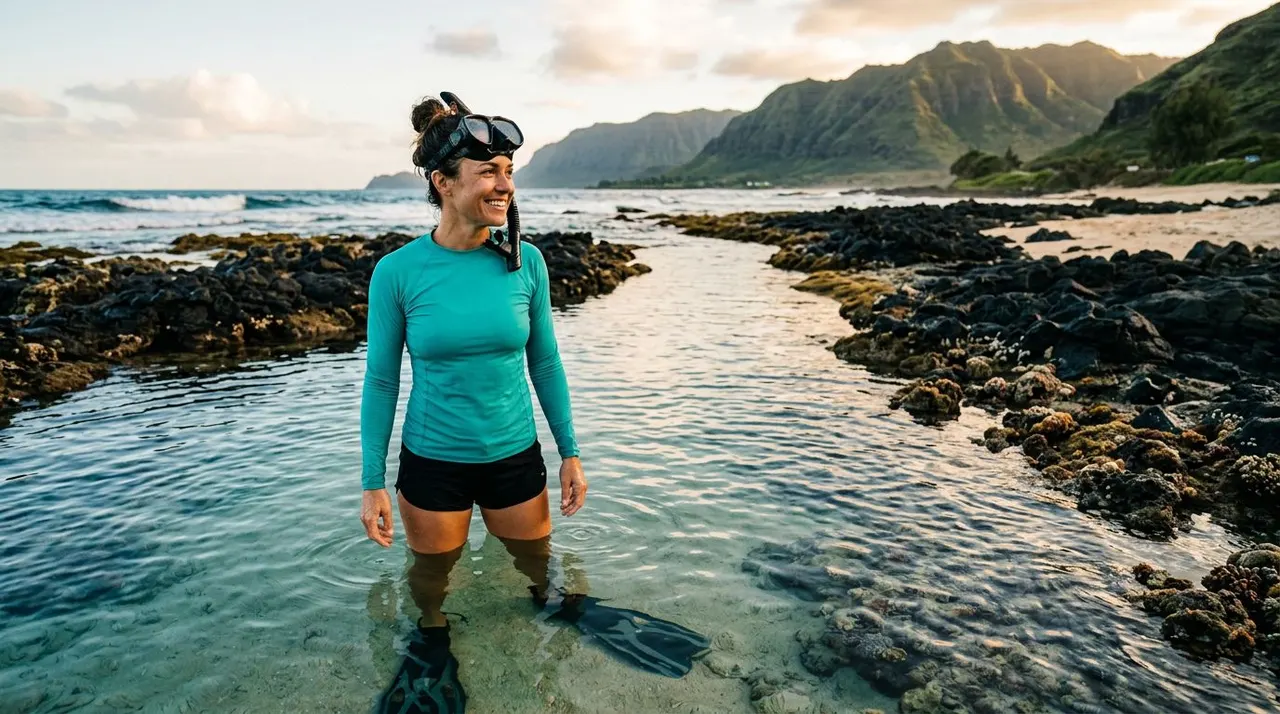
An easy swim can become a difficult scramble when you reach shore and find shallow coral, slippery lava, or breaking waves. The safest reef exit point is usually the route you identify before leaving the beach, not the closest patch of land.
Snorkeling Oahu becomes far more comfortable when you plan your return with the same care as your entry. By checking conditions, spotting sandy channels, and asking for help when currents change, you can protect yourself and the reef. Start with the water, then choose your exit.
Snorkeling Oahu Starts With a Safe Exit Plan
Your exit route should be visible before you enter. Look for a sandy opening, a low-surge channel, or a marked access area that leads toward shore without crossing live coral.
A route that looks easy at high tide may become shallow and exposed later. Sun glare can also hide rocks, channels, and moving water. Spend time watching the shoreline before you put on your fins.
Watch the water before you choose a route
Observe several wave sets rather than judging conditions by one calm moment. Look for water moving steadily offshore, a darker channel between breaking waves, foam traveling away from land, or waves breaking harder on one side of the beach.
Check the posted flags and warning signs. Green usually indicates low hazard, while yellow calls for extra care near the lifeguard area. Red means high hazard, and double red means the water is closed. You can review Hawaii’s ocean safety guidance before heading to the beach.
If the water looks confusing, rough, or stronger than your swimming ability, choose another location or postpone the swim.
Look for sand, not the shortest path
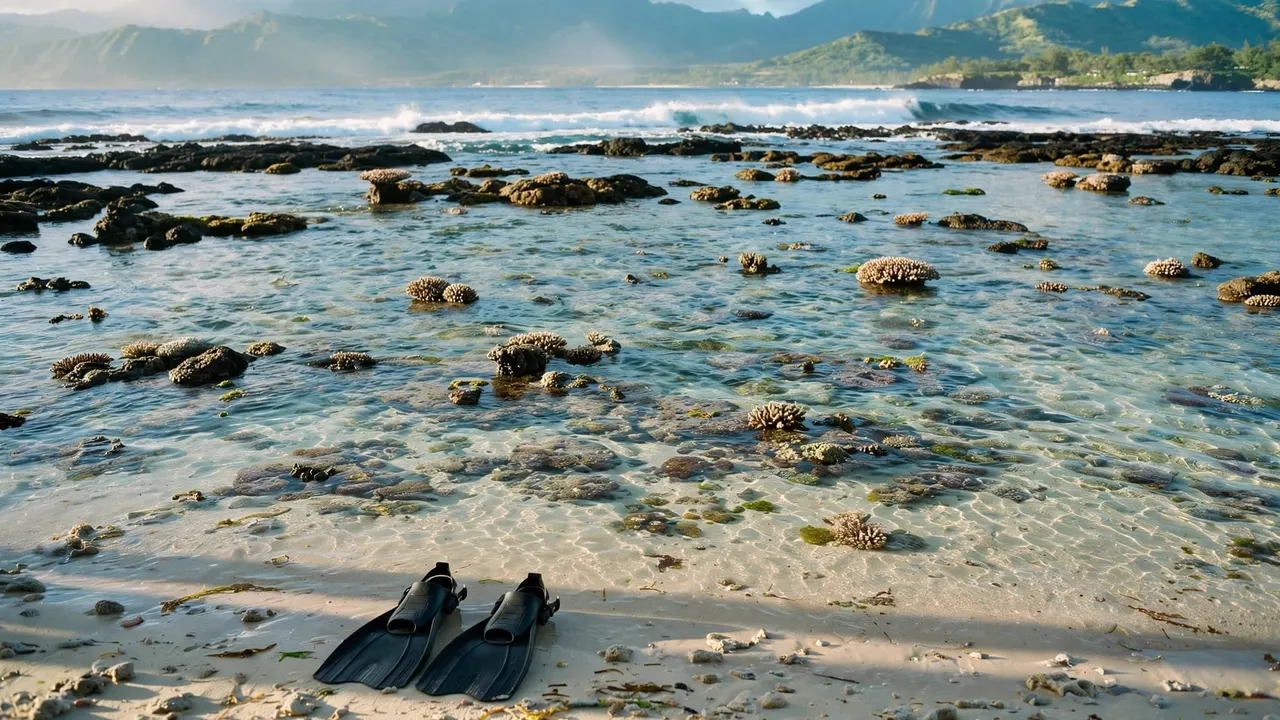
A sandy patch is usually a better exit than a direct route over reef rock. Sand gives you room to remove your fins without standing on coral. It also reduces the chance of slipping on algae-covered surfaces.
Before entering, point toward the sandy area and remember a nearby landmark. A tree, building, lifeguard tower, or distinctive shoreline shape can help you find the same route later.
Your exit route should protect both you and the reef. If the path requires standing on coral, it isn’t the right path.
How to Find Safe Reef Exit Points on Oahu
A safe reef exit depends on current conditions, tide, visibility, and your swimming ability. Maps and vacation photos can show where a reef is located, but they can’t tell you whether waves are breaking across the access channel today.
Read wave shape and current
Breaking waves usually reveal shallow areas. A smooth, darker section between breaking waves may indicate deeper water, but it can also mark a rip current. Watch how foam and floating material move before assuming a channel is safe.
Avoid exits where waves push directly onto rocks. Shorebreak can knock you down before you reach shallow water. If you see water surging back and forth over a narrow opening, choose a wider sandy route or ask a lifeguard.
The Honolulu Ocean Safety Department’s beach-sign guidance explains how rip currents work and what the warning signs mean. Read the signs before you enter, not after the current starts pulling you away.
Mark your exit while visibility is good
Keep your exit in sight during the swim. If you travel along the reef, look back toward shore every few minutes. This helps you recognize the correct channel when the coastline looks different from the water.
Leave extra distance between yourself and the reef when returning. Fins can push your feet toward coral, while waves can move your body sideways without you noticing. Slow your kick in shallow water and keep your body horizontal whenever possible.
Choose the Right Oahu Shoreline for Your Skill Level
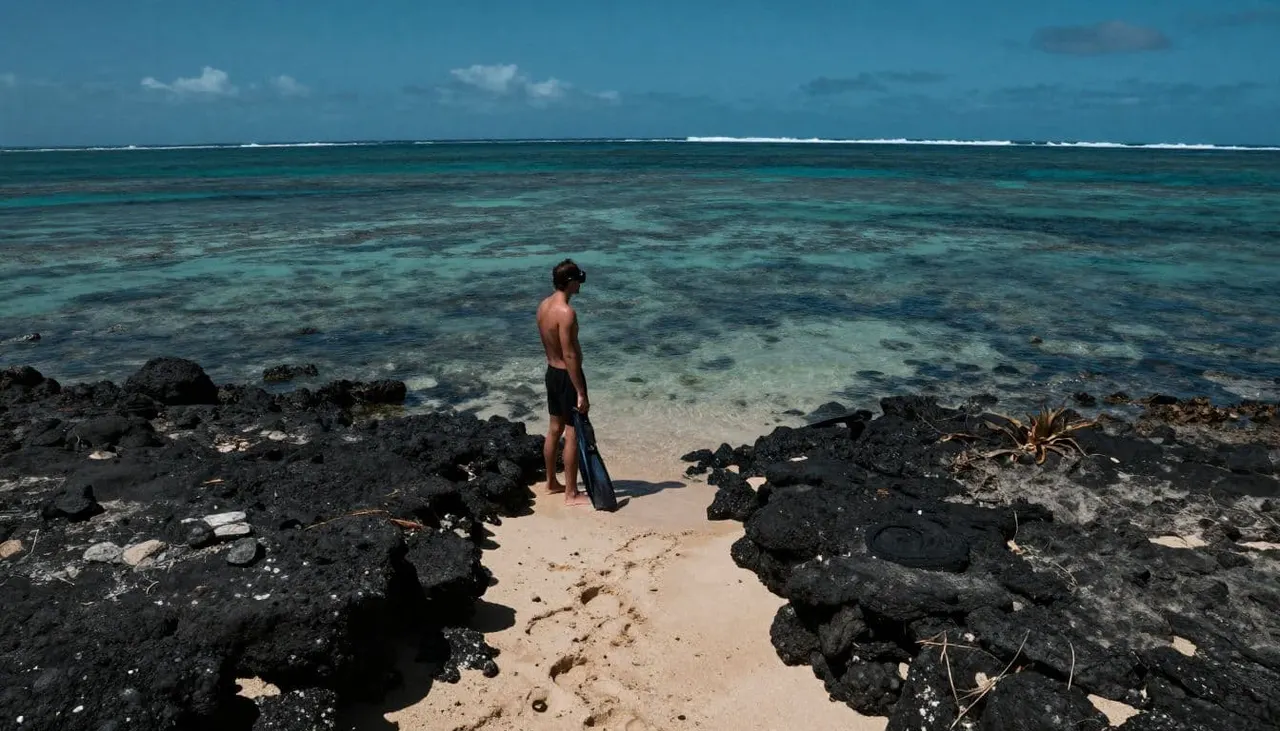
Oahu has protected beaches, rocky coves, offshore reefs, and exposed coastlines. Each setting requires a different exit plan. A location that works for a strong ocean swimmer may be a poor choice for a beginner or young child.
Before you go, check current Oahu beach conditions and confirm whether lifeguards are present.
Waikiki and Hanauma Bay
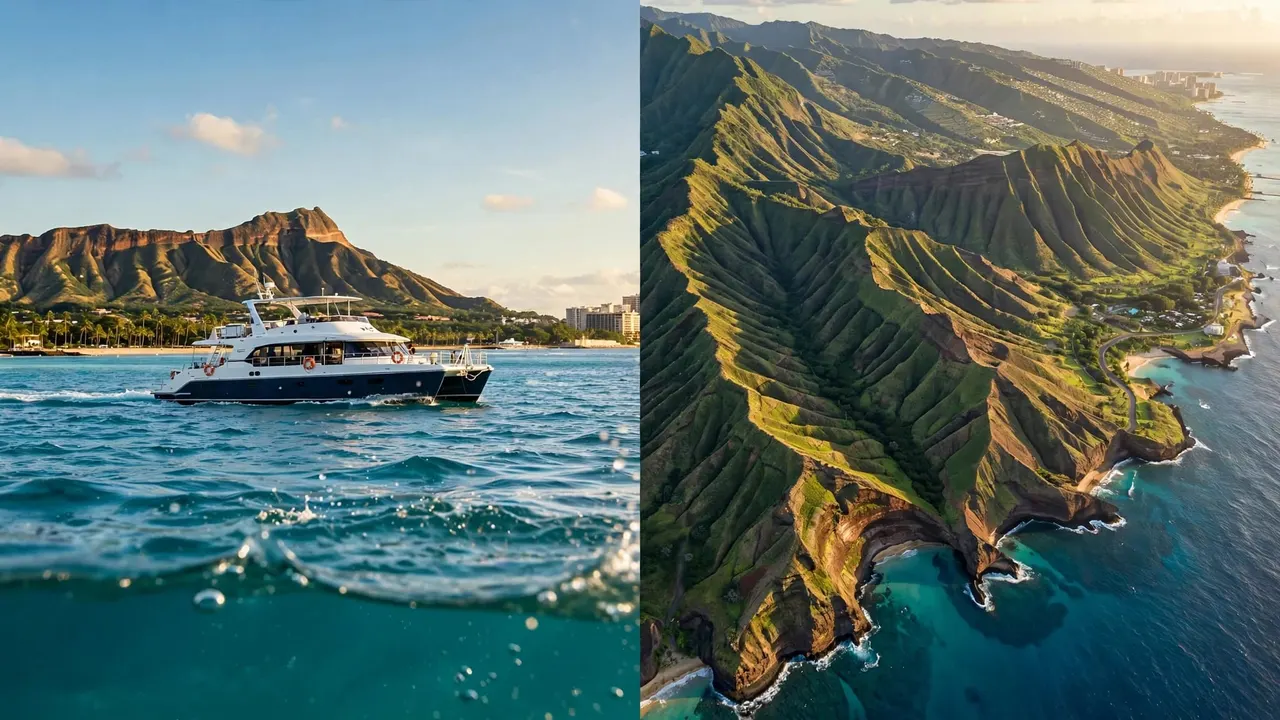
Waikiki is convenient for visitors and includes lifeguarded beach areas, but conditions can still change. Choose a sandy entry and exit near the lifeguard station. Ask the lifeguard which part of the beach has the calmest access that day.
Hanauma Bay is a popular snorkeling location with lifeguards, yet some areas become hazardous in rough water. The outer reef can have stronger currents, especially when traveling to or from the bay. At low tide, you may need to use channels on either side of the middle of the bay rather than trying to cross the reef directly.
Stay inside the protected area if you can’t clearly identify the return route. Never walk across coral or sit on exposed reef while adjusting equipment.
Shark’s Cove and rocky shore entries
Shark’s Cove is a rocky shoreline with no lifeguards. Only enter when conditions are calm and you have strong ocean-swimming skills. Wet rocks, surge, and uneven footing can make leaving harder than entering.
Wear suitable water footwear if local conditions and posted guidance allow it, but don’t treat footwear as protection from waves. Keep your hands free, move slowly, and use stable rock only when necessary. If the access area is slippery or waves are surging through the cove, stay out.
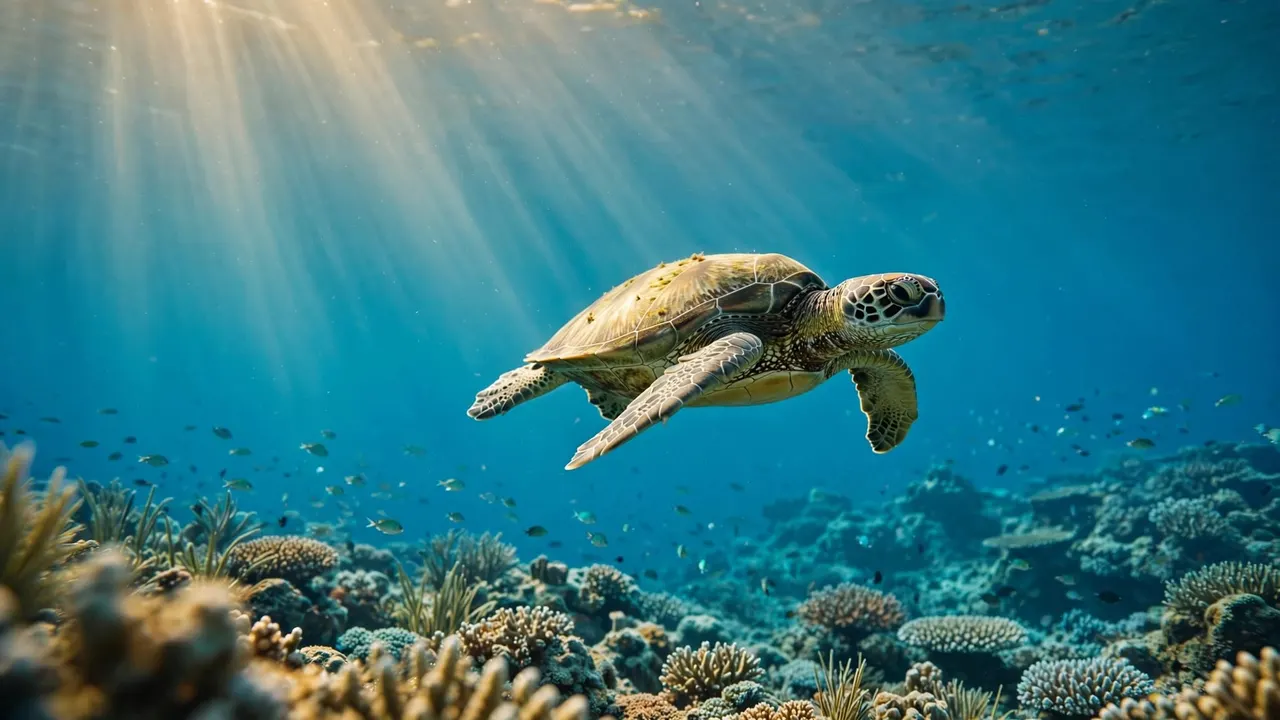
Turtle Canyon is an offshore destination, not a typical shore-entry snorkeling site. Strong currents can affect the swim to and from the reef, so a guided boat trip is often a better fit than attempting to find a rocky exit on your own.
Why a Guided Boat Entry Can Be Safer
When you snorkel from a boat, you don’t need to cross a shallow reef or climb over slippery lava to reach the water. You enter from a designated ladder and return to the vessel when the crew calls you in. That removes one of the most awkward parts of a shore snorkel.
Professional guidance helps you read conditions
Living Ocean Tours operates from Kewalo Basin Boat Harbor, a short distance from Waikiki. The company is the only tour company with professional snorkel guides, and the crew gives beginners clear instructions before they enter.
You receive help with equipment, water entry, and the return signal. The guides can also adjust the plan when visibility, wind, or current changes. Their Coast Guard-inspected double-decker vessels, Coral Kai and Lokahi, include shaded seating, restrooms, dry storage, and heavy-duty ladders.
The Lokahi also has a SeaKeeper stabilization system that reduces rolling while you wait to enter or return aboard. That added stability can make the experience more comfortable for families and guests who are unsure about boat travel.
You can compare Turtle Canyons snorkeling excursions before choosing your day on the water.
Turtle Canyon and the deluxe cruise option
The Turtle Canyon Snorkel Excursion focuses on a natural cleaning station where Hawaiian green sea turtles are often seen. Living Ocean Tours reports a 95% success rate for turtle sightings. You still need to observe wildlife without touching, chasing, or blocking its path.
For families who want more time on the boat, the Deluxe Waikiki Snorkeling and Wildlife Cruise visits a less-crowded reef and includes a boat-mounted waterslide, water trampoline, and floating lily pad. The crew helps you choose a comfortable exit from the water, and the vessel’s ladder gives you a controlled way back aboard.
If you prefer a guided Turtle Canyon experience, you can CHECK AVAILABILITY.
If a waterslide and wildlife cruise suit your group, you can CHECK AVAILABILITY.
Leave the Reef Without Damaging It
Your final approach matters as much as the first few minutes of the swim. Coral is living habitat, and even one careless step can break fragile structures or injure you.
Use a calm, sandy exit channel
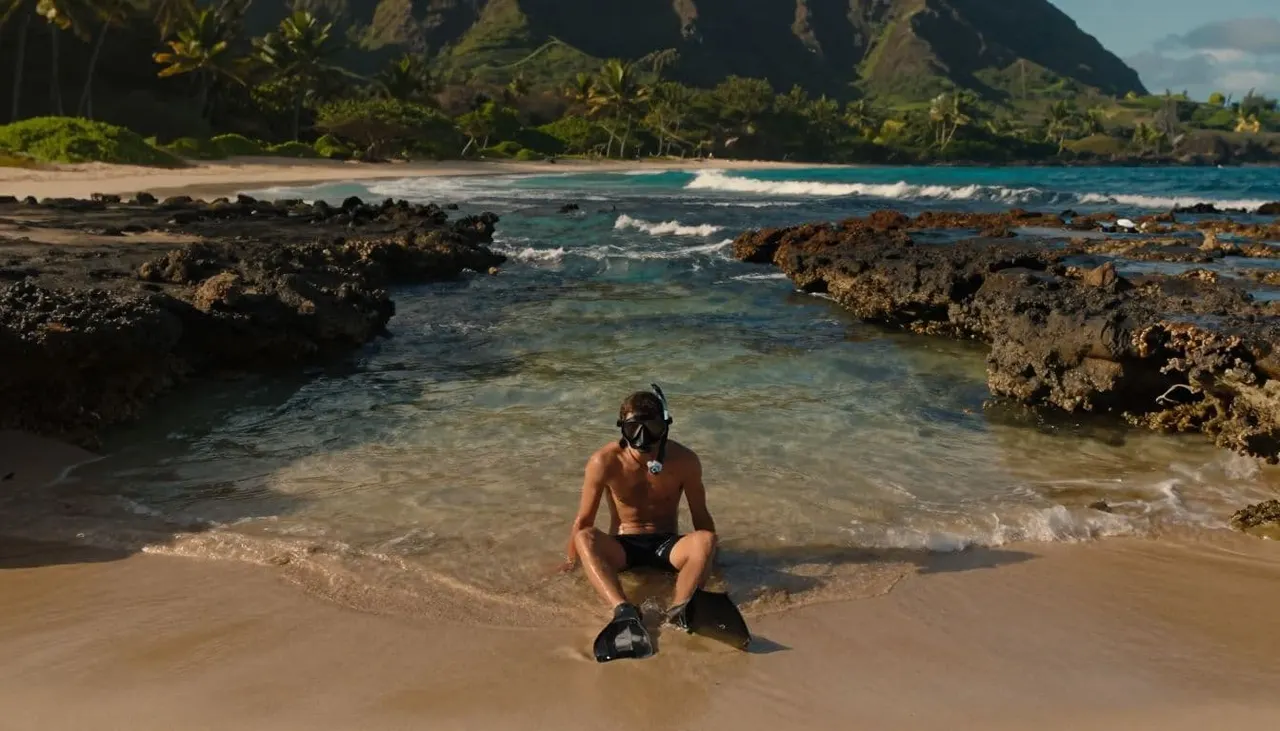
When you reach shallow water, stop kicking over coral. Keep your fins on while you can still float, then move toward a sandy area. Once you have enough space, remove the fins while seated or supported in the water.
Use your hands for balance on sand, never on living coral. Keep your body low if waves are moving through the area. Avoid pushing against rocks unless a lifeguard or guide directs you to a stable location.
Your fins can stir up sediment, which reduces light for reef organisms. Slow movements protect the bottom and help you keep your balance.
Know what to do if a rip current pulls you out
Don’t swim directly against a rip current. That response wastes energy and can take you farther from shore. Stay calm, float if you need to recover, and swim parallel to the beach until the pull weakens. Then angle toward shore.
If you can’t break free, signal for help. A raised arm and a clear call can help lifeguards or your buddy locate you.
Never continue toward a reef exit if the current is carrying you away from it. Let the current move you past the channel, then swim back only after you are clear of the strongest flow.
A Simple Reef Exit Routine
Use the same sequence each time you return to shore:
- Slow down before reaching shallow water and identify the sandy area.
- Keep your body horizontal so your fins and knees stay away from coral.
- Remove your fins only in a calm, sandy section where you can sit or float.
- Move toward shore with small, controlled steps or a low crawl.
- Stop if waves become stronger, then ask a lifeguard or guide for direction.
If you’re snorkeling with children, have an adult exit first and identify the safest route. Keep the group together without crowding the channel. A buddy should watch the water while another person helps a child remove fins.
Conclusion
A safe reef exit begins before you enter the water. Watch the waves, check warnings, identify sand or an open channel, and stay within your swimming ability.
When the route is unclear, a guided boat trip gives you professional support and a controlled ladder entry. Whether you choose a lifeguarded beach or a Turtle Canyon excursion, protect yourself by respecting the water and protect Oahu by observing reef life without touching it.