
Snorkeling Oahu: How to Prevent Swimmer’s Ear
A day of snorkeling Oahu’s clear Pacific waters can leave you with unforgettable memories, but trapped moisture can also irritate your ears. Swimmer’s ear develops when water remains in the ear canal and creates conditions for bacterial growth.
You can lower your risk with a few simple habits before, during, and after your swim. The right preparation helps you enjoy Turtle Canyon, reef fish, and warm Hawaiian water without ending your outing with ear pain.
Why Swimmer’s Ear Happens During Ocean Activities
Swimmer’s ear, also called otitis externa, affects the outer ear canal. It differs from the pressure discomfort you may feel when diving deeper or flying.
Moisture irritates the ear canal
Water can soften the thin skin inside your ear canal. Salt, sand, sunscreen, and repeated rubbing may then irritate that skin. Once the protective barrier becomes damaged, bacteria have a better chance to multiply.
You may notice itching first. Pain, tenderness when you pull the outer ear, drainage, swelling, or muffled hearing can follow. According to Mayo Clinic’s explanation of swimmer’s ear symptoms, discomfort often affects the ear canal rather than the deeper parts of the ear.
Snorkeling creates repeated exposure
A single splash rarely causes an infection by itself. However, a long snorkel session, several swims in one day, or water that stays trapped after you leave the ocean can increase irritation.
Frequent mask adjustments may also cause problems if you scratch around your ears with wet or sandy hands. Keeping your hands away from the ear canal is one of the easiest protective steps.
Prepare Before You Enter the Water
A little planning can prevent small irritations from becoming a painful interruption. Check your ears before leaving your hotel, then bring gear that helps limit unnecessary water exposure.
Check your ears before snorkeling
Don’t snorkel with an active ear infection, unexplained drainage, or significant pain. Water exposure can make symptoms worse, and a tight mask strap may add pressure around an already tender ear.
If you’ve recently had ear surgery, a perforated eardrum, ear tubes, or recurring infections, ask your healthcare provider which water activities and ear protection are appropriate. Avoid using leftover prescription drops from an earlier infection.
Pack practical ear protection
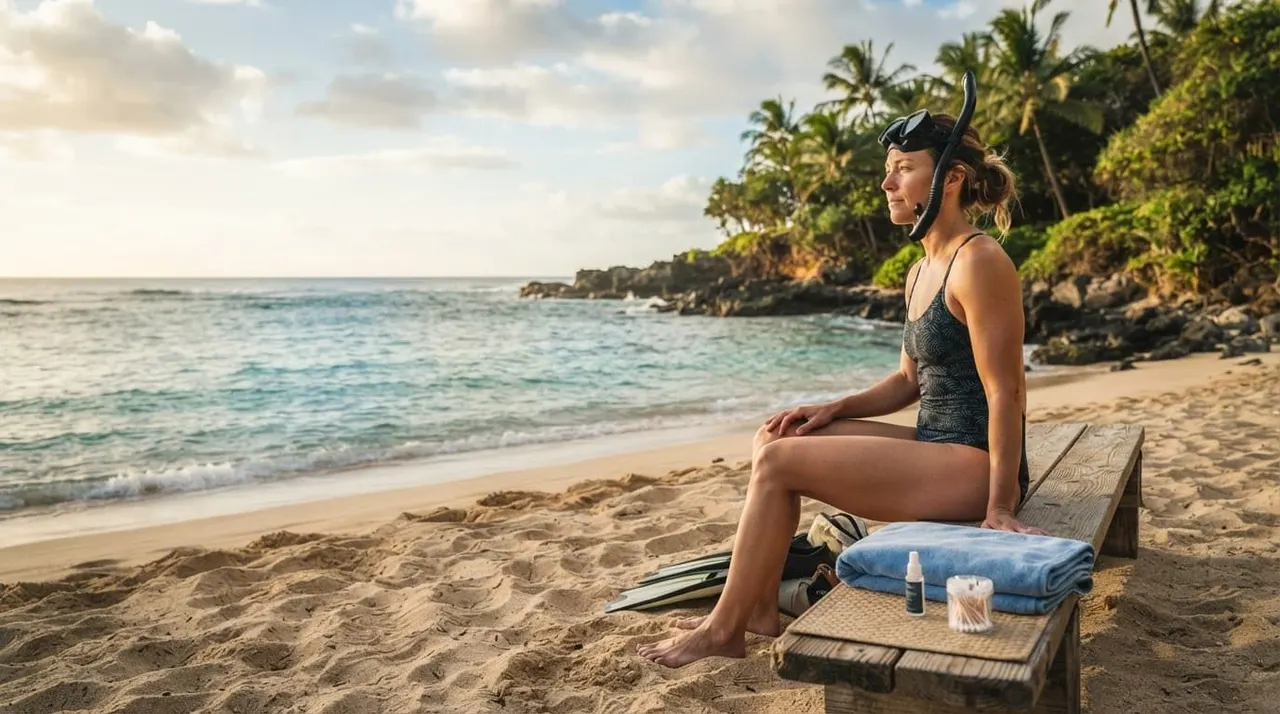
Well-fitting swim earplugs can reduce the amount of water entering your ear canals. Choose products designed for swimming, and test the fit before your trip. They shouldn’t cause pain or make it difficult to hear your guide.
A properly fitted mask also helps. If the strap sits too low or too tightly across your ears, adjust it before entering the water. Pack a clean, dry towel and avoid sharing earplugs, earbuds, or other items that touch your ears.
The CDC’s swimmer’s ear prevention guidance recommends keeping your ears dry, drying them thoroughly after swimming, and asking a healthcare provider about ear-drying drops.
Safe Habits for Snorkeling Oahu
Your behavior in the water affects your ears as much as your equipment does. Stay relaxed, avoid unnecessary underwater time, and take breaks when your ears feel full or irritated.
Keep your snorkeling calm and shallow
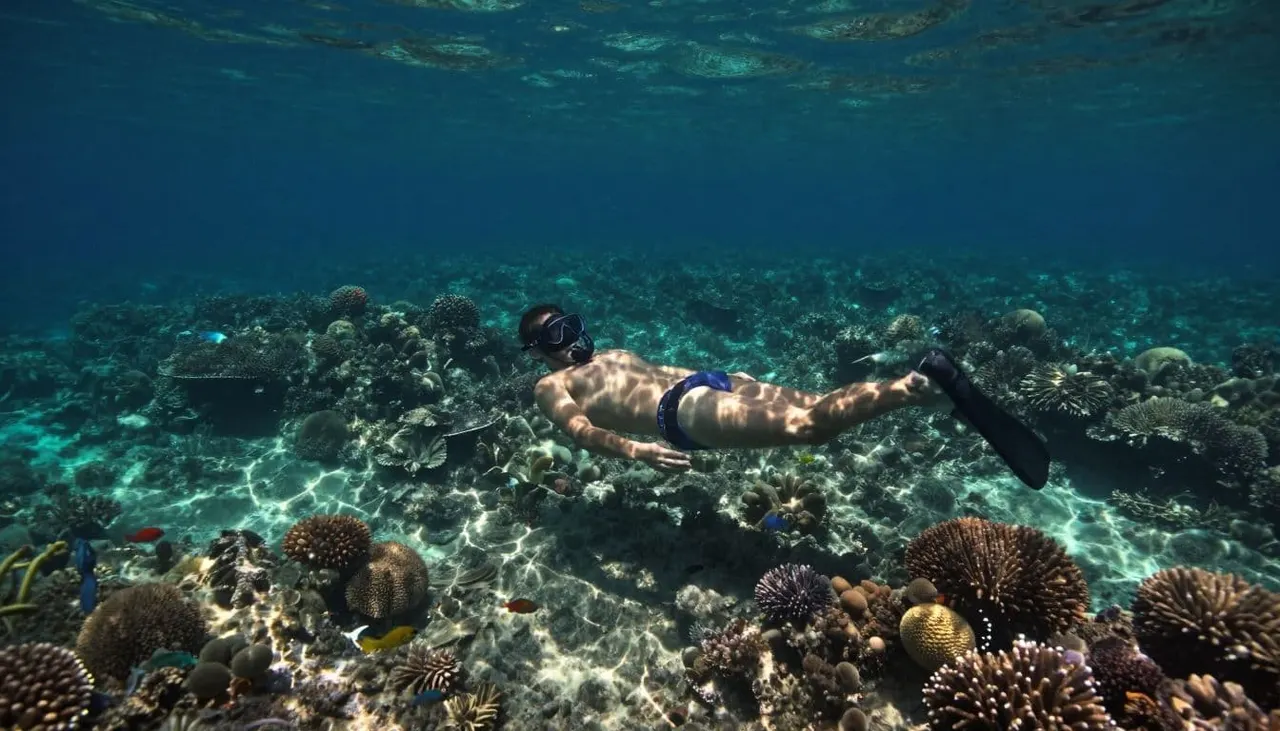
Snorkeling works best when you float comfortably at the surface. You don’t need to dive repeatedly to see reef fish or observe Hawaiian green sea turtles. Shorter underwater swims also give your ears regular chances to drain and dry.
If water enters your ear, don’t panic or dig at it. Tilt your head toward the affected side and let gravity help. You can gently pull the outer ear in different directions while your head remains tilted, but stop if you feel pain.
Avoid jumping into the water repeatedly when your ears already feel irritated. A slower entry gives you time to check your mask, settle your breathing, and notice any discomfort early.
Don’t force pressure equalization
Swimmer’s ear affects the outer canal, while pressure problems usually involve the middle ear. Still, forcing your ears to “pop” can cause pain or injury.
When you descend a short distance, equalize gently and early. Never blow hard while pinching your nose. If your ears won’t clear, return to the surface and tell your guide.
Ear discomfort is a reason to pause, not a challenge to push through. Returning to the surface early can protect the rest of your vacation.
Dry Your Ears Right After Snorkeling
The minutes after you leave the water matter. Dry your ears before you sit in wet gear for the rest of the boat ride or drive to your next activity.
Drain water without damaging the skin
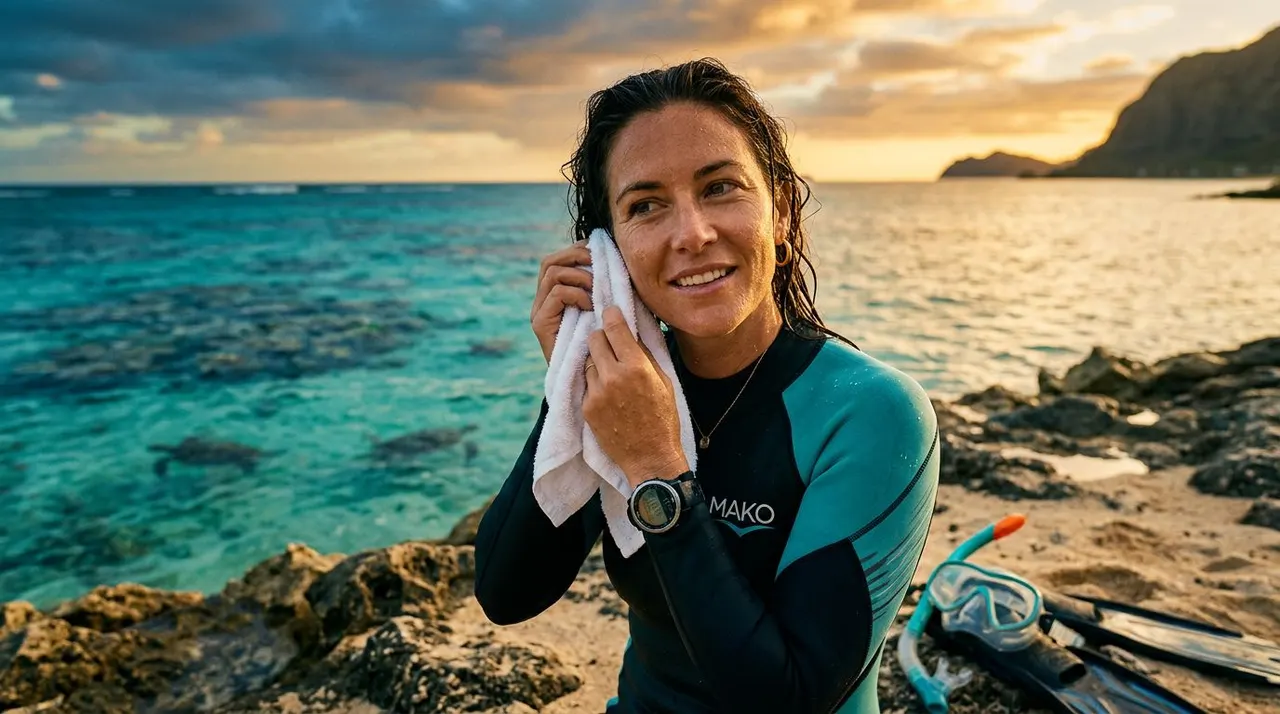
Remove your mask and snorkel, then tilt your head to each side. Gently tug the outer ear while keeping your head tilted. Pat only the outside of your ear with a clean towel.
If moisture remains, use a hair dryer on a cool or low setting. Hold it well away from your ear and keep the airflow gentle. Never push cotton swabs, tissues, hairpins, or other objects into the canal. Scratching the skin creates small breaks that make infection more likely.
Change out of wet clothing when practical. A dry shirt won’t prevent swimmer’s ear by itself, but it helps you avoid staying damp and rubbing your ears with a wet towel.
Ask before using ear-drying drops
Some swimmers use commercial ear-drying drops after water exposure. These products aren’t appropriate for everyone. Ask a healthcare provider before using them if you have ear tubes, a perforated eardrum, ear surgery, ear drainage, or a history of sensitivity.
Don’t pour homemade mixtures into your ears without medical advice. Even common ingredients can irritate damaged skin or cause problems when the eardrum isn’t intact. For children, HealthyChildren.org’s guidance on swimmer’s ear recommends discussing preventive drops with your pediatrician.
Know When to Stop and Seek Care
Prevention helps, but it can’t remove every risk. Pay attention to symptoms during your trip and avoid another swim if your ears become painful.
Watch for early symptoms
Itching, redness, fullness, or tenderness can be early signs of swimmer’s ear. Pain that increases when you touch the outer ear is another warning sign. Drainage, swelling, reduced hearing, or fever requires medical attention.
Don’t try to clean deep inside the ear to remove discharge. A healthcare professional can examine the canal and recommend the right treatment. Until then, keep the ear dry and avoid swimming.
Severe pain, spreading redness, facial swelling, dizziness, or fever calls for prompt medical care. People with diabetes or weakened immune systems should contact a healthcare provider early because ear infections may become more serious.
Take extra care with children
Children may not describe ear discomfort clearly. Watch for pulling at the ear, unusual fussiness, trouble sleeping, or refusing to put their head underwater.
Use well-fitting equipment, keep sessions manageable, and dry their ears after each swim. A child who reports pain should leave the water, even if the rest of the group plans to continue.
Choose a Guided Snorkeling Oahu Experience
A guided excursion can make ear protection easier because you don’t have to manage every detail alone. Living Ocean Tours departs from Kewalo Basin Boat Harbor, just minutes from Waikiki Beach, and provides professional guidance for beginners, families, and experienced swimmers.
Living Ocean Tours is the only tour company with professional snorkel guides. The crew can help you adjust your mask, explain safe water entry, and recommend a break if you feel discomfort. Their Coast Guard-inspected double-decker vessels, the Coral Kai and Lokahi, include shaded seating, restrooms, dry storage, and heavy-duty ladders.
Turtle Canyon snorkeling with support
The Turtle Canyon snorkeling tours in Waikiki visit a natural Hawaiian green sea turtle cleaning station. Living Ocean Tours reports a 95% success rate for turtle sightings, although wildlife encounters always depend on natural conditions.
You receive snorkeling equipment and guidance while observing turtles without touching or chasing them. That approach protects the animals and keeps you focused on calm, respectful floating rather than unnecessary diving.
If your ears feel uncomfortable, tell the crew immediately. You can return to the boat using the sturdy ladder, dry your ears, and decide whether to re-enter. The goal is a safe, enjoyable outing, not a test of endurance.
Protect Your Ears and Enjoy the Water
Preventing swimmer’s ear during snorkeling Oahu adventures comes down to a few consistent habits. Start with healthy ears, use comfortable equipment, avoid scratching or forcing pressure changes, and dry your ears as soon as you leave the water.
If pain or drainage appears, stop swimming and seek medical advice. With smart preparation and professional guidance, you can spend more time enjoying Oahu’s reefs and less time worrying about your ears.