How to snorkel with turtles on Oahu without flash
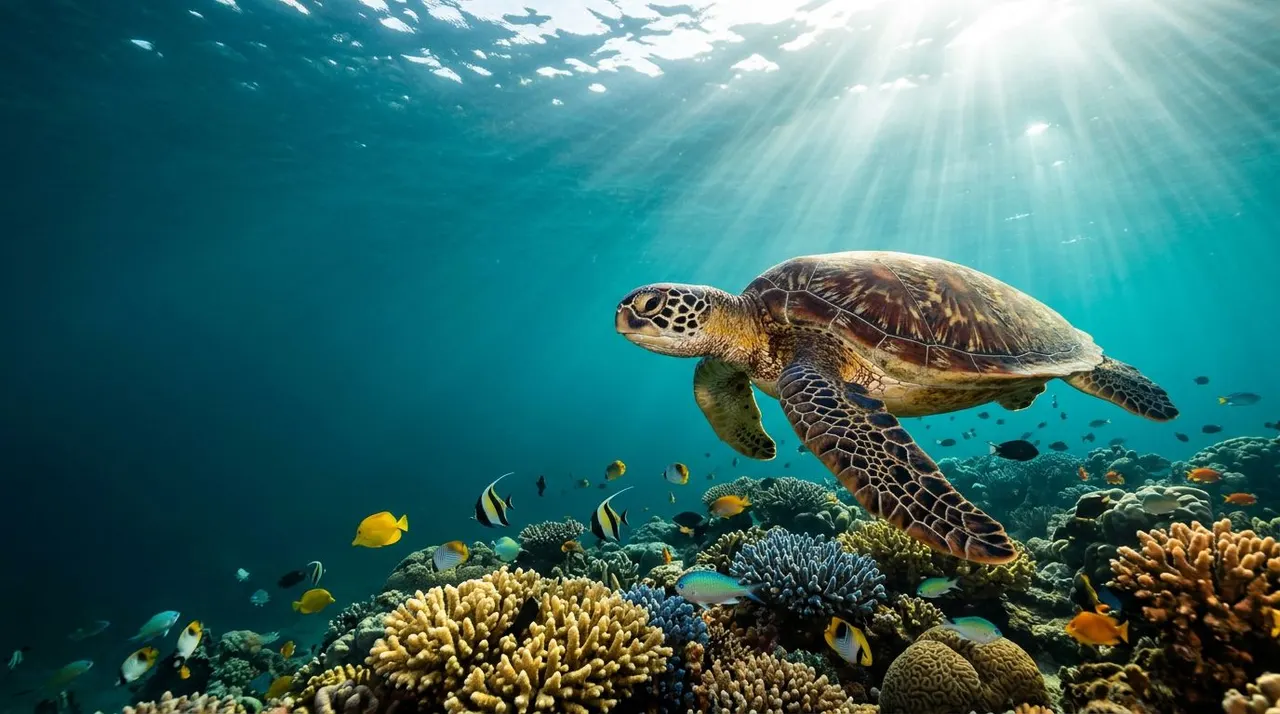
A Hawaiian green sea turtle can cross your frame in seconds, and a bright flash can ruin the moment. When you snorkel with turtles on Oahu, natural light, calm movement, and a clean lens will produce more attractive photos than a strobe.
The best snorkel with turtles photos also protect the animal you came to see. You need to keep your distance, avoid chasing, and let the turtle move through the reef at its own pace. With the right settings and a few simple habits, you can bring home sharp, colorful images without using flash.
Why flash ruins underwater turtle photos
Underwater photography already has a challenging light source. Water absorbs red, orange, and yellow wavelengths first, while suspended particles scatter light between your camera and the subject. A flash can make that problem worse.
Backscatter hides the turtle
When your camera fires a built-in flash, the light bounces off tiny particles in the water. Those particles appear as bright white dots or hazy patches across the image. The closer those particles are to your lens, the more obvious the backscatter becomes.
Flash can also create harsh highlights on a turtle’s shell and wash out the soft textures around the face. A turtle resting beside coral often looks more natural under ambient sunlight.
Keep the flash disabled before you enter the water. If your camera has an automatic flash setting, switch it to underwater mode or turn the flash off manually. NOAA Fisheries provides helpful marine life photography guidelines for photographing wildlife without disturbing it.
Natural light gives you better atmosphere
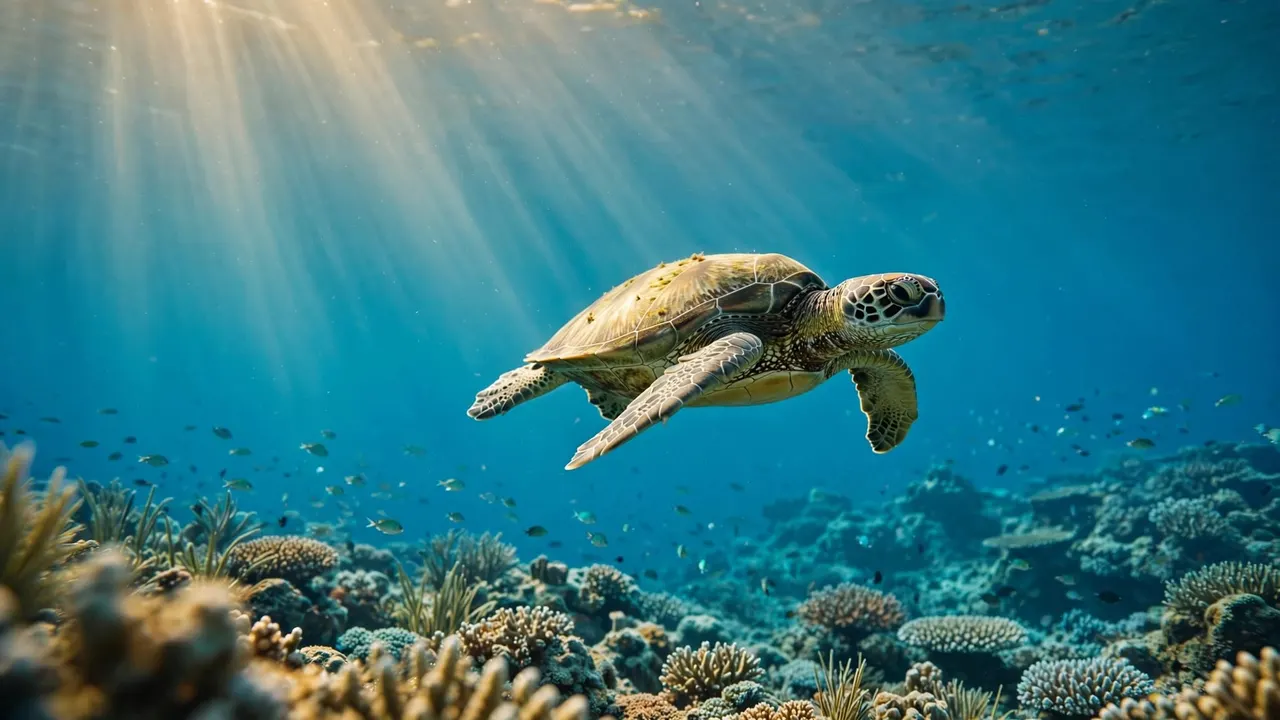
Sunlight creates depth across the turtle’s shell, reef, and surrounding blue water. You can use that light to show where the turtle is, rather than isolating it against a flat background.
Photograph with the sun behind or slightly to the side of you when possible. Your body will block some glare, and the turtle will receive more even light. If the sun sits behind the turtle, you may capture a striking outline, especially when the animal rises toward the surface.
How to snorkel with turtles while respecting distance
Good turtle photography starts before you touch the camera. Your swimming style affects the animal, the water around you, and the quality of every frame.
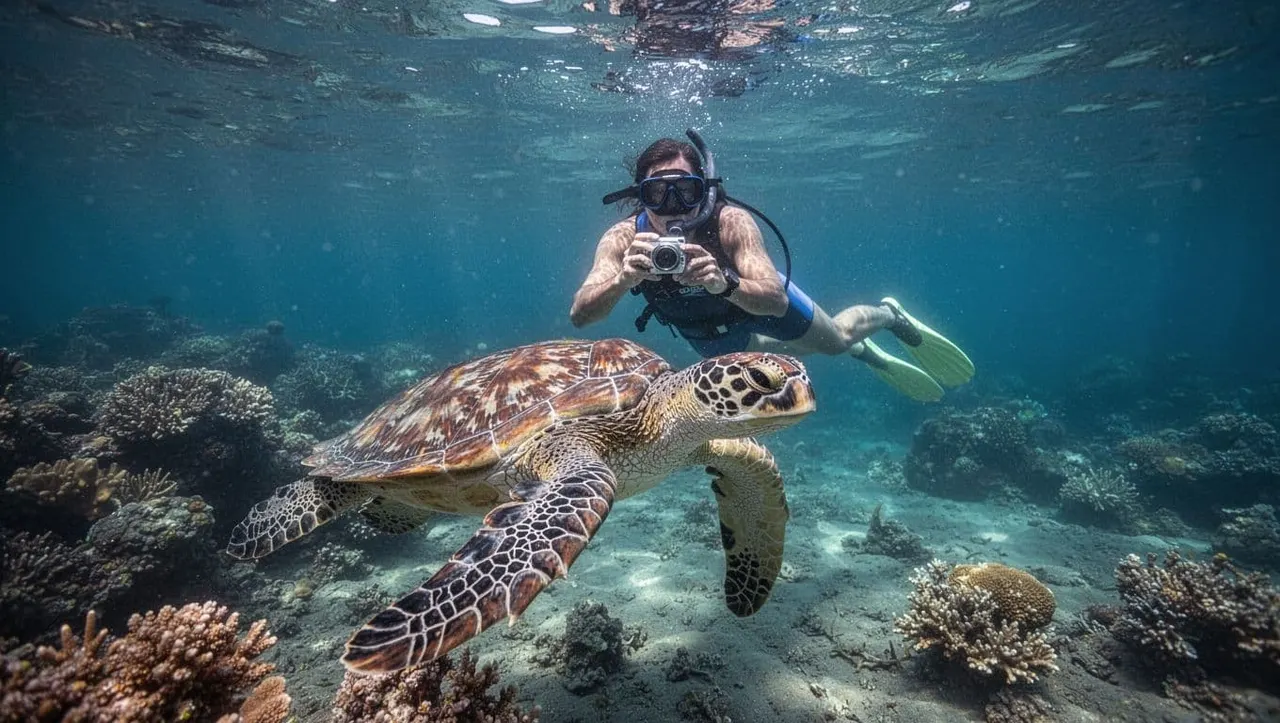
Start with the 10-foot viewing distance
NOAA Fisheries recommends staying at least 10 feet, or 3 meters, away from sea turtles in Hawaii, both on land and in the water. That distance can feel far when you want a close-up, but it gives the turtle room to breathe, rest, feed, or swim away.
A longer lens, a wide-angle camera, and careful cropping are better choices than moving closer to a resting turtle.
Hold your position and wait for the turtle to come into a flattering angle. A wide-angle lens can help you include the reef while keeping a respectful distance. If your camera has a digital zoom, avoid using it underwater because it can reduce detail and magnify camera shake.
Let the turtle control the encounter
Swim slowly and avoid kicking directly toward the animal. Keep your fins below you so you don’t stir sand over the reef or into your lens. When you snorkel with turtles, your goal is to observe the animal, not guide its path.
Watch for signs that you need to stop or move back. A turtle may turn away, change direction, swim faster, or dive when it feels crowded. Never touch, feed, block, or follow a turtle into a narrow area.
NOAA’s Hawaii marine wildlife viewing guidance explains the distance and behavior standards that help protect sea turtles and other ocean animals.
Camera settings for no-flash turtle photos
Your camera needs enough light to freeze movement without making the image too grainy. Shallow Oahu water often provides bright conditions, but clouds, depth, and water clarity can change the exposure quickly.
Prioritize shutter speed
A moving turtle can look blurry even when the reef appears still. If your camera allows manual control, start near 1/250 second for a swimming turtle. You can lower the shutter speed toward 1/125 second when the animal rests, but brace your body gently and avoid holding your breath too long.
Use a wider aperture when the water looks dark. On a camera with aperture controls, f/4 to f/5.6 can let in more light. A smaller aperture, such as f/8, can keep more of the turtle and reef in focus when sunlight is strong.
If your camera uses automatic controls, select underwater, action, or sports mode. Turn on burst shooting if the feature is available. A short burst gives you several expressions and fin positions without requiring you to chase the animal.
Raise ISO only as needed
Start with ISO 200 to 400 in bright, shallow water. Increase it to ISO 800 when clouds or depth reduce the available light. Higher ISO settings can add noise, especially in the blue shadows, so use the lowest setting that still gives you a sharp shutter speed.
Set focus to a single central point if your camera allows it. Aim at the turtle’s eye or the front edge of its shell, then recompose without swimming forward. NOAA’s sea turtle photography feature also encourages photographers to capture turtles from a respectful distance.
Compose photos that show the reef
A close crop of a turtle’s shell can be beautiful, but the strongest travel photos often show the animal in its home. Include coral, clear water, and the direction of sunlight when the scene allows it.
Shoot at the turtle’s level
Stay slightly above or beside the turtle rather than photographing straight down. A level angle shows the turtle’s face, shell, and flippers while preserving the blue water behind it.
Keep your camera near eye level with the animal, then wait for a clean frame. If the turtle swims toward you, hold still and allow it to pass through the composition. Avoid swimming backward quickly, especially around other snorkelers or coral.
Leave room for movement
Place the turtle slightly off-center when it faces left or right. The open space in front of its head gives the image a sense of direction. Center the animal when it swims toward you or faces the camera.
Take a few vertical photos as well as horizontal ones. A vertical frame can emphasize the turtle’s path to the surface, while a horizontal frame works well for showing the reef and open water.
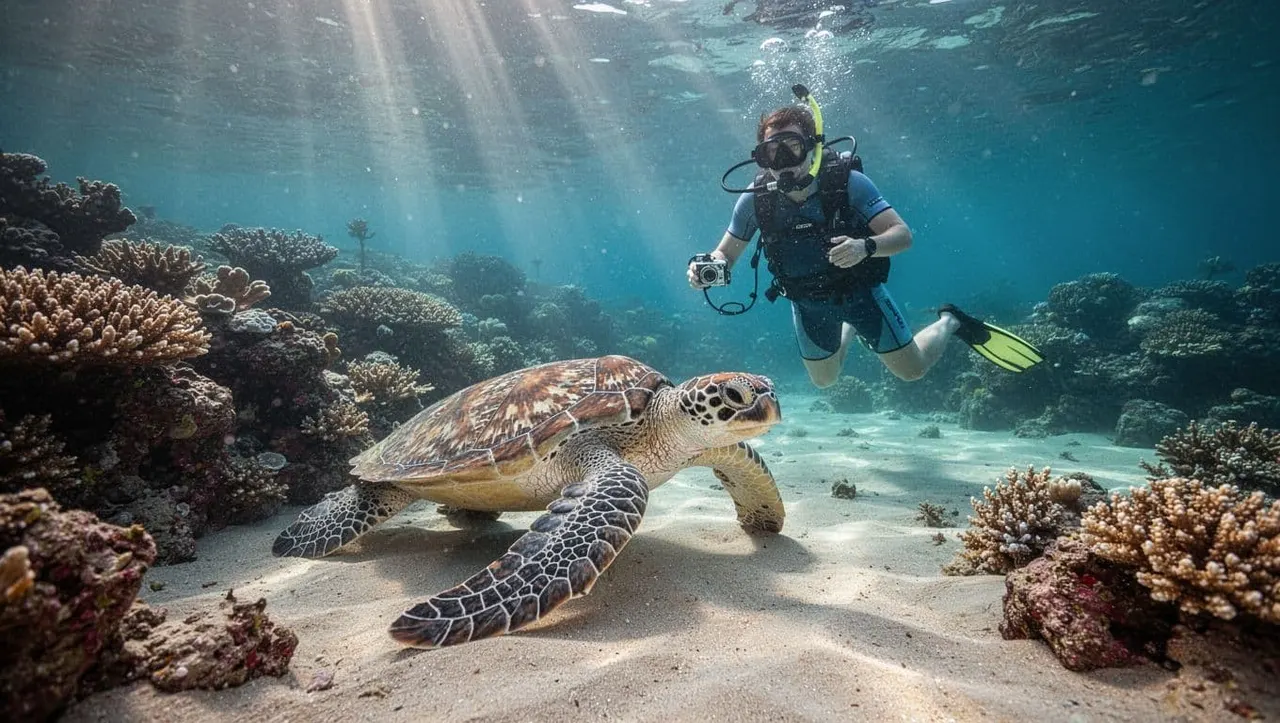
Prepare your gear before entering the water
No-flash photography works best when your equipment is ready before the first turtle appears. You don’t want to spend the encounter checking buttons, clearing a fogged housing, or discovering that your battery is nearly empty.
Test the camera and housing
Charge the battery fully and format your memory card before leaving your hotel. Inspect the housing seal for hair, sand, or grit. A single grain can compromise a waterproof case.
Clean the lens port with a microfiber cloth. Water droplets on the port create soft spots and bright distortions that look like focus problems. If your housing supports an anti-fog insert, install it before you seal the case.
A small wrist strap or secure camera tether helps prevent a dropped camera. Keep any strap short and controlled so it doesn’t drag across coral or catch on equipment.
Practice calm movement
Your camera should be easy to reach without frantic hand movements. Practice starting and stopping video, changing orientation, and pressing the shutter while standing on dry land.
In the water, keep your breathing steady and your body relaxed. Strong kicks create bubbles and suspended sand. Gentle fin strokes help you stay in place while you wait for a turtle to turn into the light.
If you’re new to snorkeling, ask your guide for help with buoyancy and camera handling. You can focus on photography after you feel comfortable floating and clearing your mask.
Choose a guided Oahu turtle snorkeling tour
A guided trip can make turtle photography easier because you don’t have to search the reef alone. You can concentrate on distance, light, and composition while a trained crew explains safe wildlife behavior.
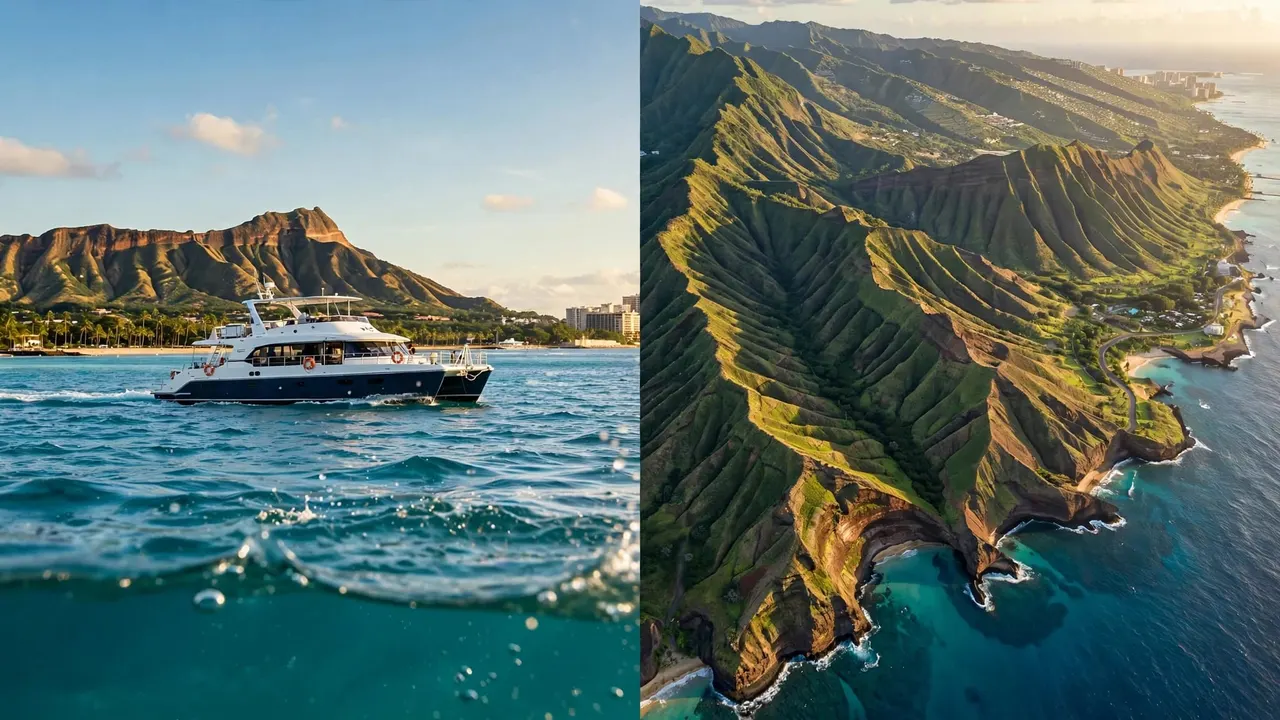
Living Ocean Tours departs from Kewalo Basin Boat Harbor, a short distance from Waikiki Beach in Honolulu. The company is the only tour company with professional snorkel guides, and its crew supports first-time snorkelers, families, and experienced swimmers.
The flagship Turtle Canyon Snorkel Excursion visits a natural underwater cleaning station with a stated 95% success rate for spotting Hawaiian green sea turtles. The crew provides snorkeling gear, instruction, and guidance in the water. You can view the Turtle Canyon snorkeling adventure before choosing your outing.
Living Ocean Tours operates Coast Guard-inspected, custom-built double-decker boats with shaded seating, restrooms, dry storage, and sturdy ladders. The Lokahi also has a SeaKeeper stabilization system that helps reduce side-to-side rolling, which can make the ride more comfortable if you’re concerned about seasickness.
For a Turtle Canyon trip focused on sea turtles, you can CHECK AVAILABILITY before your preferred date fills.
Edit no-flash photos with a light touch
Your camera may record a turtle with a blue or green color cast. That result is normal underwater. A few careful edits can restore color without making the image look artificial.
Correct color before adding contrast
Start with white balance. Use an underwater preset or adjust temperature toward warmer tones. Add a small amount of magenta if the image looks too green. Make changes gradually because heavy color correction can create unnatural skin, coral, and shell colors.
Next, raise exposure only if the turtle is too dark. Lower highlights when sunlight creates bright patches on the shell. A small increase in contrast can define the shell pattern, but too much contrast removes detail from the darker water.
When possible, shoot RAW files. RAW gives you more control over white balance and exposure than a compressed JPEG. If you use a phone or compact camera, keep the original file before editing.
Crop instead of chasing
Cropping can bring attention to the turtle while preserving the required viewing distance. Keep enough surrounding water to show that the animal was photographed in its habitat.
Avoid removing every other snorkeler, fish, or reef feature if doing so creates an unrealistic scene. Your image should show a genuine encounter, not suggest that you moved closer than you did. NOAA’s sea turtle FAQ reinforces the need to remain at least 10 feet away in Hawaii.
Keep the encounter safe for you and the turtle
A memorable photograph begins with responsible behavior. Sea turtles need space, and coral reefs are fragile even when they look sturdy.
Follow your guide’s instructions about entry points, current, boat traffic, and where to swim. Never stand on coral to steady your camera. Use the boat ladder or sandy areas for support instead.
Keep your hands off the turtle and avoid touching the reef. Don’t feed marine life to create a better photograph. If another snorkeler moves into your frame, wait rather than crowding the turtle or pushing toward the group.
You can also help by sharing the rules with your travel companions, especially children. A calm group creates clearer water, safer swimming, and a more natural experience for everyone.
Conclusion
You don’t need flash to photograph sea turtles on Oahu. Turn it off, use a fast shutter speed, watch your distance, and let sunlight reveal the turtle’s shell and reef surroundings.
When you snorkel with turtles, the best image often comes from waiting instead of chasing. With a prepared camera, steady movement, and guidance from Living Ocean Tours’ professional snorkel guides, you can capture the encounter while giving the honu the space it deserves.