Oahu snorkel gear cleaning: An After-Swim Routine
A great day snorkeling off Oahu can leave salt in your snorkel, sand along your mask seal, and damp fins in your bag. Snorkel gear cleaning takes only a few careful steps, but skipping them can make your next swim less comfortable.
Living Ocean Tours welcomes first-time snorkelers and experienced ocean lovers on guided outings near Waikiki. Whether you bring your own equipment or use gear provided on a tour, the same rinse, clean, and dry routine helps keep it ready for the water.
Start snorkel gear cleaning with a freshwater rinse
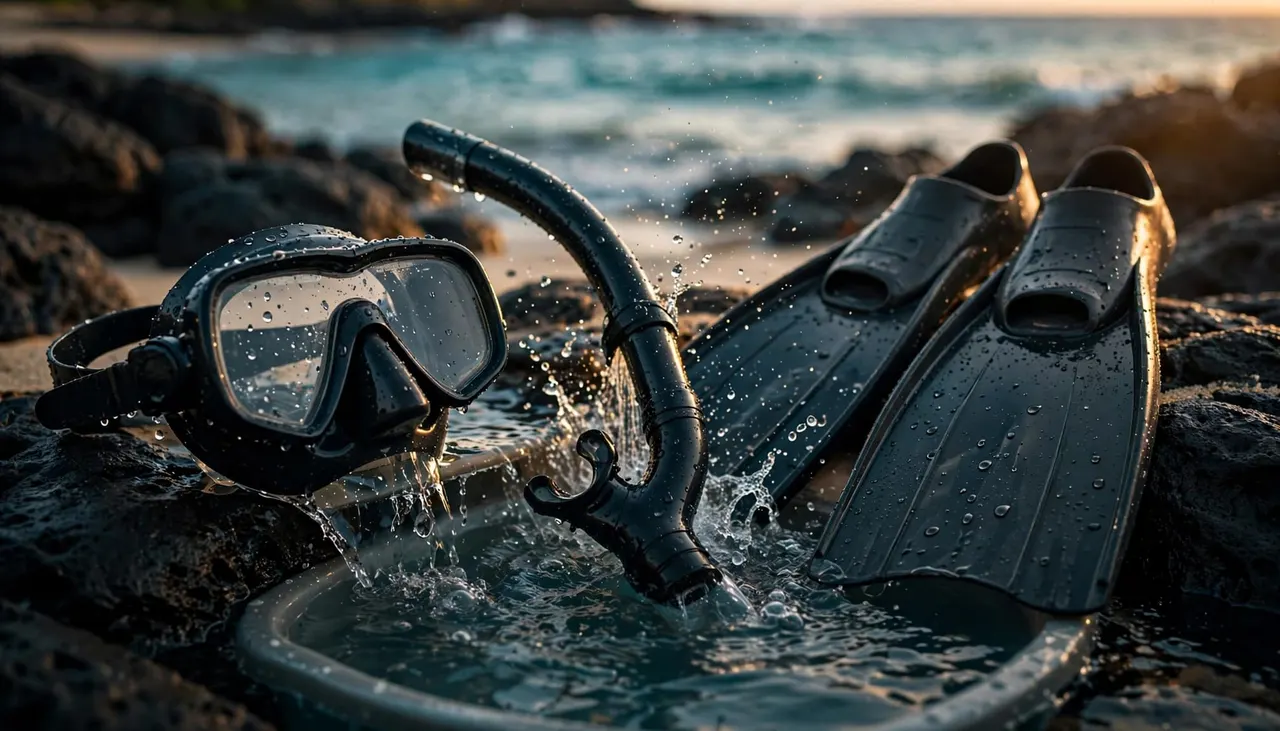
Rinse your equipment as soon as you can after leaving the ocean. Dried salt can collect around mask buckles and fin straps, while trapped sand can scratch a lens or interrupt the mask’s seal. Divers Alert Network’s gear-care guidance recommends rinsing masks, fins, and snorkels after every use and drying them completely before storage.
Clear away salt before it dries
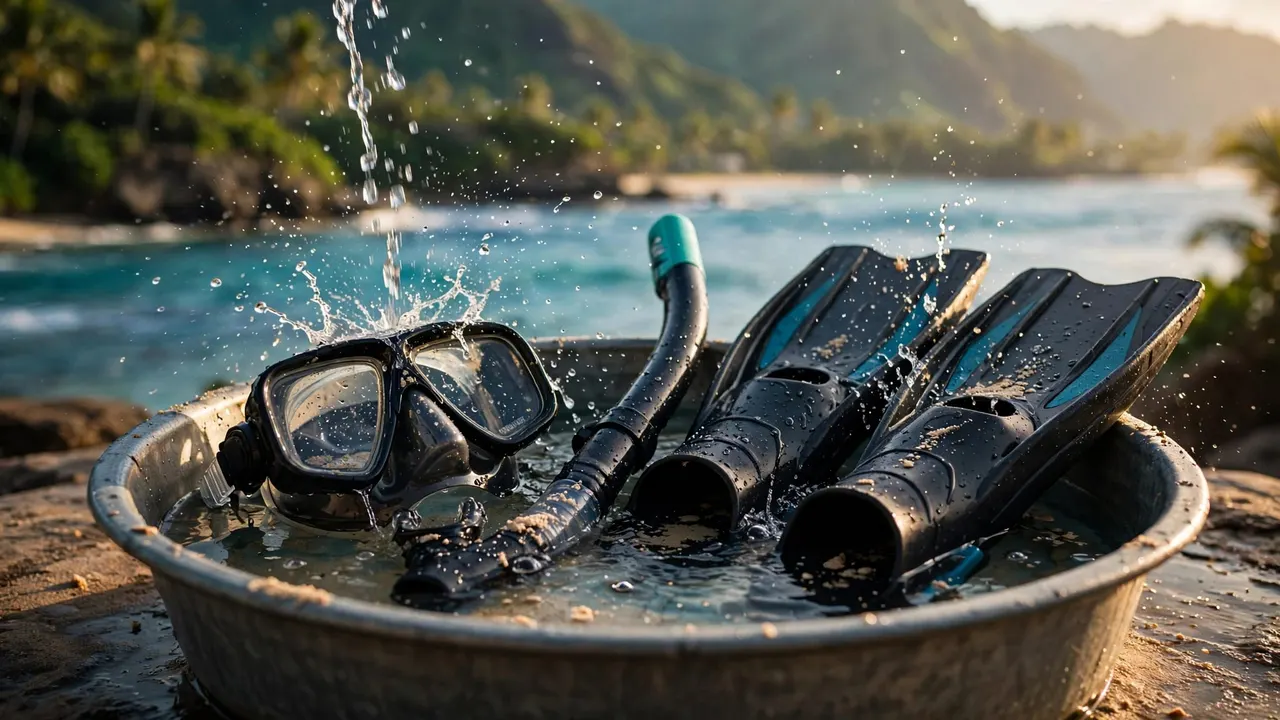
Use clean, fresh water and give each piece room in the rinse basin. Swish the mask gently, paying attention to the skirt where it touches your face. Run water over both sides of your fins and through the snorkel tube.
If you don’t have a basin, a gentle stream of fresh water works. Check beneath straps and around buckles rather than giving the gear a quick splash and calling it done.
Keep sand out of the moving parts
Sand hides in snorkel clips, adjustable fin straps, and the fold where a mask skirt meets its frame. Let water carry it away before you rub any surface. Grit pressed against a lens can leave scratches that you’ll notice on your next swim.
Use a separate clean container if you need to rinse gear away from your accommodations. Empty used wash water where local facilities permit, rather than pouring soapy water onto a beach or near the reef.
Wash your mask without damaging its seal
A mask needs more attention than a rinse when sunscreen, skin oils, or defog product remain on it. The goal is to remove residue without roughing up the lens or stretching the soft skirt.
Clean the lens and skirt gently
First, check the mask maker’s care instructions. If they allow mild soap, add a small amount to fresh water and clean the mask with clean fingertips or a soft cloth. Rinse until the lens, skirt, and strap no longer feel slippery. Pay attention to the ridge inside the skirt, where sunscreen can linger.
Avoid abrasive pads, harsh household cleaners, and very hot water. Different lenses have different coatings, so follow the manufacturer’s directions before trying a new cleaning product. Your daily snorkel gear cleaning routine shouldn’t depend on scraping or polishing a mask that needs gentle care.
Check the fit while the mask is clean
Before storing it, look for a twisted skirt, cracks, or a strap that’s starting to tear. A clean mask can still leak if hair, sand, or excess sunscreen sits beneath the seal.
On your next outing, hold the mask against clean, dry skin and inhale gently through your nose. It should hold briefly without a painfully tight strap. If it won’t, try repositioning it or ask for another size. Tightening a poorly fitting mask usually makes it less comfortable.
Give the snorkel mouthpiece extra attention
Your mouthpiece needs a more thorough wash than the outside of your fins. Salt, sunscreen, and debris can remain where the silicone joins the tube. A fresh rinse after every swim helps, but don’t mistake a rinse for disinfection when different people use the same gear.
Wash where water and debris collect
Flush fresh water through the tube, then clean the mouthpiece with a product the manufacturer approves. Pay attention to its inner surfaces and the bite tabs. Rinse thoroughly so no cleaner remains where your mouth will go.
Some snorkels have a purge valve or removable parts. Open or take them apart only if the manufacturer’s instructions explain how. Once cleaned, make sure every removable piece is fitted correctly before you use the snorkel again.
Inspect before your next swim
Look for tears in the mouthpiece, a loose snorkel keeper, or debris near a purge valve. A damaged bite tab can make you clench your jaw; a misplaced tube can pull uncomfortably at your mouth.
If something feels wrong, ask for replacement gear before you enter the water. On a guided outing, you can make that change at the boat instead of trying to manage a loose snorkel while you float.
Rinse fins and let every piece dry completely
Fins may never touch your face, but they collect plenty of sand and salt. They also take up enough space to trap moisture against other gear when everything goes straight into one bag.
Check foot pockets and straps
Rinse inside each foot pocket, especially where sand collects near your toes or heel. If your fins have adjustable straps, move them gently while rinsing to clear the buckles. Inspect the blades for cracks and check that straps still hold securely.
Fit matters as much as cleanliness. A fin that rubs your heel or slips off your foot will distract you in the water. Try another size rather than accepting a painful fit for the whole swim.
Choose shade and airflow over a closed bag
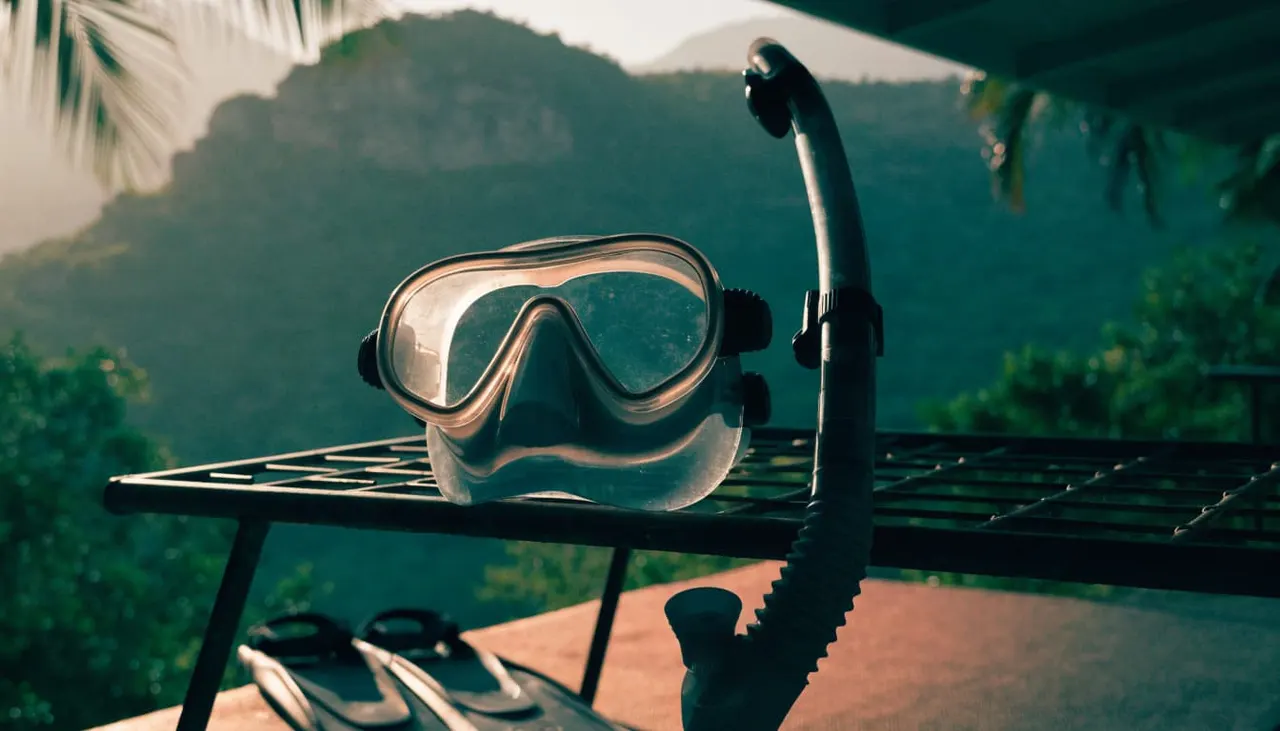
Lay the mask, snorkel, and fins separately in a clean, shaded, ventilated spot. Give water a way to drain from the snorkel tube and the fin foot pockets. Avoid leaving damp equipment sealed in a car trunk or beach bag.
Complete drying is an important part of snorkel gear cleaning. DAN recommends letting gear dry fully before storage to help prevent mildew. Check hidden spots, including the mask strap and the inside of the snorkel, before you pack everything away.
Disinfect gear when someone else will use it
Routine cleaning removes visible residue. Disinfection is a separate step when a mask or snorkel will pass between users. Fresh water alone doesn’t disinfect a mouthpiece, even when the equipment looks spotless.
Follow the disinfectant’s current label and the gear manufacturer’s instructions. Use a product that’s appropriate for the materials, observe its required contact time, and complete any required rinse. DAN’s guide to disinfecting dive gear explains why choosing and using a suitable product matters. Don’t guess at a bleach mixture or combine cleaning chemicals.
Shared equipment also needs to be clean before you disinfect it. Sand and other residue can block contact with the surfaces you’re treating. If you use rental or tour gear, ask the provider how they clean mouthpieces and masks between guests. You can also ask about bringing your own mask if you prefer a familiar fit.
Keep chemicals and used wash water away from the ocean. Good hygiene should protect the next swimmer without adding cleaner to Hawaii’s coastal waters.
Store clean gear so it’s ready for Oahu
Once everything is dry, pack your mask where heavier fins won’t press against its lens or distort its skirt. A protective case or a clean, breathable pouch helps keep it free of grit. Follow your equipment maker’s storage advice, especially for coated lenses.
Keep the snorkel mouthpiece clean during travel. If you’ve stored gear for a while, rinse it again before use and check for odors, cracks, or sticky surfaces. Replace damaged parts rather than counting on a last-minute fix at the beach.
A small separation between wet and dry items helps on multi-stop days. Put a damp towel in its own bag, and leave your cleaned gear somewhere with airflow until it’s fully dry. If you can’t wash everything after a morning snorkel, rinse off salt and sand first, then finish cleaning when you return.
A clean mask won’t help much if its skirt gets folded beneath a fin in your bag. Dry the gear fully, then pack the mask so it keeps its shape.
Get help with gear before you enter the water
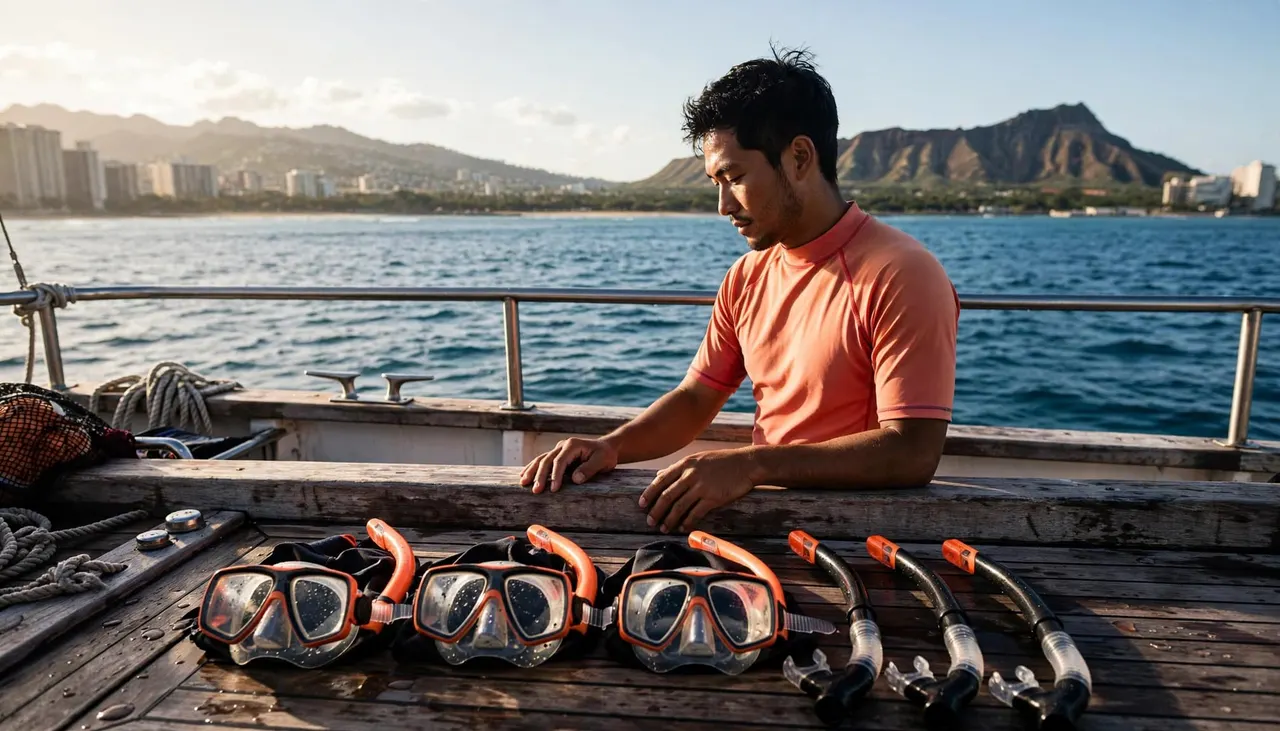
Your after-swim routine protects equipment, but a pre-swim check protects your time in the ocean. Before boarding or entering the water, check that your mask seals, your mouthpiece feels comfortable, and your fins fit without pinching.
Ask for a fit check on a guided trip
Living Ocean Tours departs from Kewalo Basin Boat Harbor, near Waikiki, and supplies snorkeling gear and instruction on its guided outings. The company says it’s the only tour company with professional snorkel guides. That in-water help is especially welcome when you’re learning to breathe through a snorkel or adjusting an unfamiliar mask.
You can explore its guided Oahu snorkeling outings before deciding what suits your group. Tell the crew about a leak, loose fin, or uncomfortable mouthpiece while you’re still near the boat. Take a break and ask for replacement gear if an adjustment doesn’t solve the problem.
Leave wildlife and the reef untouched
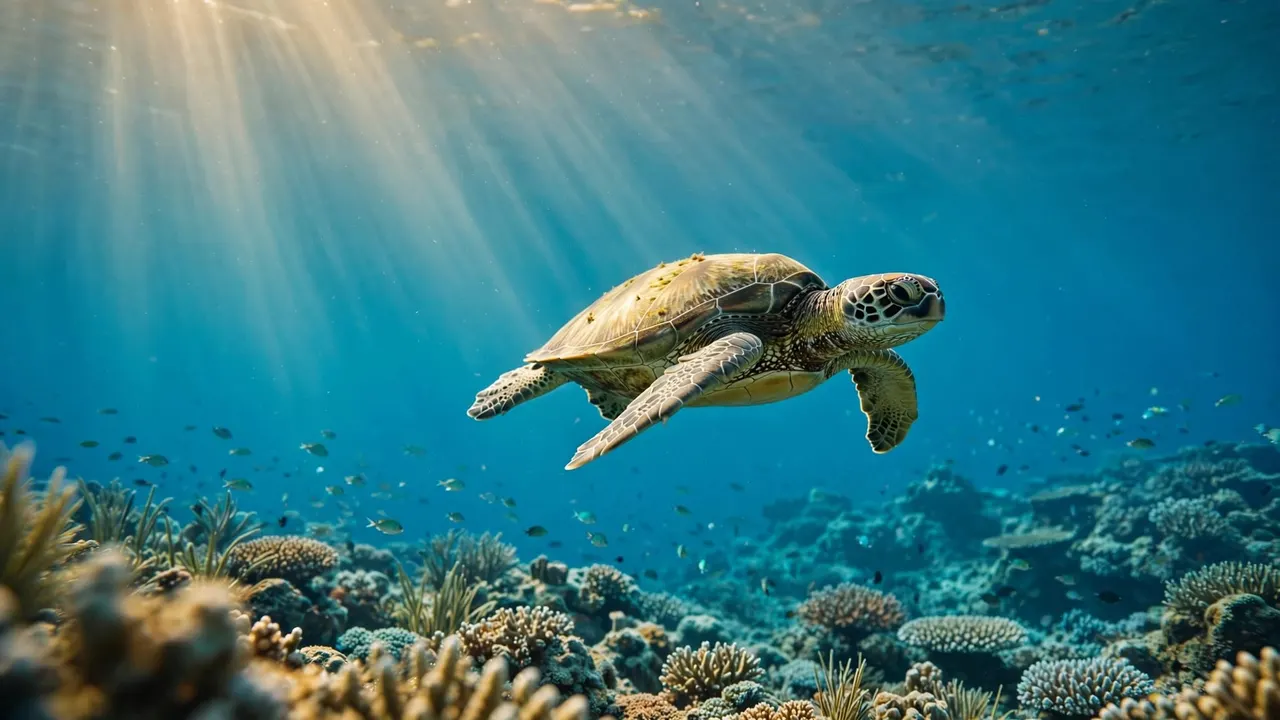
At Turtle Canyons, you may see Hawaiian green sea turtles near a natural underwater cleaning station. Living Ocean Tours reports a 95% turtle-sighting rate on its Turtle Canyons Snorkel Excursion, although wildlife encounters can’t be guaranteed.
Once you’re in the water, stay near your guide and watch the turtles without touching or chasing them. If your mask needs another adjustment, move away from coral and return toward the boat. You’ll enjoy the view more when your gear feels dependable and your fins stay clear of the reef.
Keep your next swim comfortable
That salt-covered mask from the start of your day doesn’t need an elaborate treatment. Rinse away grit promptly, clean the surfaces that need it, and let every piece dry before packing.
For shared gear, add a separate disinfection step that follows the product and equipment instructions. Good snorkel gear cleaning leaves you free to focus on Oahu’s ocean rather than a cloudy lens or uncomfortable mouthpiece.