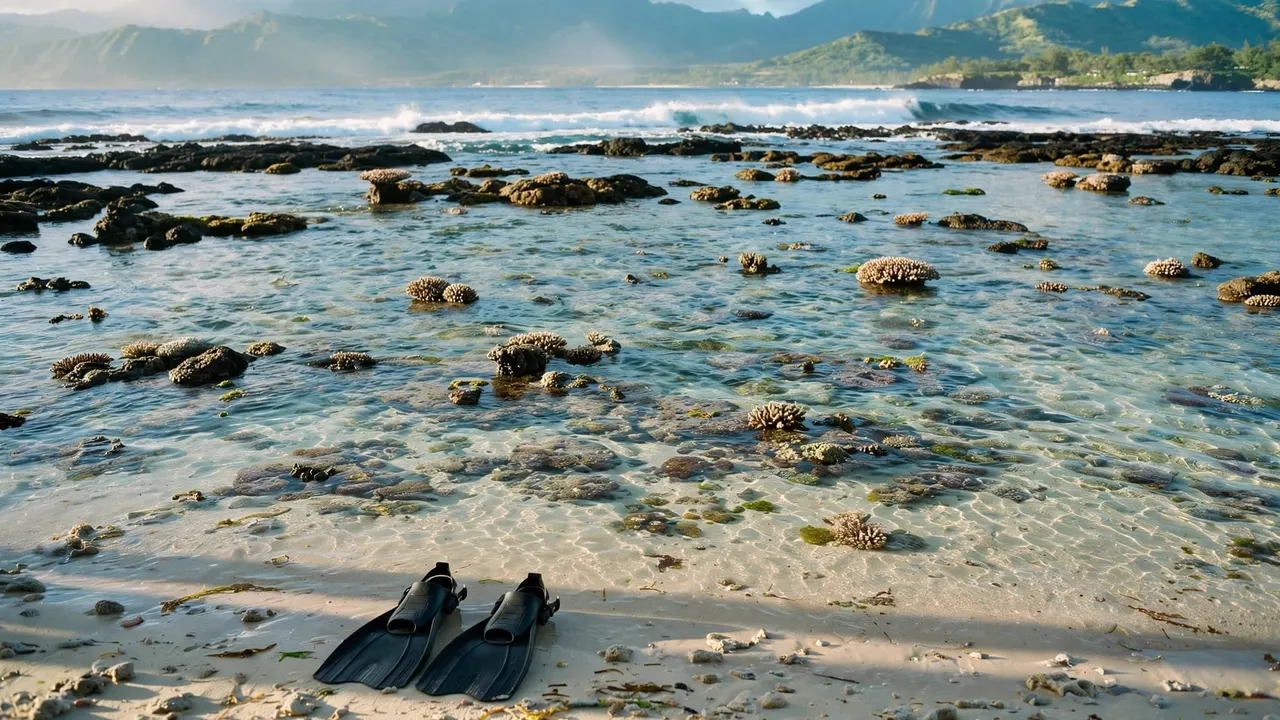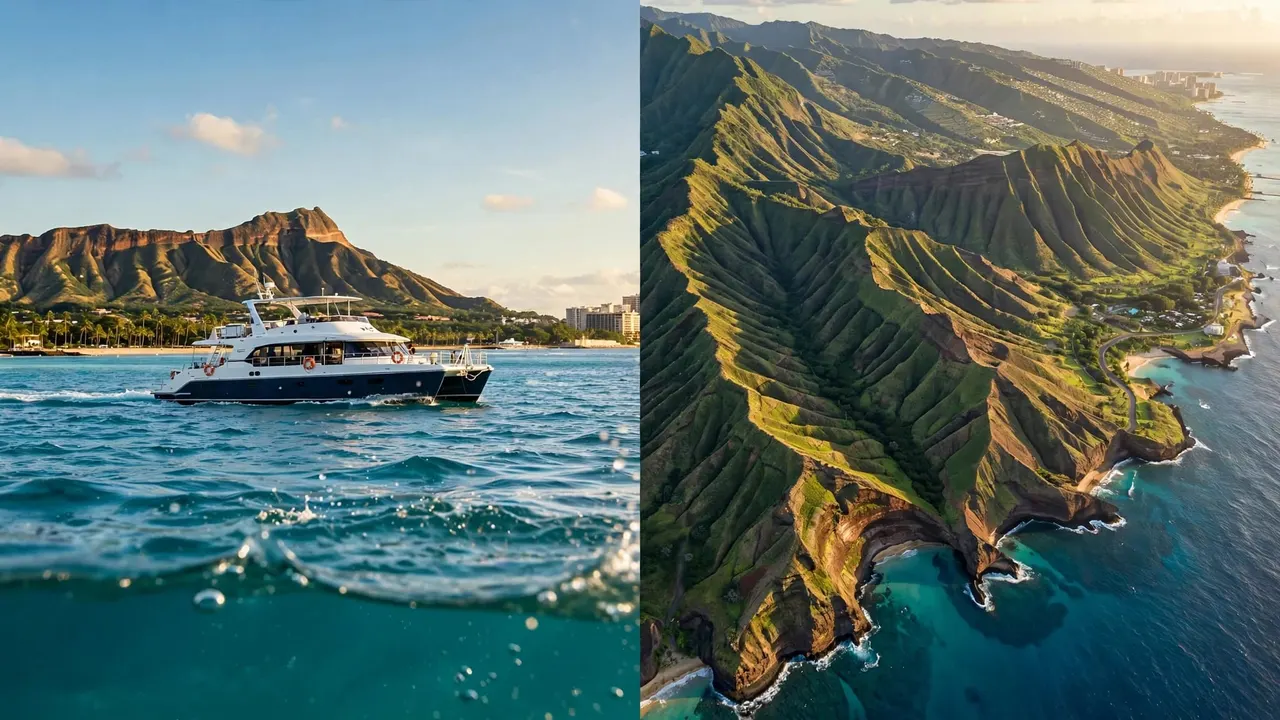
Oahu snorkeling for Underwater Camera Beginners
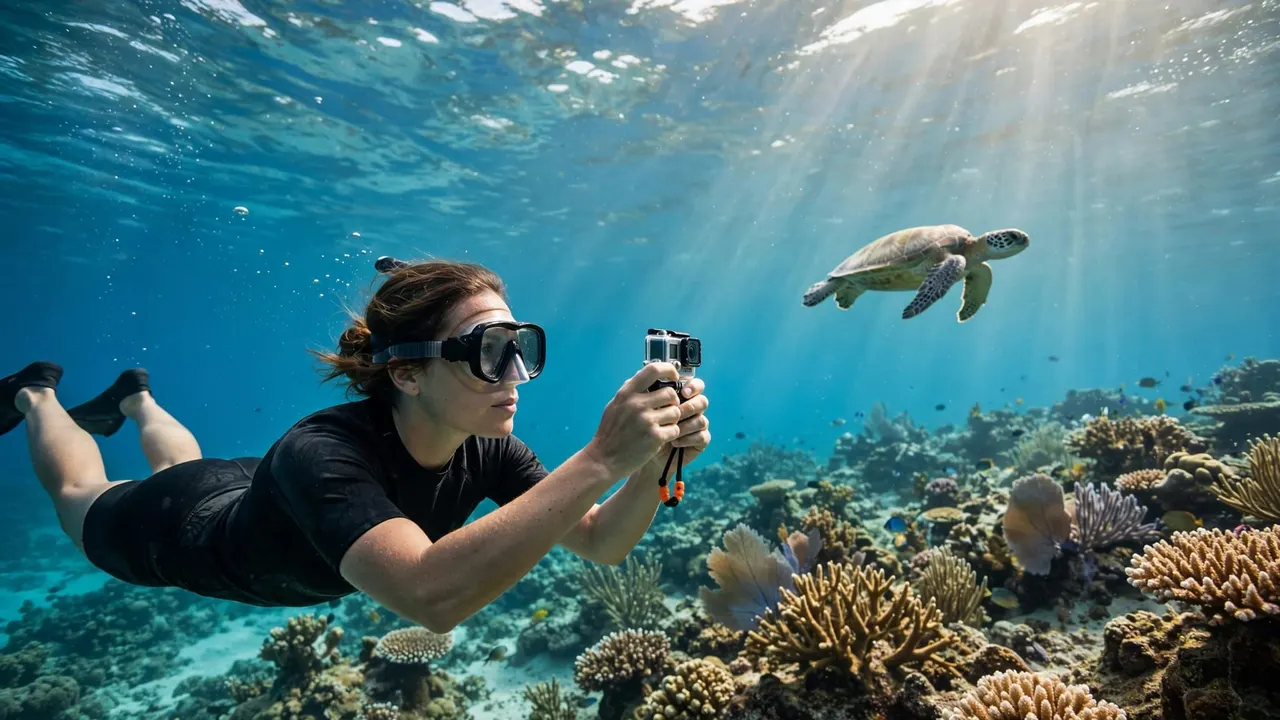
Your first underwater photo gets easier when you’re comfortable floating before you reach for the camera. At Living Ocean Tours, we help you start with guidance, supplied snorkel gear, and a welcoming introduction to Waikiki’s reefs.
For camera beginners, the strongest Oahu snorkeling choices are a guided Turtle Canyons outing or a shore session at Hanauma Bay when conditions suit your swimming ability. Comfort comes first, because a leaking mask or tiring swim makes photography harder.
Start by choosing the experience that gives you room to learn.
Key Takeaways for Your First Photo Session
- Choose guided snorkeling when you want help with equipment and unfamiliar ocean conditions.
- Get comfortable breathing and floating before you start taking pictures.
- Prepare your camera on dry land, then keep your first underwater session simple.
- Stay at least 10 feet from sea turtles, and never touch coral or wildlife.
A few clear images from a relaxed swim are a better starting point than hundreds taken while struggling with your gear.
Start With Guidance Before Adding a Camera
A camera adds another task to an activity that already requires attention. You need to notice your buddy, your position, and your breathing while watching the reef.
With Living Ocean Tours, you have knowledgeable guides and supplied snorkeling equipment. That support gives you a place to start if you’re unfamiliar with Oahu’s waters.
Tell your guide that you’re learning underwater photography. Also mention any concerns about swimming, mask fit, or using flotation. Address those needs before you concentrate on pictures.
For couples, avoid having both partners disappear behind their cameras at once. Families benefit from the same approach: keep an adult focused on the child rather than the screen.
Your camera should fit around your snorkeling skills, not dictate where you swim.
Choose Your Oahu snorkeling Outing
Turtle Canyons for a Wildlife-Focused Trip
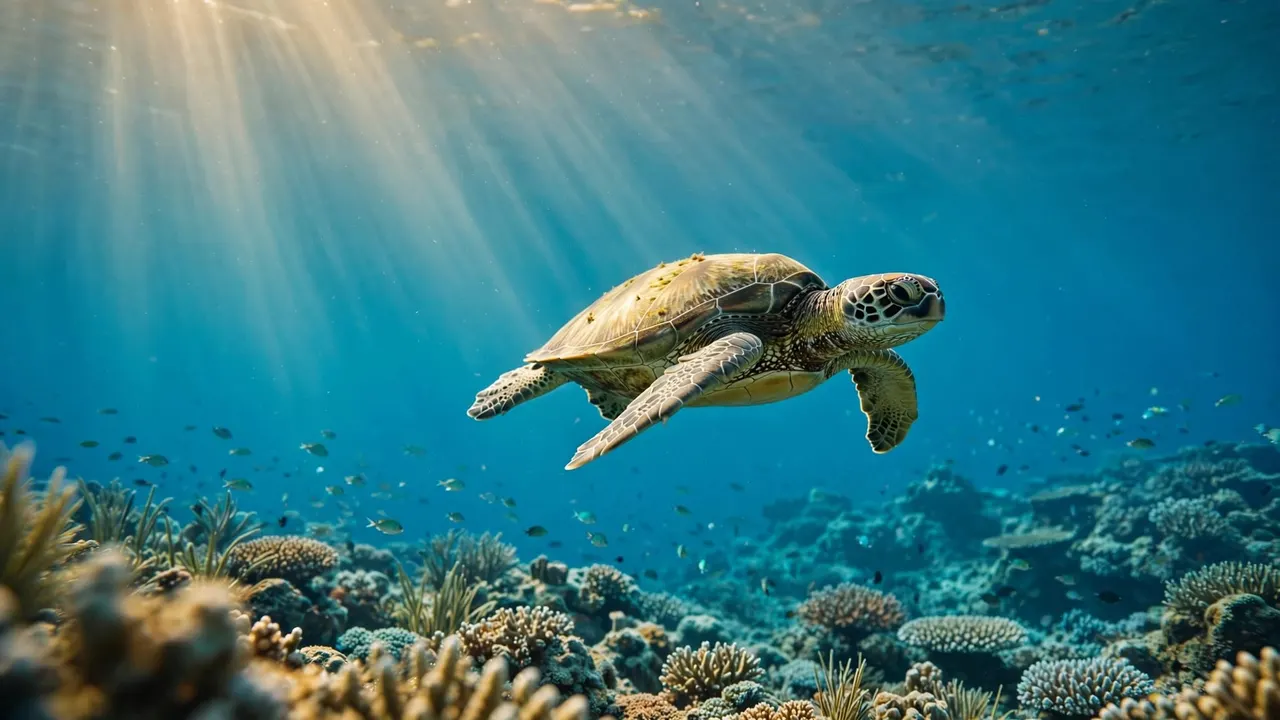
Our $79 Turtle Canyons Snorkel Excursion visits Waikiki’s natural turtle cleaning station. Reef fish clean the turtles here, giving you an opportunity to observe wildlife behavior without approaching the animals.
For a first camera outing, focus on the whole scene: blue water, reef, and a turtle moving through its habitat. You don’t need a close-up to bring home a memorable photograph.
Our Turtle Canyons snorkel excursion in Waikiki includes snorkeling gear and knowledgeable guides. Wildlife encounters remain natural, so build your photo plans around what appears.
Deluxe Waikiki Cruise for a Mixed-Interest Family
Our $79 Deluxe Waikiki Snorkeling and Wildlife Cruise combines reef exploration with a waterslide, water trampoline, and floating lily pad.
Choose this outing when your group wants snorkeling plus activities between swims. You can photograph the reef, then put your camera away and enjoy time together.
For beginners, separating photography from water play keeps each activity simpler. Give your camera a secure place between sessions rather than carrying it through every activity.
Hanauma Bay for a Shore-Based Camera Session
What Makes the Inner Reef Useful
Hanauma Bay offers a shallow fringing reef with sandy-bottom areas. Its inner reef reaches about 10 feet deep, so you can observe much of the underwater scene while floating at the surface.
That makes it a useful Oahu snorkeling option when you want to practice photographing reef scenery. However, shallow water doesn’t automatically mean easy swimming.
Keep your session within your ability, and stay clear of coral even where it looks close enough to stand. The outer bay is for experienced divers, not a beginner’s photo detour.
Admission and Access Details
According to the city’s Hanauma Bay Nature Preserve information, nonresident admission is $25, with $3 parking. Children 12 and younger enter free.
The preserve normally opens Wednesday through Sunday. Entry runs from 6:45 a.m. to 1:30 p.m.; the beach clears at 3:30 p.m.
Nonresident reservations open two days ahead. Because access requires more planning than simply arriving at a beach, make Hanauma Bay a scheduled outing rather than a last-minute stop. Leave enough time for entry, equipment preparation, and an unhurried first swim.
Match the Water to Your Swimming Confidence
Conditions Matter More Than a Famous Name
The best Oahu snorkeling location for your camera is the one you can enjoy without fighting the water. A popular reef can still have poor visibility, waves, or currents.
Skip snorkeling during high surf, high winds, heavy shorebreak, or strong currents. Also avoid murky water, dawn, and dusk.
At Hanauma Bay, the telephone-cable channel can have strong rip currents, particularly during ebb tides. Avoid Witches’ Brew and Toilet Bowl/Queen’s Bath, especially in rough water. Those areas don’t belong on a beginner photography route.
Establish an Easy Return Before Taking Photos
Before using your camera, know where you’ll exit and where your buddy or guide is positioned. Keep enough energy for the return.
If breathing feels uncomfortable or you repeatedly adjust your mask, pause photography. Solve the snorkeling problem first.
For children, make the initial session brief and pressure-free. A child who wants to stop shouldn’t need to wait while an adult finishes filming. Your best family photographs come from a trip everyone enjoys, including the person who prefers watching from above the water.
Prepare Your Camera Before Entering the Water
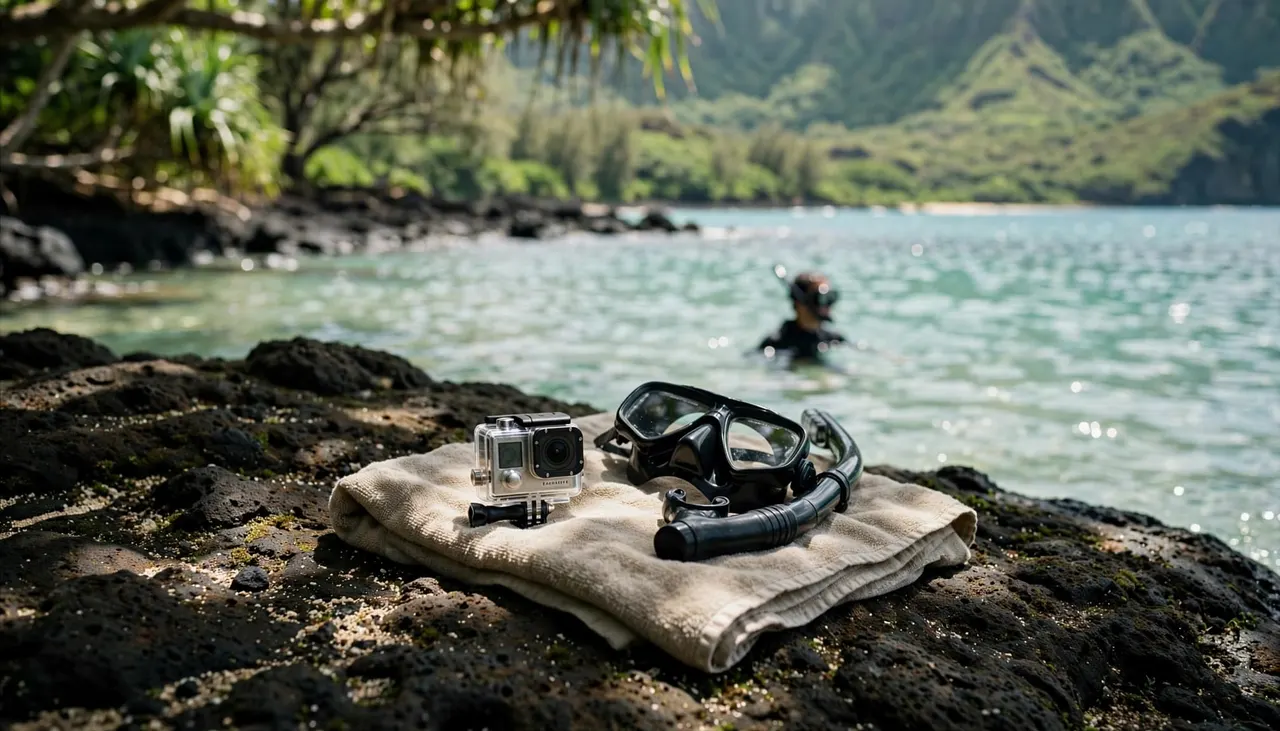
Prepare your camera while you’re dry, settled, and able to see what you’re doing. Trying to solve equipment problems while floating divides your attention.
Inspect the housing seal for sand, hair, or debris before closing it. Then secure the camera so an accidental release doesn’t send it toward the reef.
Keep straps tidy rather than dangling near coral. Also practice finding the controls by feel, because underwater glare can make the screen harder to read.
A simple preparation sequence helps:
- Charge the battery and leave enough storage for your outing.
- Clean the lens or housing window and inspect the seal.
- Practice starting and stopping a recording before entering.
Choose one familiar capture method for your first swim. Switching constantly between photography and video can distract you from the water around you.
Finally, put the camera aside for your first few moments in the water. Settle your breathing, feel your flotation, and establish your position beside your buddy. Once you’re comfortable, bring the camera into the session.
Compose Underwater Photos Without Chasing Subjects
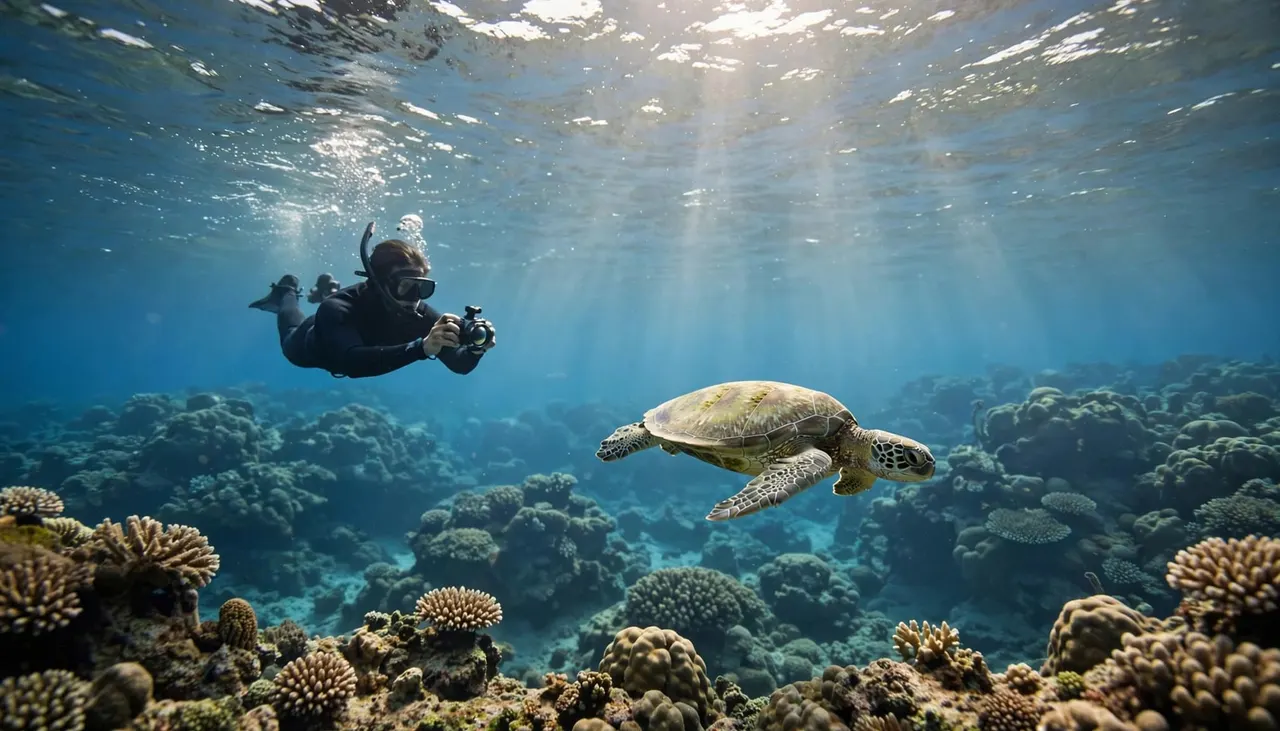
Begin With Reef Scenery
Start with subjects that don’t require pursuit. A reef scene lets you practice framing while fish move through the picture.
Keep some open water around the main subject instead of filling every corner with coral. This makes the image easier to read and gives moving fish room within the frame.
Natural light is your friend near the surface. However, shooting straight toward bright sunlight can leave your subject dark. Change your viewing angle only when you can do so without drifting away from your group.
Avoid swimming closer simply because the screen makes a fish look small.
Stay Still Before Pressing the Button
Your movement affects the picture as much as the animal’s movement. Settle into a relaxed float, then take the photograph.
For video, hold one view long enough for the viewer to understand it. Constant sweeping can make footage difficult to watch.
If getting the shot requires hard kicking or losing sight of your buddy, let the subject go.
Review pictures after the swim rather than studying each one underwater. That keeps your attention available for the ocean.
Give Turtles Space in Every Photograph
NOAA’s marine wildlife viewing guidelines recommend staying at least 10 feet, or 3 meters, from sea turtles in Hawaii. That distance applies on land and in the water.
Keep the entire camera within that boundary too. Extending a camera toward a turtle doesn’t make an otherwise close approach respectful.
If a turtle moves toward you, give it space without crowding another snorkeler. Never block its route to the surface, follow it aggressively, or reach out to touch it.
For photographs, include the animal’s surroundings. A turtle above a reef can tell a fuller story than a tight image of its face.
The same care applies beneath your fins. Avoid standing on coral or brushing it while repositioning yourself.
Responsible Oahu snorkeling means observing wildlife on its own terms. Your picture records the encounter; it shouldn’t change the animal’s behavior. When the turtle swims away, enjoy the moment and turn your attention back to the reef.
Keep Your First Photo Session Short and Focused
Give your first outing one manageable goal, such as making a clear reef photograph or recording a steady view of passing fish. You don’t need to document every moment.
Begin with a camera-free float. Then take a few pictures while you remain comfortable and aware of your group.
Between attempts, lower the camera and look around. Notice your distance from the exit, your buddy’s position, and how much effort you’re using.
For couples, alternate camera time so both people experience the reef without watching through a screen. With children, let photography follow their comfort rather than extending the swim for another picture.
Afterward, review what worked while the experience is fresh. Look for clear subjects and less camera movement, not simply more images.
This approach makes Oahu snorkeling rewarding even when your favorite memory never becomes a photograph. You leave with useful practice and time spent enjoying the ocean.
Bring Home Photos From a Comfortable First Swim
Your strongest beginner photographs start with a comfortable swim, familiar equipment, and wildlife given plenty of space. Guided Turtle Canyons snorkeling offers support, while Hanauma Bay provides a shore-based option with advance planning.
Choose the outing that matches your group, then keep your camera goals modest. A few clear images and an enjoyable first experience give you a better foundation for your next underwater adventure.