Dry Snorkel vs Classic Snorkel for Honolulu
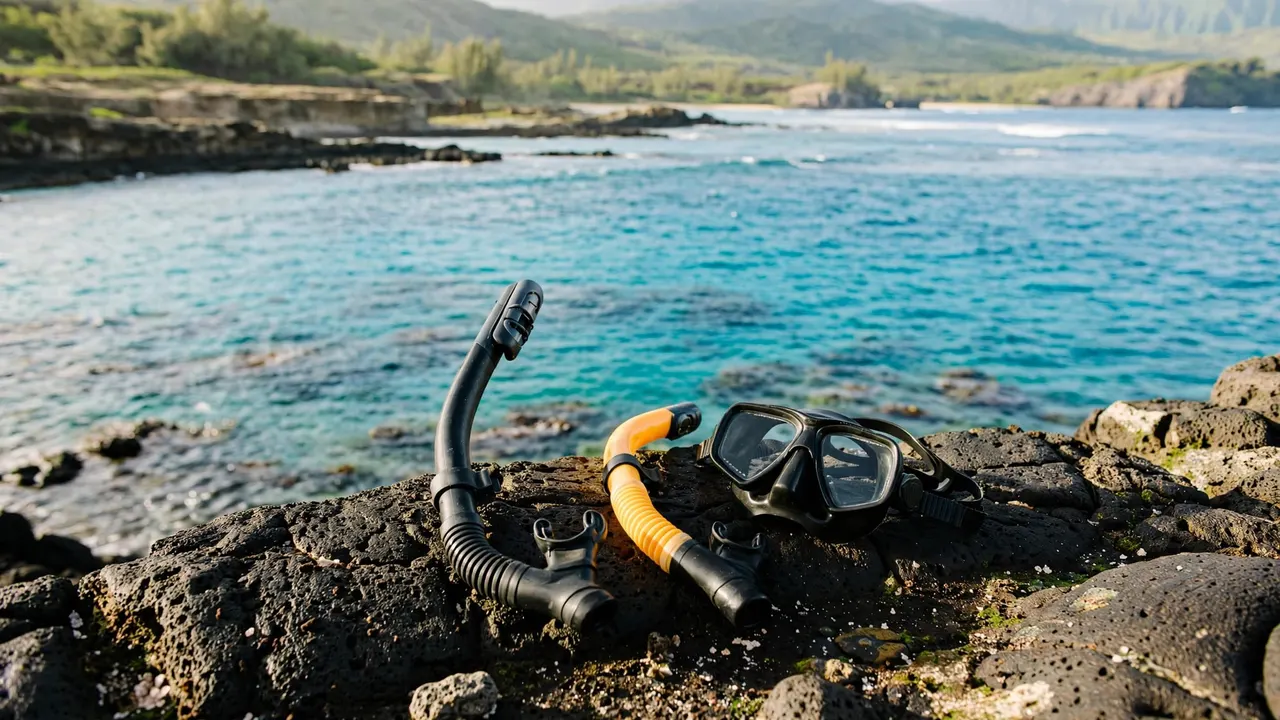
A snorkel that pinches your jaw can distract you more than the label on its packaging. Before you pack for Living Ocean Tours, your dry snorkel vs classic snorkel decision should start with comfortable breathing, a good fit, and a plan for handling water in the tube.
You want to watch the reef without constantly adjusting equipment or wondering what to do next. A product name alone won’t tell you whether a particular snorkel suits you.
Start with your comfort level, then check the actual equipment before heading offshore.
Key Takeaways
- Choose equipment you can breathe through comfortably and understand how to clear, regardless of its label.
- Check the mouthpiece, mask attachment, and manufacturer’s instructions before using an unfamiliar snorkel.
- Your swimming ability, the day’s conditions, and access to help matter more than a shopping comparison.
Dry Snorkel vs Classic Snorkel: Start With Your Needs
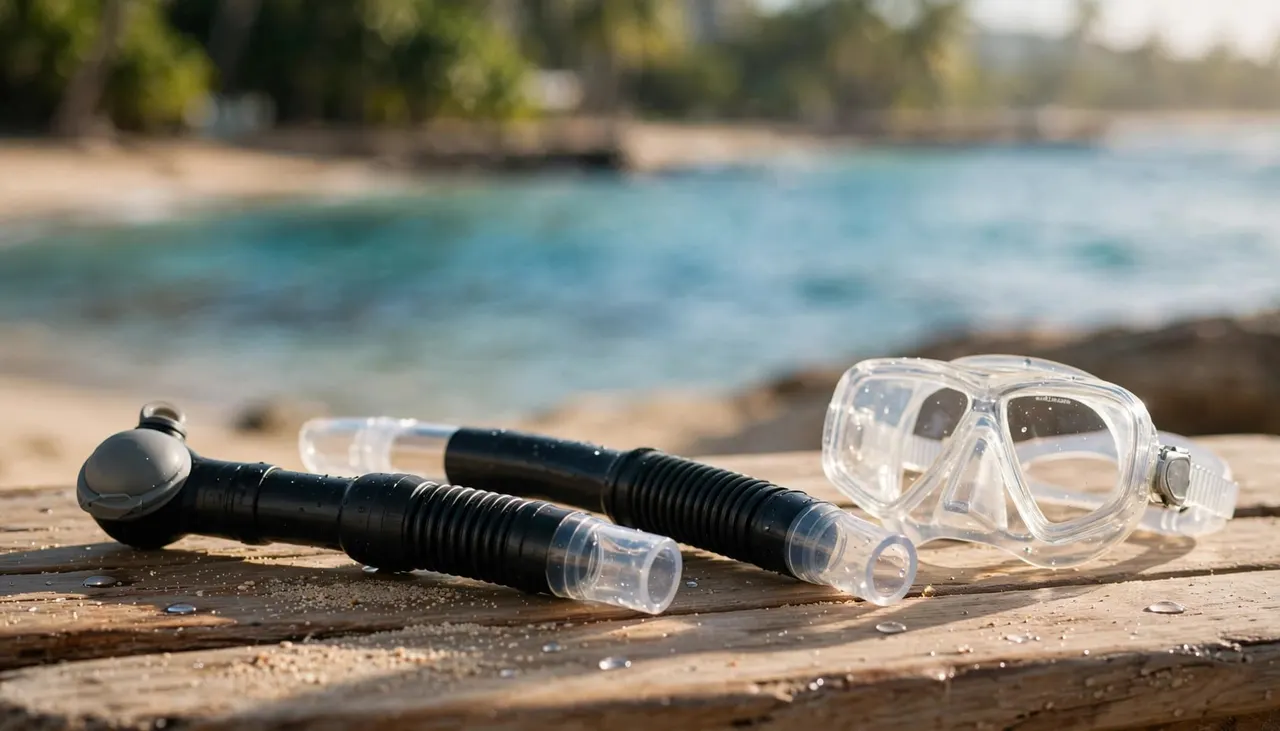
You may encounter names such as “dry-top float-valve snorkel” and “simple open-top snorkel” while shopping. However, those labels don’t replace instructions for the exact product you’re considering.
Choose for the snorkeling you’ll do
Begin with your planned activity and experience. If you’re learning to float face down, focus on equipment you can use without jaw tension or confusion.
Tell an instructor whether you’ve snorkeled before and whether water entering the tube makes you nervous. That conversation helps you identify what to practice before entering open water.
For a classic tube, ask how to clear it when water enters. For a dry-labeled model, ask how its top mechanism operates and what to do if airflow feels blocked.
Check the actual model
Read the manufacturer’s directions rather than treating every snorkel within a category as identical. Examine the mouthpiece, attachment point, and any moving components described in those directions.
Ask someone familiar with the equipment to demonstrate its operation. Then explain the steps back in your own words.
A dry label doesn’t promise effortless breathing or suitability for every swimmer. Likewise, familiarity with a classic tube doesn’t remove the need to inspect it before another outing.
Make Mouthpiece and Mask Fit Your First Test
Your snorkel and mask need to work together without pulling against each other. Check both while you’re still somewhere you can pause comfortably.
Notice pressure before it becomes distracting
Place the mouthpiece as instructed and let your jaw relax. If you need to bite hard to keep it positioned, ask about a different fit.
Check whether the tube presses against your cheek or tugs when you turn your head. Your lips should sit comfortably around the mouthpiece without constant repositioning.
During supervised practice, pay attention to breathing comfort. Stop if you experience unusual resistance, shortness of breath, dizziness, or discomfort. Remove the snorkel from your mouth once your head is above water, then signal for help.
Don’t try to solve breathing trouble by swimming harder.
Keep the attachment and mask comfortable
Check the snorkel attachment before entering. It should follow the manufacturer’s setup instructions without distorting your mask or pulling its strap sideways.
Also, move hair away from the mask seal. Tightening a strap repeatedly isn’t a substitute for checking whether the mask fits your face.
If you’re bringing familiar equipment, inspect it after storage. Look for cracked material, damaged attachments, or an uncomfortable mouthpiece.
Finally, ask about fit before departure if anyone in your group has a small face or particular equipment needs. That gives you time to discuss options without rushing at the water entry.
Practice Clearing Before You Head Offshore
Your dry snorkel vs classic snorkel choice becomes more useful when you can handle the equipment calmly. Practice in a controlled setting with appropriate supervision before relying on unfamiliar gear offshore.
Follow the clearing method taught for your exact snorkel. Don’t assume a technique shown for another model applies unchanged.
A short practice sequence keeps the focus manageable:
- Fit your mask and snorkel, then check that neither pulls uncomfortably.
- Practice breathing at the surface where you can stop easily and receive help.
- Rehearse the taught clearing procedure and your signal for assistance.
A snorkel gives you access to air only when its breathing opening is above water. It doesn’t let you breathe while submerged.
According to Hawaii Ocean Safety’s guidance, you should know your health limits, learn safe snorkeling skills, and swim with a buddy.
If practicing leaves you anxious or uncomfortable, discuss that before entering open water. Buying a different tube isn’t a substitute for resolving a breathing or swimming concern.
Let Honolulu Conditions Decide Whether You Enter
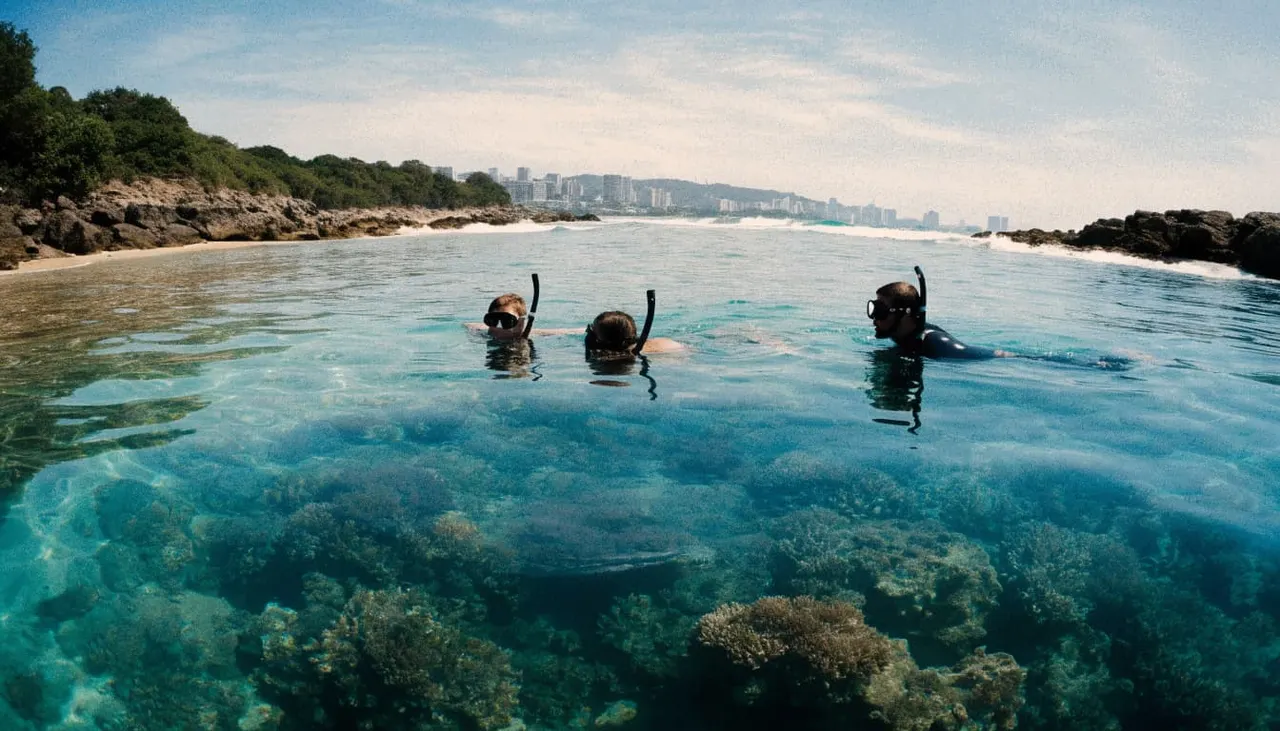
Your equipment decision comes after your decision about the water. Neither product label tells you whether a location is appropriate that day.
Check the entry and return
Before entering, understand where you’ll swim and how you’ll get back out. Ask about the route, signals, and where to wait if you need assistance.
For shore snorkeling, choose a lifeguarded location appropriate for your abilities and speak with the lifeguard about current conditions. On a boat, follow the captain’s and crew’s instructions.
The Hawaii State Parks safety guidance advises learning about the snorkeling area and water conditions. It also calls for caution when entering and leaving the water.
Match the outing to your limits
Be honest about your swimming ability, health, and energy level. Feeling comfortable in a pool doesn’t automatically prepare you for every ocean situation.
Tell the crew about nervousness or a need for extra time before entry. Ask whether you can practice close to the exit and how to request a break.
Meanwhile, decide early that returning aboard is acceptable. You don’t need to stay in the water as long as another person to enjoy the outing.
Choose a Manageable Setup for Couples and Families
When comparing dry snorkel vs classic snorkel options for a family, evaluate each person’s fit separately. Matching equipment isn’t useful if one mouthpiece leaves someone uncomfortable.
For children, ask about age-appropriate sizing and participation requirements before booking. Adult equipment shouldn’t become the default because it’s already in your bag.
Also, avoid introducing several unfamiliar items at once. A new mask, snorkel, camera, and flotation setup can divide your attention during practice. Get comfortable with the breathing equipment before adding optional accessories.
Secure swimwear matters, too. A fitted rash guard or swim leggings can provide coverage without leaving loose fabric to manage. Check that clothing allows comfortable movement and works with any flotation equipment you plan to use.
For couples with different experience levels, agree on a simple plan for breaks. Your partner shouldn’t feel pressure to keep swimming because you’re eager to explore.
Give each person space to choose a pace that feels manageable.
Keep Gear Problems Away From Turtles and Coral
If your snorkel starts gurgling or your mask shifts, pause and get stable. Signal for help rather than reaching for the reef or continuing toward wildlife.
Never stand on coral while adjusting equipment. Keep your body and fins clear of the habitat below, and avoid chasing an animal while you’re distracted by a gear problem.
For Hawaiian sea turtles, NOAA’s marine-life viewing guidelines recommend staying at least 10 feet away, both in water and on land.
Give turtles room to travel and surface. Don’t touch, feed, or block them, even if one appears near you.
If you witness possible wildlife harassment, NOAA’s reporting guidance explains how to report it. Keep your own position safe while observing.
Your clearest view comes when you’re comfortable enough to watch without rushing. Equipment adjustments should happen away from animals, with help when needed.
Bring Your Gear Questions to Living Ocean Tours
Bring your dry snorkel vs classic snorkel questions to Living Ocean Tours before packing. The company describes itself as the only Honolulu tour operator with professional snorkel guides.
Ask who can help you check an unfamiliar mouthpiece and how to request assistance in the water. Also, discuss any concerns about swimming, breathing through a tube, or equipment fit.
Before buying equipment for one vacation, confirm what you’ll need to bring. Ask which snorkel style you would use, whether personal equipment is permitted, and whether you can check the fit before entering.
That conversation can save you an unnecessary purchase. It also helps you arrive with fewer unanswered questions.
For a mixed-experience group, explain who needs extra practice and who already has familiar gear. Clear expectations give everyone a more comfortable starting point.
Frequently Asked Questions
Does a dry snorkel let you breathe underwater?
No snorkel lets you breathe while its air opening is submerged. Before using any model, learn how it operates and what to do when water enters or airflow feels restricted.
If you lose comfortable access to air, stop and bring your head above water. Remove the mouthpiece and ask for assistance rather than repeatedly trying to inhale through it.
For beginners, supervised practice is a better first step than relying on a product name.
Should you buy a snorkel before a guided outing?
Ask the operator first. Confirm equipment requirements, personal-gear policies, and opportunities to check fit before deciding what to purchase.
If you already own a comfortable mask and snorkel, inspect them and ask whether you may bring them. If you’re shopping, compare fit, care instructions, and replacement-part access rather than choosing by the label alone.
You don’t need to settle the purchase before asking these questions. A clear answer can keep your packing simpler.
Choose Comfort Before the Label
Your Honolulu snorkel choice should begin with equipment you understand and can use comfortably. Check the fit, practice the taught clearing method, and let conditions determine whether you enter.
Neither label replaces swimming ability, a buddy, or a clear route back out of the water. With those basics settled, you can spend more attention watching the reef and less time managing your gear.