Camera Salt Spray Protection for Boat Tours
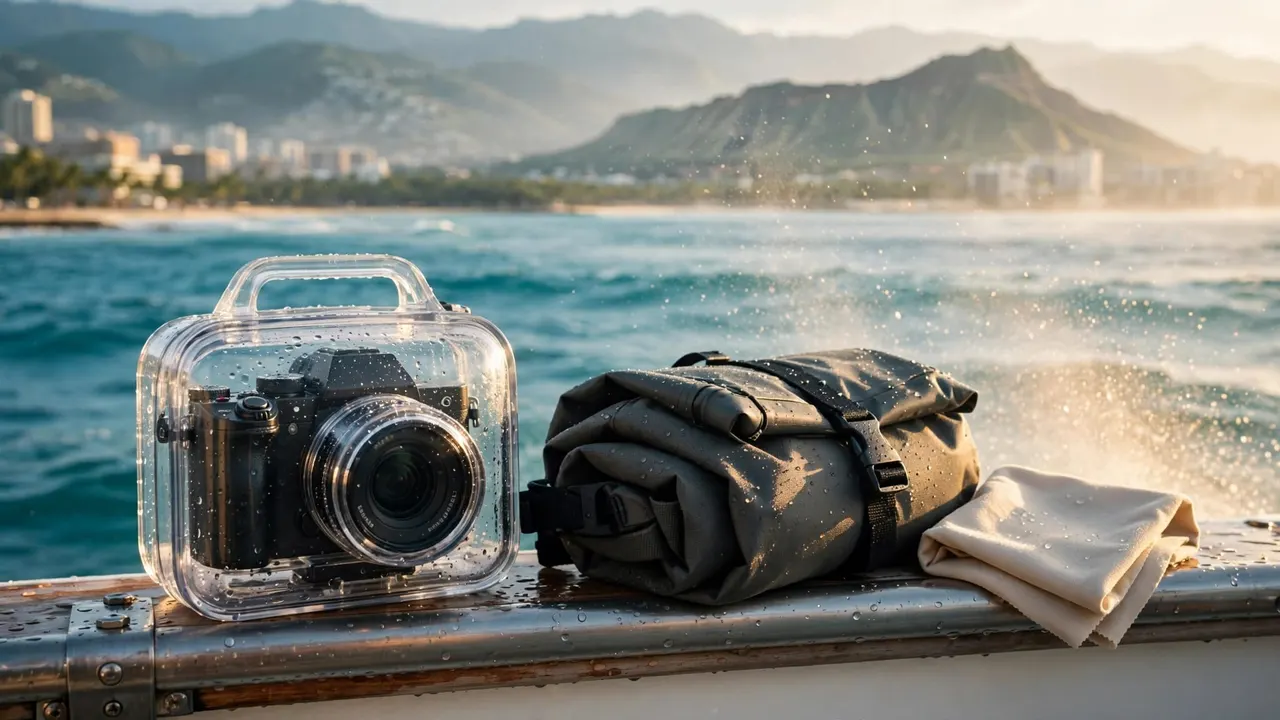
Camera salt spray protection starts with a splash cover while you shoot and a closed dry bag when you’re not using your gear. Add a clean lens cloth, and you’ll be ready to enjoy the view without leaving your camera exposed throughout the trip.
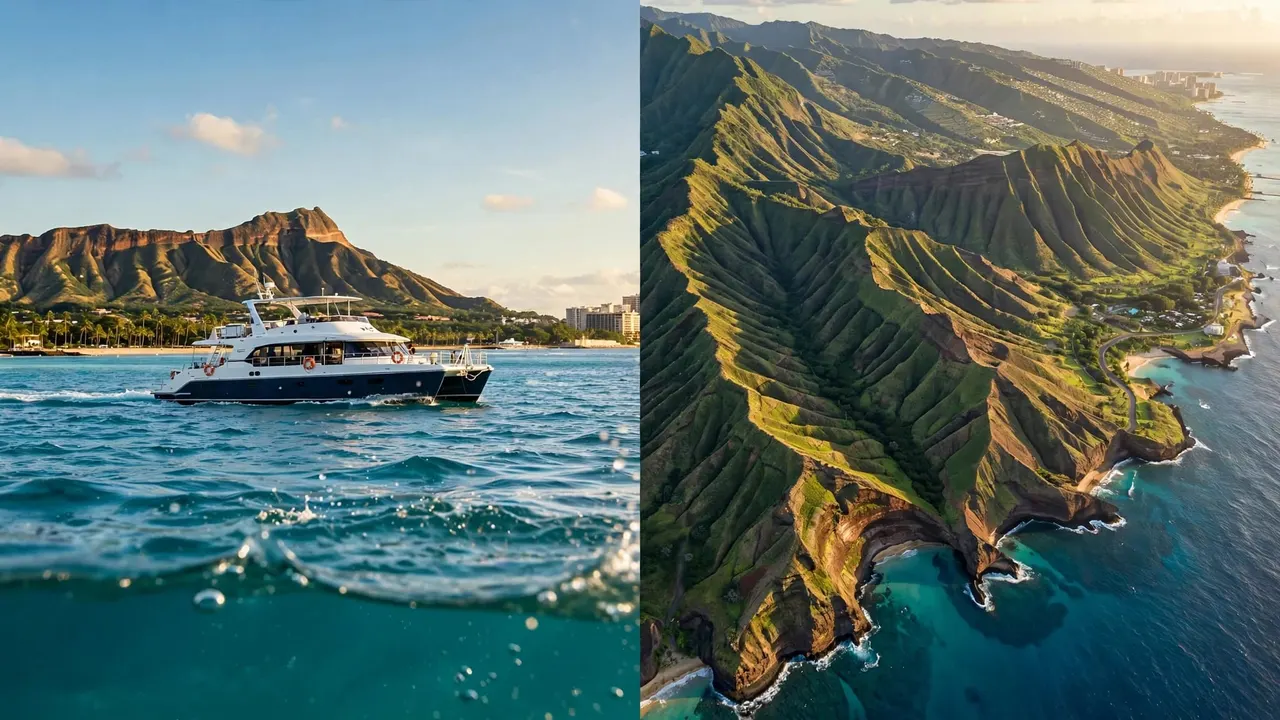
On a Living Ocean Tours outing, you can photograph the Waikiki coastline or bring a camera along for your snorkeling adventure. A little preparation helps you spend less time worrying about your equipment and more time enjoying the water.
Why salt spray matters for your camera
A few droplets can change a photograph before you notice them. Saltwater on the front of your lens can scatter light, soften details, and leave spots that show up against a bright sky or sunset.
Once the water evaporates, salt residue can remain on the lens and camera body. Sand and grit add another concern because rubbing them across an optical surface can scratch it.
You don’t have to keep your camera buried in a bag for the whole ride. The goal is to reduce exposure, put it away when conditions get wet, and clean it gently afterward. The same approach works for a phone, a compact camera, or a larger camera with an interchangeable lens.
Choose camera salt spray protection for the way you shoot
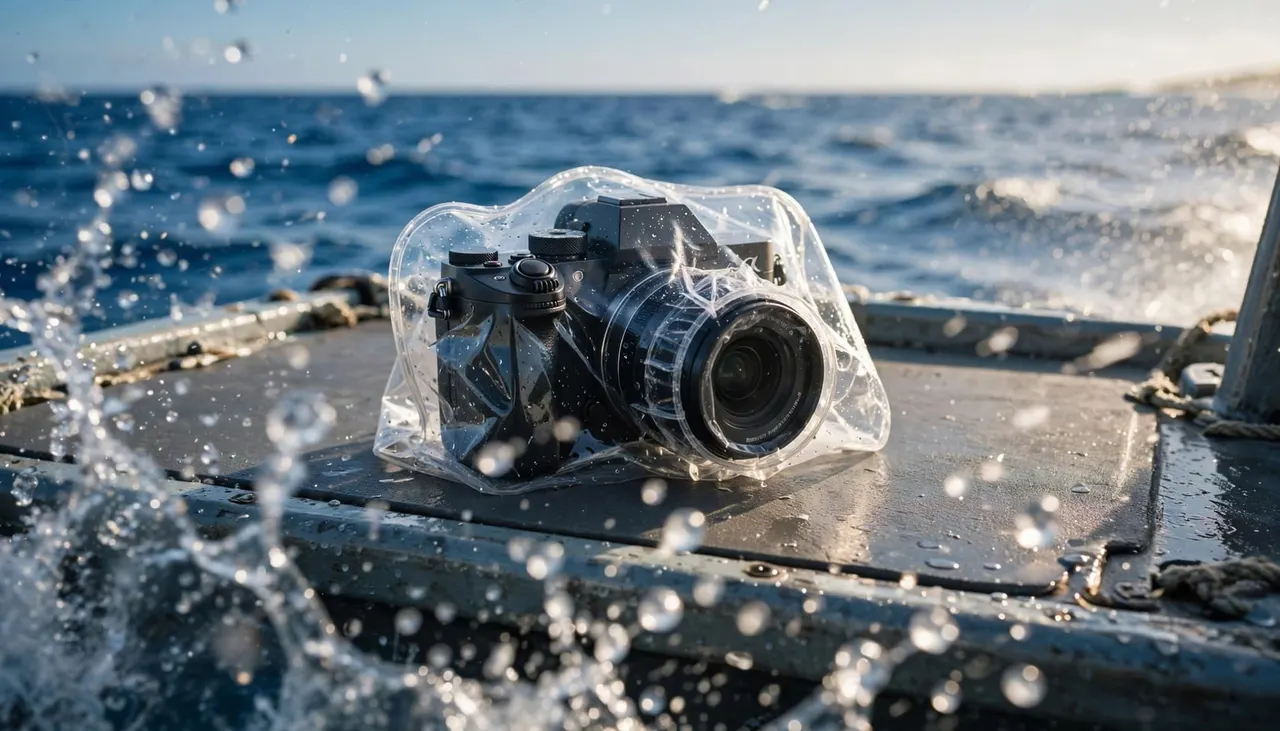
Your camera needs different protection when you’re taking pictures than when it’s stored under a seat. Choosing both in advance makes it easier to respond when the boat picks up speed or spray reaches the deck.
Use a cover while taking photos
A fitted camera rain cover can shield much of the camera body and lens while you work. Choose one that lets you reach the shutter and see the screen without exposing large openings to spray.
Try the cover on at home with the lens you plan to bring. Make sure you can zoom, hold the camera securely, and keep the strap clear of controls. If the cover blocks your view or makes the camera awkward to hold, you’re less likely to use it when you need it.
A lens hood can also reduce the amount of spray reaching the front glass. It won’t seal the lens, so keep your cover and storage bag handy.
Store the camera in a closed bag
When you’re finished shooting, put the camera in a dry bag or protective pouch and close it fully. A padded camera bag can help with bumps, but padding alone doesn’t make a bag waterproof.
Keep the bag away from wet towels and other damp items. A closed bag is especially useful during faster portions of the ride, when spray can reach you unexpectedly.
Prepare your gear before boarding
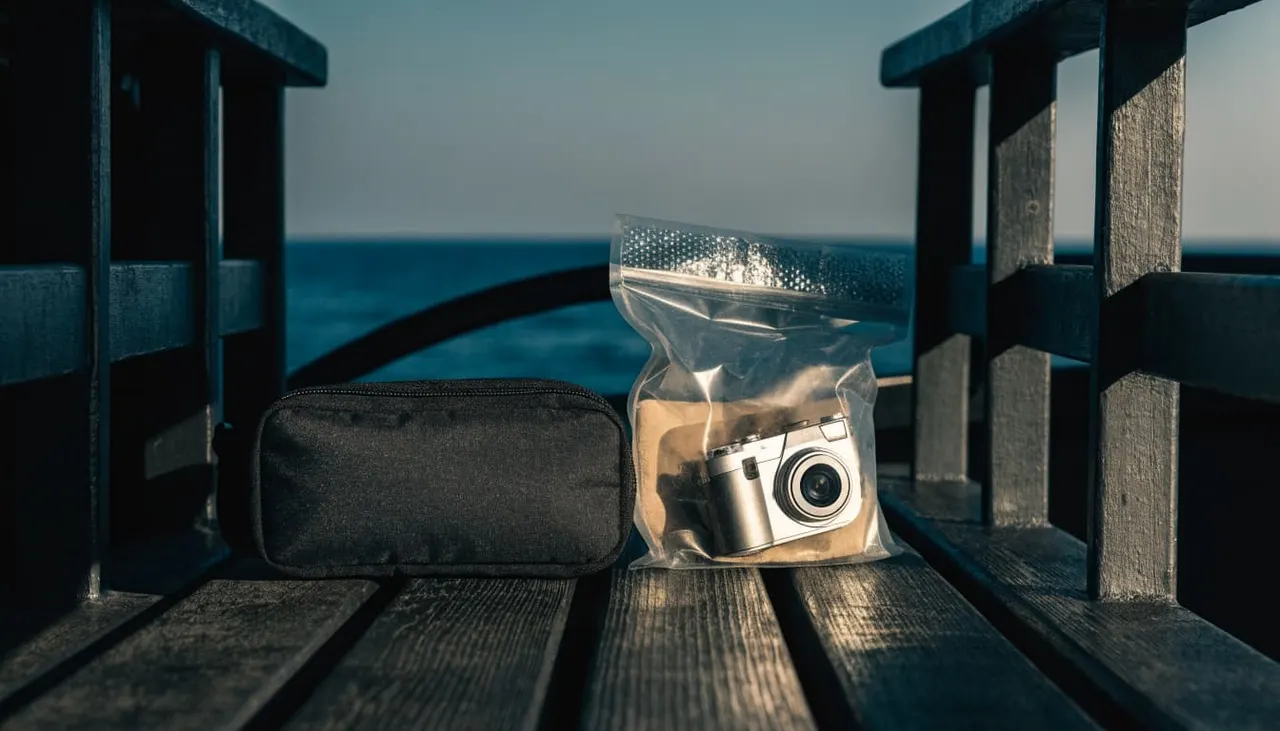
Good camera salt spray protection begins before you step onto the boat. Set up your equipment on land, where you have room to work and don’t have to manage a moving deck.
Choose one lens and secure your strap
If you use an interchangeable-lens camera, attach your preferred lens before departure. A versatile zoom can cover coastline views and wider shots of your group without frequent changes.
Changing lenses on an exposed deck gives spray and airborne debris a chance to reach the camera interior. If you need another lens, wait until you’re in a sheltered, dry place and keep the opening exposed for as little time as possible.
Fit a neck or wrist strap that feels comfortable with your clothing. Keep it attached while you’re shooting, and tuck it away when the camera is stored so it doesn’t catch on nearby equipment.
Pack a small cleaning kit
Put a clean microfiber lens cloth in its own closed pouch. A suitable lens-cleaning solution or a premoistened camera lens wipe can help when salt reaches the glass.
Charge your battery and clear enough storage for your photos before leaving. You won’t need to open compartments or sort through accessories while the boat is moving. Bring only what you can manage without spreading gear across seats or walkways.
Keep spray away while you’re on the boat
Salt spray doesn’t reach every part of a boat equally. A sheltered seat can give you a more comfortable place to prepare your camera, though wind and the boat’s direction can change where droplets land.
Keep your bag closed until you’re ready to take a picture. Dry your hands first, especially after applying sunscreen or coming out of the water. Open the bag in a sheltered spot, take your camera out, and close the bag again rather than leaving it open beside you.
While photographing, stay inside the rail and follow the crew’s directions. Keep your feet planted and your elbows close to your body. If you need to move, put the camera away before using stairs or stepping across a threshold so you have a hand free for support.
Don’t walk backward while watching your screen. Settle into a safe position first, then frame the photograph. A slightly different angle is never worth reaching over the side for your camera or another loose item.
A lens hood helps with stray droplets, but your closed storage bag is the better choice when spray becomes persistent.
Clean salt spray without scratching your lens
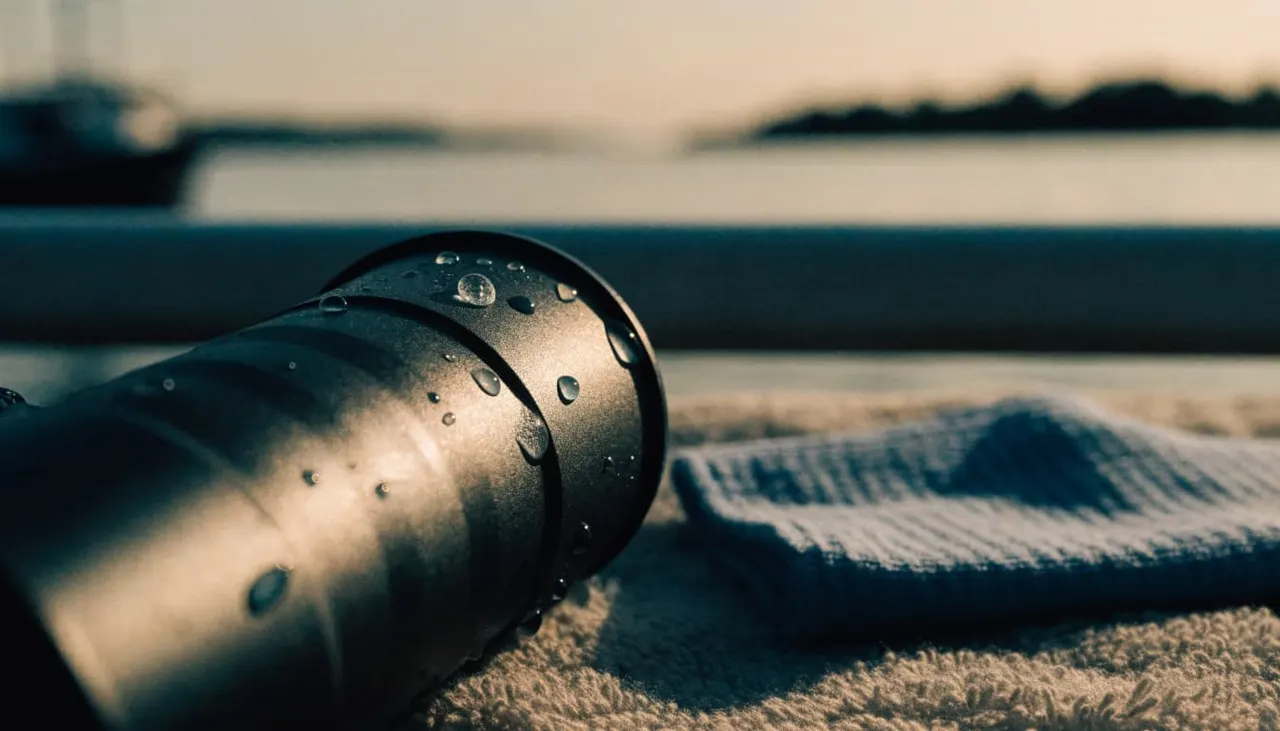
Cleaning is part of camera salt spray protection, but rubbing harder isn’t the answer. Salt crystals and grit can damage a lens surface if you grind them across the glass.
Treat the front glass gently
Move to a dry, sheltered spot before handling your lens. Use a clean microfiber cloth and a lens-cleaning solution or a moist camera lens wipe suitable for optical surfaces. DPReview’s beach camera guide also recommends lens-cleaning solution and a microfiber cloth for salt spray on the front element.
Avoid wiping dried residue with your shirt, a beach towel, or a cloth that has picked up sand. Keep your lens cloth in its pouch between uses so it stays clean.
If the lens still looks hazy after gentle cleaning, don’t keep pressing on it. Put the camera away and give yourself time to deal with the residue in a clean setting.
Wipe the camera body separately
The outside of your camera can collect salt even when the front glass stays clear. Use a soft, lightly damp cloth on the exterior, keeping moisture away from openings and controls.
Audubon’s camera gear care advice distinguishes body cleanup from gentle cleaning of the lens front. Use a separate clean cloth for the glass rather than transferring debris from the camera body.
What to do if your camera gets soaked
If a wave or spill leaves your camera noticeably wet, stop shooting and move to a dry spot. Turn the camera off, and keep it away from more spray. Don’t continue pressing buttons or repeatedly switch it on to see whether it works.
Keep water away from battery and card compartments. If those areas are wet, avoid opening them until you can handle the camera in a dry setting. Don’t apply heat or put the camera in direct sun to hurry the process.
Moisture inside a lens or camera body deserves more attention than droplets on the outside. If you see fogging beneath the glass or the equipment stops working after a soaking, seek help from a camera repair professional. Explain that the equipment was exposed to saltwater so they can assess it appropriately.
Protect phones and underwater cameras, too
A phone is convenient for a boat tour, but its built-in water resistance shouldn’t be your only plan around saltwater. Keep it in a secure pouch when you’re not taking pictures, and use a wrist strap if your setup allows one.
Before wiping a phone lens, move away from spray and make sure your cloth is clean. Salt spots and fingerprints are especially noticeable when you’re photographing bright reflections on the ocean.
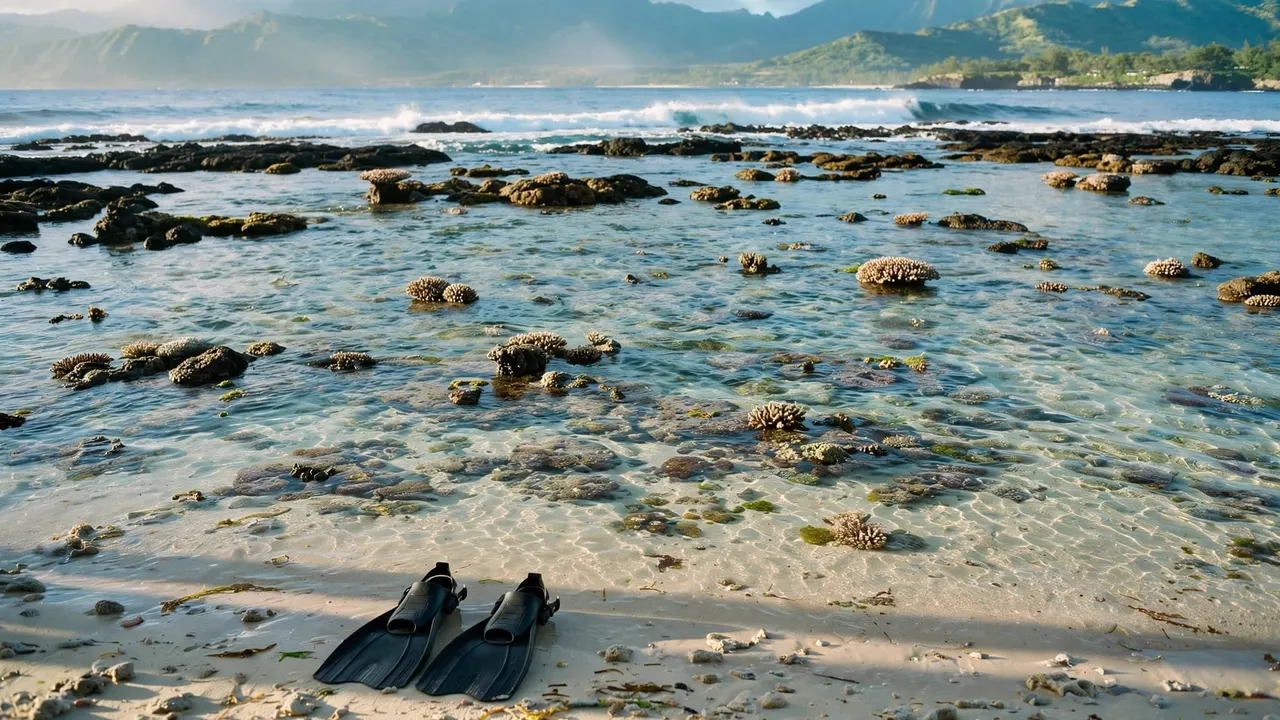
If you plan to take a camera snorkeling, choose equipment or a housing intended for underwater use. A rain cover or splash-resistant pouch for deck photography isn’t the same as an underwater housing.
Prepare the housing on land and keep its sealing surfaces clean. Practice using the controls before entering the water, and follow the crew’s instructions for carrying your equipment during entry and exit. You need your attention free for the ladder and the people around you.
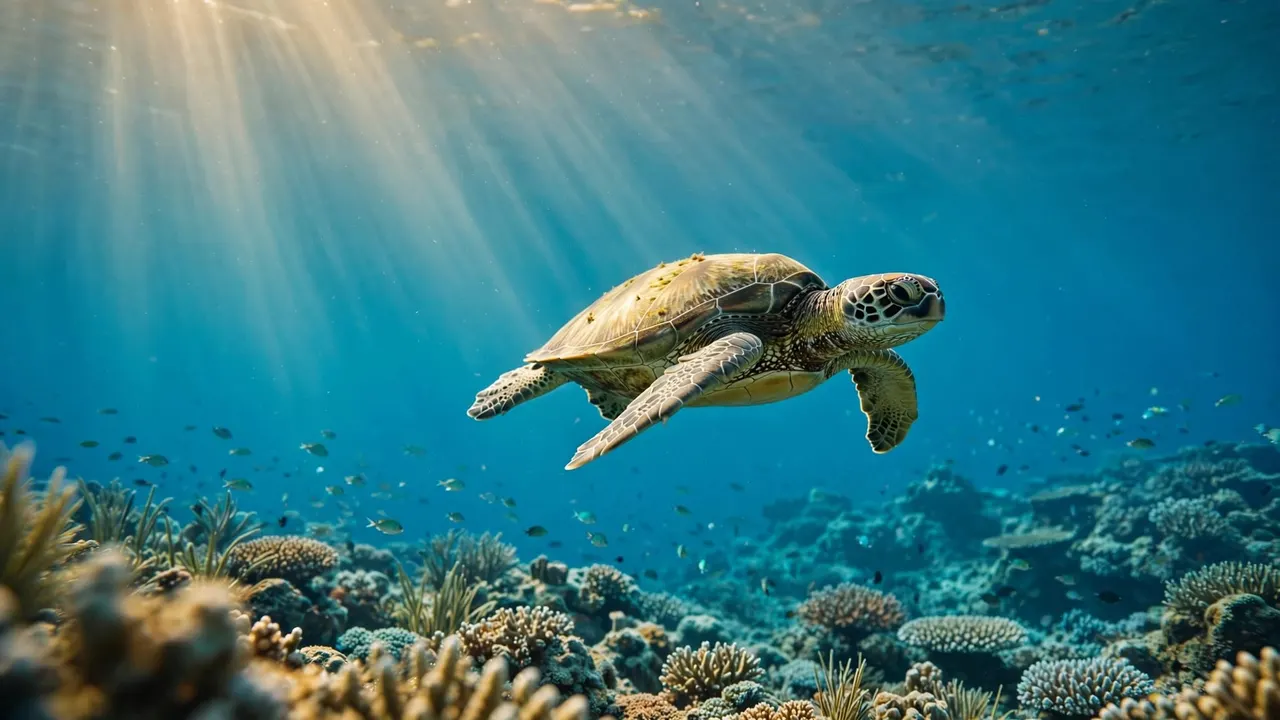
Once you’re snorkeling, keep your camera close and observe marine life without touching or chasing it. A wider photograph can show a turtle and its surroundings without asking you to move closer.
Take clearer photos as conditions change
Even with good camera salt spray protection, look at the front of your lens between shots. A small droplet can be hard to notice on the glass but obvious later against a pale sky.
Review a photograph when you’re safely seated or standing still. If you see soft patches or spots, move to a sheltered area and clean the lens gently before taking more pictures.
At sunset, boat movement can make longer exposures difficult. Hold the camera securely, keep your elbows close, and take a few frames rather than relying on one. If your camera lets you adjust shutter speed, a faster setting can help reduce motion blur, though you may need a higher ISO as the light fades.
A compact setup also leaves you free to enjoy the ride. You don’t need a large tripod for every boat photograph, and a tripod still moves with the vessel. Keep any extra equipment contained and out of walkways.
Bring your camera on a Living Ocean Tours outing
You can bring a camera or GoPro on our Honolulu snorkeling and boat tours. We encourage you to capture the coastline and ocean views. Please leave drones ashore, and bring your own camera because we don’t rent them.
Our trips depart from Kewalo Basin Boat Harbor near Waikiki. On snorkeling outings, our professional snorkel guides are there to help you feel comfortable in the water. Listen to their guidance, give wildlife space, and keep your camera secured when you’re moving around the boat.
Keep your camera ready for the view
A cover, a closed bag, and a clean lens cloth give you a practical camera salt spray protection setup for a day on the water. Use the camera when conditions are comfortable, then put it away before spray or movement makes handling it difficult.
With your gear secure and your footing settled, you can focus on the coastline, your companions, and the photographs you came to take.